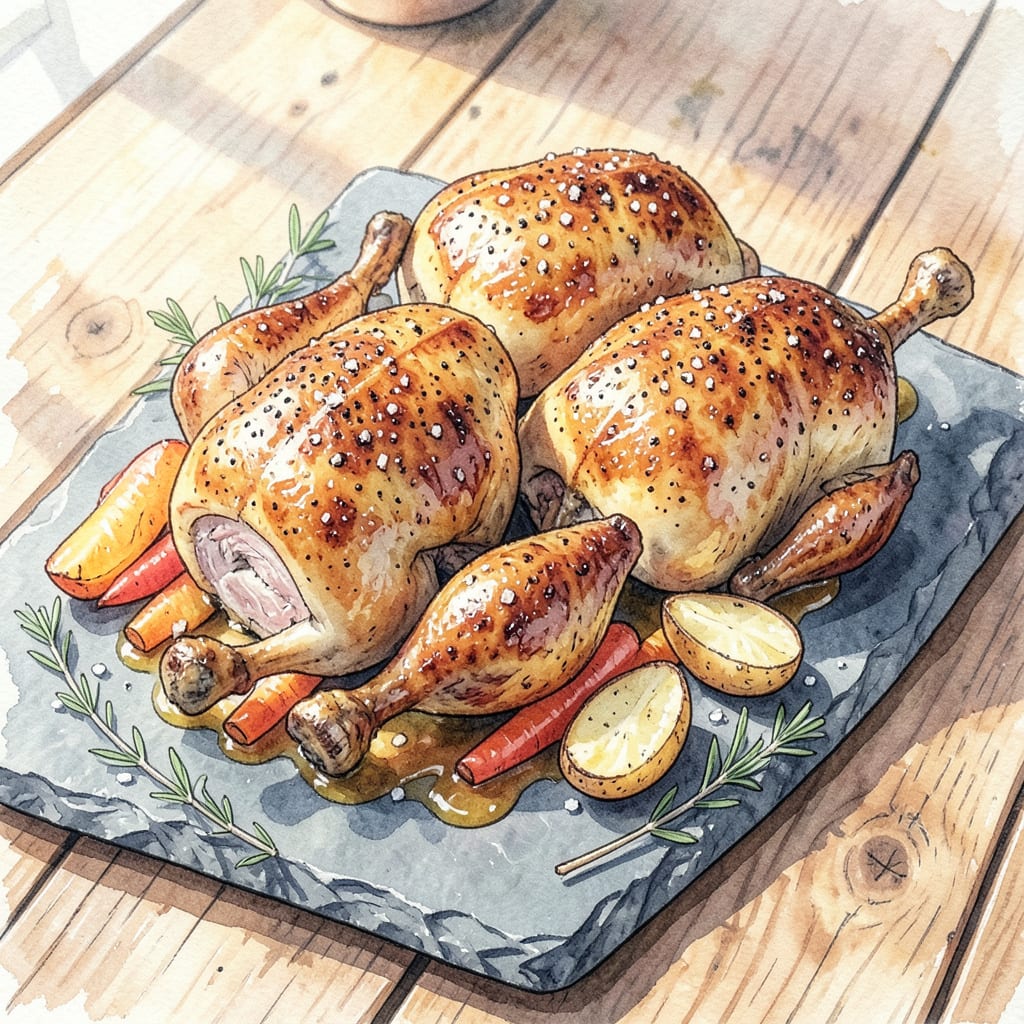
Perfectly roasted Cornish hen delivers what every home cook wants: juicy meat and crispy golden skin without the fuss of a whole chicken. This recipe transforms simple ingredients into an elegant centerpiece that’s ideal for intimate dinners or holiday gatherings. The secret lies in proper seasoning and precise roasting—no complicated techniques required.
With a 450°F oven and careful timing, you’ll achieve restaurant-quality results at home. The hens cook evenly while developing a mahogany crust that crackles with each cut. I’ve refined this method through years of testing, ensuring tender meat every time. Serve with roasted vegetables or creamy mashed potatoes for a complete meal that impresses without stress.
Ingredients for Best Roasted Cornish Hen
These twelve ingredients transform Cornish hens into an elegant centerpiece with juicy meat and crispy golden skin.
| Ingredient | Amount | Notes |
|---|---|---|
| Cornish game hens 🍗 | 2 whole | Thawed if frozen, patted dry |
| Unsalted butter 🧈 | 4 tbsp | Softened to room temperature |
| Extra-virgin olive oil 🫒 | 2 tbsp | Divided for brushing and drizzling |
| Kosher salt 🧂 | 1 ½ tsp | Diamond Crystal preferred for even seasoning |
| Freshly ground black pepper 🌶️ | 1 tsp | Coarsely ground for texture |
| Garlic powder 🧄 | 1 tsp | Not garlic salt substitute |
| Smoked paprika 🌶️ | 1 tsp | Spanish variety for depth |
| Dried thyme 🌿 | 1 tsp | Crushed between fingers to release oils |
| Fresh rosemary sprigs 🌿 | 2 whole | Stems removed, finely chopped |
| Lemon 🍋 | 1 whole | Zested and juiced, divided |
| Yellow onion 🧅 | 1 whole | Quartered for cavity aromatics |
| Carrots 🥕 | 2 whole | Cut into 2-inch pieces |
| Celery stalks 🌿 | 2 whole | Cut into 2-inch pieces |
| Low-sodium chicken broth 💧 | ½ cup | For deglazing and basting |
[recipe_ingredient_scaler]
Optimal quality requires selecting Cornish hens that weigh **1-1.25 lbs each**—this ensures even cooking and proper meat-to-skin ratio. **Whole Foods** and **specialty butchers** typically offer the best selection, though well-stocked supermarkets carry them seasonally. The butter should be **European-style** (higher fat content) for superior browning; **Plugrá** or **Kerrygold** are professional choices. Fresh rosemary and thyme are non-negotiable for aromatic depth—avoid dried substitutes in this application.
For the smoked paprika, **Spanish pimentón de la Vera** (available at **Penzeys** or **La Tienda**) delivers authentic flavor, though standard smoked paprika works adequately. Lemon substitution isn’t recommended, but in emergencies, **white wine vinegar (1 tbsp)** can mimic acidity. The chicken broth may be replaced with **vegetable broth** for dietary needs, though salt adjustment may be required. Carrots and celery are flexible—parsnips or fennel bulbs offer interesting variations without compromising the fundamental flavor profile.
Store hens in their original packaging on the bottom fridge shelf for **1-2 days maximum**. Prepared butter mixture keeps **5 days** refrigerated in an airtight container. Fresh herbs should be wrapped in damp paper towels and used within **3 days** for peak potency. The roasted hens reheat exceptionally well—**450°F for 10-12 minutes** restores crispness to the skin while maintaining moisture in the meat.
Step-by-Step Instructions for Roasted Cornish Hen
This method delivers perfectly crisp skin and succulent meat through precise seasoning and roasting techniques.
Step 1: Prepare and Season the Cornish Hens
Begin by patting the Cornish game hens completely dry with paper towels, both inside and out. This critical step ensures maximum crispness of the skin during roasting. Place each hen on a clean work surface and gently loosen the skin over the breast area by sliding your fingers between the skin and meat, being careful not to tear it.
In a small bowl, combine the kosher salt, freshly ground black pepper, garlic powder, smoked paprika, and dried thyme. Rub this seasoning mixture evenly over the entire surface of each hen, including under the loosened skin and inside the cavities. The paprika will contribute to the golden color while the garlic and thyme infuse the meat with aromatic depth.
Step 2: Create the Aromatic Base and Truss
Quarter the yellow onion and cut the carrots and celery stalks into 2-inch pieces. Place these vegetables in the bottom of a roasting pan to create a flavorful bed for the hens. This not only prevents sticking but also infuses the meat with subtle vegetable sweetness during roasting.
Zest half of the lemon and chop the fresh rosemary sprigs finely. Mix these with the softened unsalted butter to create a compound butter. Gently rub about half of this butter mixture under the loosened skin of each hen. Place the remaining lemon (cut in half) and any remaining herb butter inside the cavities. Truss the legs together with kitchen twine to maintain an even shape during cooking.
Step 3: Roast Using the High-Heat Method
Preheat your oven to 425°F. Place the prepared hens breast-side up on the vegetable bed in the roasting pan. Brush the exterior of each hen with half of the extra-virgin olive oil. Roast uncovered for 25 minutes, then carefully flip the hens breast-side down using tongs.
Continue roasting for another 20 minutes, then flip breast-side up again. At this point, baste the hens with the remaining extra-virgin olive oil and any accumulated pan juices. Return to the oven and roast for a final 10-15 minutes until the internal temperature reaches 165°F when measured at the thickest part of the thigh, and the skin is uniformly golden brown and crisp.
Step 4: Rest and Prepare the Pan Sauce
Transfer the roasted hens to a cutting board and tent loosely with foil. Allow them to rest for 10 minutes while you prepare the pan sauce. This resting period is crucial as it allows the juices to redistribute throughout the meat, ensuring maximum tenderness when carved.
Place the roasting pan over medium heat on the stovetop. Add the low-sodium chicken broth and deglaze the pan, scraping up all the browned bits from the bottom with a wooden spoon. Simmer for 3-4 minutes until the liquid reduces by about half and develops a slightly syrupy consistency. Strain the sauce through a fine-mesh sieve to remove the vegetable pieces, then serve alongside the carved hens.
Common Mistakes When Making Perfect Results
Skipping the Drying Step
I can’t stress this enough—patting the hens completely dry is non-negotiable for crispy skin. When I first started roasting poultry, I’d skip this step to save time, but the results were always disappointing. Wet skin steams instead of crisps, leaving you with rubbery instead of golden-brown perfection. Use paper towels and be thorough, even inside the cavity. 💪
Overcrowding the Pan
Cornish hens need space for proper air circulation and even browning. I learned this the hard way when I tried roasting four hens in one pan—they steamed each other instead of developing that beautiful crust. Stick to 2 hens per pan with at least 2 inches between them. This ensures the 425°F heat can work its magic uniformly.
Neglecting the Flip
Many recipes suggest roasting breast-side up the entire time, but that’s a mistake for Cornish hens. The breast meat cooks faster than the legs, so I always flip them breast-side down after 25 minutes. This protects the delicate breast while allowing the thighs to cook through. The final flip back ensures perfect browning on all sides.
Underestimating Rest Time
Cutting into the hens right out of the oven sends all those precious juices running onto your cutting board instead of staying in the meat. I’ve ruined many a beautiful roast by rushing this step. The 10-minute rest under foil is crucial—it lets the muscle fibers relax and reabsorb the juices, guaranteeing tender, flavorful meat.
Using Cold Butter
That compound butter under the skin needs to melt and baste the meat from within. I once made the mistake of using butter straight from the fridge, and it just sat there in clumps. Always bring your 4 tbsp unsalted butter to room temperature before mixing with herbs. This ensures it spreads easily and integrates perfectly with the seasonings. 🧈
Ignoring Internal Temp
Don’t rely on time alone—165°F at the thickest part of the thigh is your golden number. I’ve seen people pull hens out at 150°F thinking they’ll carry over, only to end up with undercooked meat near the bone. Invest in a good instant-read thermometer (I use ThermoWorks Thermapen) and check multiple spots to be sure.
Nutrition Facts

Trained in classic French technique but raised on slow-cooked ribs and spicy rubs, she blends culinary skill with smoke and soul.
- Recipe for Boneless Pork Chops in Cast Iron Skillet: Sear and Baste to Juicy Perfection - October 3, 2026
- Recipe for Boneless Cross Rib Roast: Slow-Roasted Beef with Herb Crust - October 3, 2026
- Hamburgers in Sauce Recipe Crock Pot: Slow-Cooked Savory Delight - October 3, 2026