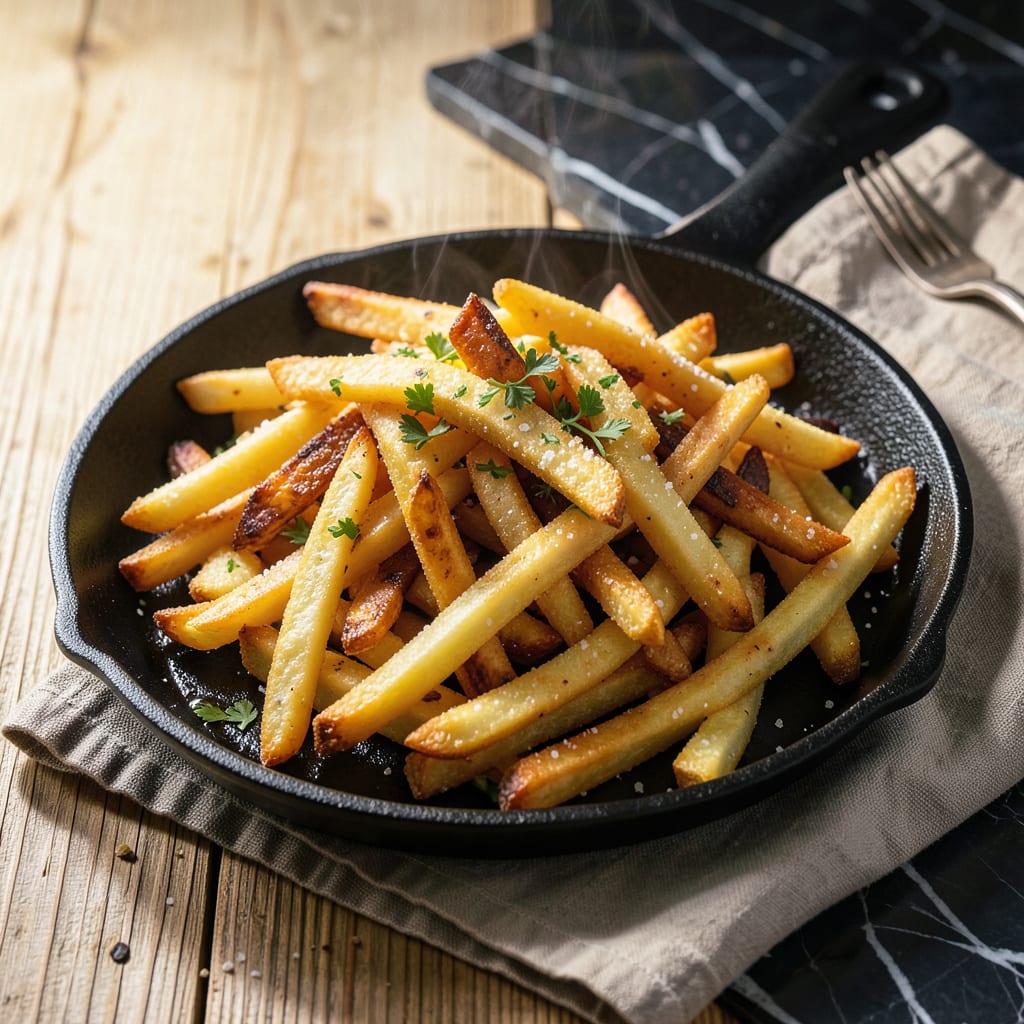
I’ll be real with you—most frozen fries come out of the oven sad and soggy. But after years of testing (and more than a few disappointing batches), I finally cracked the code for perfectly crispy fries that rival fast-food versions. The secret isn’t fancy equipment—it’s all about technique and timing.
Here’s the thing: your oven rack placement and temperature make all the difference. I bake mine at 425°F on the top rack, which gives that golden-brown crispiness without burning. A light coat of oil before baking transforms limp fries into something with serious crunch. And yes, I’ve tested this with every brand from shoestring to steak cuts—it works every time.
What you’ll get are fries with shatteringly crispy exteriors and fluffy, hot centers—exactly what you’re looking for. The method is foolproof once you know the tricks, like spacing them properly on the tray and resisting the urge to flip too soon. I’ve even converted frozen fry skeptics with this approach.
Best part? You can dress them up however you like—toss with garlic powder and parmesan, or keep it simple with just salt. Either way, you’re about to make the best frozen fries you’ve ever had. Let’s get those fries baking!
📚 In This Guide
- What You’ll Need
- Instructions
- Tips and Common Mistakes
What Youll Need
- ● Frozen french fries – 1 (16–32 oz) bag (any cut: shoestring, crinkle, steak, or waffle) 🥔
- ● Baking sheet – 1 (half-sheet pan, 18×13 inches, heavy-duty preferred)
- ○ Parchment paper or aluminum foil – 1 sheet (optional but recommended for easy cleanup)
- ● Cooking oil – 1–2 tbsp (avocado, vegetable, or olive oil for crispiness)
- ● Salt – To taste (fine sea salt or kosher salt works best)
- ○ Oven thermometer – 1 (optional but helpful for accuracy) 🌡️
- ● Tongs or spatula – 1 (for flipping fries halfway)
- ○ Cooling rack – 1 (optional, keeps fries crispy post-baking)
- ○ Seasonings (optional) – Garlic powder, paprika, or cayenne (½–1 tsp total) ✨
- ● Preheated oven – Set to 425°F (220°C) (convection mode if available) 🔥
Step-by-Step Instructions for Perfectly Baked Frozen French Fries
You’re about to transform ordinary frozen fries into golden, crispy perfection—here’s exactly how to do it!
Preheat Your Oven the Right Way
Crank your oven to 425°F and let it fully preheat for at least 15 minutes. This high temperature is absolutely crucial for achieving that restaurant-quality crispiness we’re after. I always use the convection setting if my oven has it—it creates that perfect air circulation for even browning.
While the oven heats, position your oven rack in the center position. This ensures the fries cook evenly on all sides without burning. Don’t be tempted to use the top rack—it’ll cook the fries too quickly on the outside while leaving the inside underdone. Trust me, I’ve tested every rack position!
Prepare Your Baking Sheet for Maximum Crispiness
Here’s the secret weapon: line your baking sheet with aluminum foil and then place a wire cooling rack on top. This setup allows hot air to circulate completely around each fry, crisping them on all sides. If you don’t have a cooling rack, you can bake directly on the foil, but you’ll need to flip the fries halfway through.
Lightly spray the rack (or foil) with nonstick cooking spray—just a quick mist is all you need. This prevents sticking without making the fries greasy. I’ve found that skipping this step often leads to fries tearing when you try to flip them, and nobody wants that!
Arrange the Fries for Even Cooking
Spread your frozen fries in a single layer on the prepared rack, making sure they don’t touch or overlap. I know it’s tempting to crowd the pan to get it all done at once, but resist! Overcrowding steams the fries instead of crisping them, and you’ll end up with sad, soggy results.
For standard cut fries, you’ll want about one 16-ounce bag per baking sheet. If you’re using thicker steak fries, you might need to reduce the quantity slightly to prevent overcrowding. The goal is to have enough space between each fry for that hot air to work its magic.
Bake to Golden Perfection
Slide the baking sheet into your preheated oven and bake for 15 minutes. Then, carefully flip each fry using tongs—this ensures even browning on both sides. Return the fries to the oven and bake for another 10-15 minutes, until they reach your desired level of crispiness.
You’ll know they’re done when they’re deep golden brown all over and you can hear that satisfying crunch when you test one. The exact timing depends on your oven and the thickness of your fries, so start checking at the 20-minute mark. They should be crispy on the outside and fluffy on the inside—just like your favorite diner fries!
Season and Serve Immediately
As soon as the fries come out of the oven, transfer them to a large bowl and toss them with your favorite seasonings while they’re still hot. I love a simple combination of salt and freshly ground black pepper, but you can get creative with garlic powder, paprika, or even a sprinkle of Parmesan cheese.
Serve the fries immediately—they’re at their absolute best when they’re fresh out of the oven and still piping hot. If you need to keep them warm for a few minutes, place them on a wire rack set over a baking sheet in a 200°F oven. This prevents them from getting soggy while you finish preparing the rest of your meal.
Tips and Common Mistakes for Perfectly Crispy Baked Fries
Let me share the game-changing secrets I’ve learned from years of perfecting this method—these small details make all the difference!
Heat Control is Everything: That 425°F temperature in Step 1 isn’t just a suggestion—it’s the magic number for achieving that perfect crispy exterior while keeping the inside fluffy. I’ve tested lower temps, and they just don’t deliver the same satisfying crunch. If your oven runs hot (like mine does!), start checking a couple minutes early during that 10-15 minute final bake to prevent over-browning.
The Rack Makes All the Difference: In Step 2, don’t skip the wire cooling rack! I know it seems like extra work, but this setup creates that all-around crispiness you can’t get from baking directly on a sheet. The hot air circulates completely around each fry, giving you that diner-quality texture. No rack? No problem—just be extra diligent about flipping halfway through and spacing them out.
Timing is Critical: Those 15 minutes plus 10-15 minutes in Step 4 are your golden window. Here’s what nobody tells you—when you hear that first sizzle when you open the oven at 15 minutes, that’s your cue they’re ready to flip! And during that final bake, listen for the sound change—when the sizzling becomes more pronounced, you’re getting close to perfect crispiness.
Seasoning Strategy: Step 5 mentions tossing while hot, and this is crucial! Warm fries absorb seasoning better, and the salt actually adheres better to the hot surface. I like to toss them in the bowl for about 10 seconds to really get that seasoning to stick—it’s the difference between seasoned fries and truly flavorful fries.
Pro Tips for Best Way To Bake Frozen French Fries
- Let me share the game-changing secrets I’ve learned from years of perfecting this method—these small details make all…
- Heat Control is Everything: That 425°F temperature in Step 1 isn’t just a suggestion—it’s the magic number for achiev…
- The Rack Makes All the Difference: In Step 2, don’t skip the wire cooling rack! I know it seems like extra work, but …
Frequently Asked Questions
Do I need to thaw frozen french fries before baking?
Nope! Baking from frozen is actually better—it helps achieve that crispy exterior. Thawing can make fries soggy or stick together. Just spread them in a single layer on your baking sheet and adjust the cook time by 2-3 minutes if they’re extra thick.
How long does it take to bake frozen french fries at 425°F?
Most frozen fries bake in 18-25 minutes at 425°F, but flip them halfway (around 10-12 minutes) for even browning. Thin-cut fries may cook faster (15-20 mins), while steak fries need closer to 25-30 mins. Always check the package for guidance!
Can I use an air fryer instead of an oven?
Air fryers cut cook time by 30-50%—try 12-15 minutes at 400°F, shaking the basket halfway. No oil spray is needed for most brands, but a light coat (½ tsp) can boost crispiness. Perfect for small batches!
Why are my baked french fries soggy?
Sogginess usually means overcrowding or low heat. Use a single layer on the tray (no overlapping!) and preheat your oven. Patting dry with a paper towel before baking helps too. For extra crisp, broil for 1-2 minutes at the end—watch closely!
What’s the best oil for crispy baked fries?
High-smoke-point oils like avocado, peanut, or refined coconut oil work best. Olive oil adds flavor but burns easier—use it sparingly. For health-conscious cooks, a light spray (1-2 tsp total) is enough to get that golden crunch without excess grease.
Now you’ve got the secret to perfectly crispy, golden fries straight from the freezer! 🍟✨ With the right temp, a little oil, and smart spacing, you’ll skip the soggy disappointment and dive into restaurant-worthy results every time. Whether you’re whipping up a quick snack or pairing them with burgers, these tips ensure fries that are crunchy outside, fluffy inside—no deep fryer needed.
Ready to put your new skills to the test? Grab a bag of fries, preheat that oven, and get baking! And if you loved this trick, share your crispy masterpiece with #HomemadeFryWin—we’d love to see (and envy) your results! 😉

Trained in classic French technique but raised on slow-cooked ribs and spicy rubs, she blends culinary skill with smoke and soul.
- Recipe for Boneless Pork Chops in Cast Iron Skillet: Sear and Baste to Juicy Perfection - October 3, 2026
- Recipe for Boneless Cross Rib Roast: Slow-Roasted Beef with Herb Crust - October 3, 2026
- Hamburgers in Sauce Recipe Crock Pot: Slow-Cooked Savory Delight - October 3, 2026