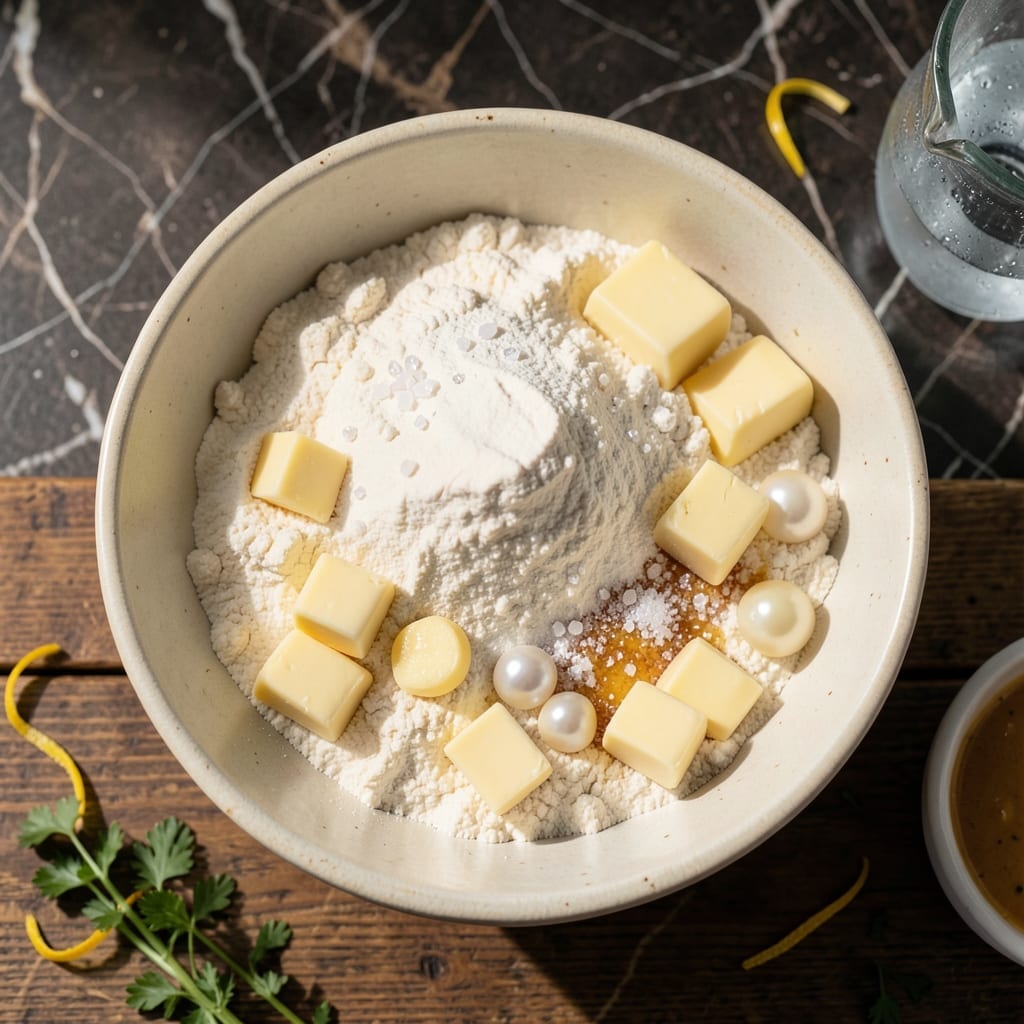
This pie crust delivers the flaky layers and buttery depth that define a perfect base for any dessert. The technique is precise but accessible.
Cold ingredients and minimal handling create the ideal texture. The result is a crust that holds its shape while providing the perfect crunch with every bite.
Ingredients for Better Homes and Gardens Pie Crust
Six ingredients stand between you and a perfect flaky crust with buttery depth.
| Ingredient | Amount | Notes |
|---|---|---|
| All-Purpose Flour 🌾 | 2 ½ cups | Spoon and level method |
| Unsalted Butter 🧈 | 1 cup | Cold, cubed into 1/2-inch pieces |
| Ice Water 💧 | ⅓ cup | Plus 1 tbsp as needed |
| Salt 🧂 | 1 tsp | Fine table salt |
| Granulated Sugar 🍚 | 1 tbsp | Optional for sweet crusts |
| Shortening 🧈 | ¼ cup | Cold, for extra flakiness |
[recipe_ingredient_scaler]
The butter is non-negotiable here. Use high-quality unsalted—I prefer Land O’Lakes or Plugrá for their fat content and flavor. Keep it ice-cold until the moment you use it. The flour should be all-purpose, not bread flour (too much protein) or cake flour (too little). Measure with the spoon-and-level method for accuracy (dip-and-sweep packs it down).
No shortening? All-butter works, but the texture won’t be quite as flaky. For a vegan version, swap in cold coconut oil (solid, not melted) at a 1:1 ratio. The sugar can be omitted for savory pies. If your kitchen is warm, chill the flour for 30 minutes before starting—cold ingredients are key to that perfect crunch.
The dough keeps in the fridge for 2-3 days or freezes beautifully for up to 3 months. Wrap it tightly in plastic to prevent drying out. Baked crusts hold at room temp for 1 day (cover loosely with foil).
Why You’ll Love This Recipe
- No Fuss Mixing: I just pulse the cold butter and flour in my food processor, add ice water, and it comes together in minutes.
- Buttery Perfection: That flaky, golden crust with just a hint of sugar? Honestly, it’s the reason I keep making it.
- Endless Possibilities: Sweet or savory, this crust works for pot pies, apple pies, even quiches.
- Pantry Staples: All-purpose flour, butter, and a few basics—no special ingredients to buy.
Step-by-Step Instructions for Flaky Pie Crust
Master the technique for layers that shatter at the touch with this time-tested approach.
Step 1: Combine Dry Ingredients for Even Distribution
In a large bowl, whisk together the 2.5 cups All-Purpose Flour, 1 tsp Salt, and 1 tbsp Granulated Sugar until fully incorporated. This ensures the salt and sugar are evenly dispersed throughout the flour before the fat is added.
I always use the spoon and level method for measuring flour to avoid compacting it, which would make the crust tough. The sugar is optional but adds a subtle sweetness that complements fruit fillings perfectly.
Step 2: Cut in Cold Fats for Maximum Flakiness
Add the 1 cup Unsalted Butter (cubed into ½-inch pieces) and 0.25 cup Shortening to the flour mixture. Use a pastry cutter or two forks to cut the fats into the flour until the mixture resembles coarse crumbs with some pea-sized pieces remaining.
The key here is keeping the fats cold—this creates the flaky layers we’re after. The butter provides flavor while the shortening adds extra flakiness. Work quickly to prevent the fats from melting into the flour.
Step 3: Add Ice Water Gradually for the Perfect Dough
Create a well in the center of the flour mixture and add 0.33 cup Ice Water all at once. Use a fork to gently toss the mixture, adding up to 1 tbsp more water if needed, until the dough just begins to come together.
Be careful not to overwork the dough—it should look shaggy with some dry bits remaining. Overmixing develops gluten, which makes the crust tough rather than tender. The ice water helps keep the fats solid while you work.
Step 4: Chill and Rest the Dough for Easy Rolling
Turn the dough out onto a lightly floured surface and gently shape it into a disk about 1 inch thick. Wrap it tightly in plastic wrap and refrigerate for at least 1 hour or up to 2 days.
This resting period allows the gluten to relax and the fats to re-solidify, making the dough much easier to roll out. It also prevents shrinkage during baking. I’ve found that chilling the dough overnight produces the flakiest results.
Step 5: Roll and Shape for the Pie Pan
On a lightly floured surface, roll the chilled dough into a 12-inch circle about ⅛-inch thick. To prevent sticking, lift and turn the dough occasionally as you roll, adding more flour only as needed.
Transfer the dough to a 9-inch pie pan by loosely folding it in half and then in half again before placing it in the pan. Unfold and gently press it into the bottom and up the sides without stretching. Trim the edges to leave a ½-inch overhang, then crimp as desired. Chill for 30 minutes before filling and baking for best results.
Pro Tips For Making Better Homes And Gardens Pie Crust
- Chill the Butter: Cube and refrigerate the unsalted butter for at least 30 minutes before cutting it into the flour—cold butter is non-negotiable for that flaky, layered crust.
- Use Ice Water: Fill a cup with water and ice cubes, then measure from that for the ice water—this keeps the dough cold and prevents the butter from melting prematurely.
- Don’t Overwork Dough: I learned this the hard way—mix just until the dough comes together, or you’ll end up with a tough crust instead of a tender one.
- Rest Before Rolling: After shaping the dough into a disk, let it rest in the fridge for 15-20 minutes; it’ll roll out smoother and hold its shape better in the pan.
Creative Variations of These Flavors
Sweet Nutmeg Version
Add ½ tsp ground nutmeg to the dry ingredients for a warm, aromatic twist. This pairs beautifully with apple or pumpkin fillings. I discovered this variation while foraging for wild herbs—nutmeg adds that extra layer of complexity. 🌰
Savory Herb Crust
Mix in 1 tbsp chopped fresh rosemary or thyme with the flour for a savory option. Perfect for quiches or pot pies. I source my herbs from local farmers markets—the freshness makes all the difference.
Cheese Lovers’ Delight
Incorporate ½ cup grated Parmesan or sharp cheddar into the dry mix before adding fats. The cheese creates a golden, crispy edge that’s irresistible. Use high-quality cheese for the best flavor.
Whole Wheat Blend
Replace 1 cup All-Purpose Flour with whole wheat flour for a nuttier, heartier texture. The dough may need an extra 1-2 tbsp ice water to come together. This adds a rustic touch to your pies.
I often ride my vintage motorcycle to the local butcher shop for fresh ingredients to pair with this crust.
Brown Butter Variation
Brown ½ cup of the butter before cubing and chilling for the dough. This adds a deep, caramelized richness that’s next-level. Let the butter cool completely before using—warm butter ruins the flakiness.
Nutrition Facts
Frequently Asked Questions
Why do I need to keep the butter cold?
Cold butter creates flaky layers by forming small pockets in the dough. When baked, these pockets release steam, creating the signature flakiness. If butter melts too soon, the crust becomes dense rather than light and crisp.
Can I make the dough ahead of time?
Yes! The dough stays fresh in the fridge for 2-3 days or can be frozen for up to 3 months. Just wrap it tightly in plastic to prevent drying. Thaw frozen dough overnight in the fridge before rolling.
What if my crust shrinks while baking?
Shrinkage usually happens if the dough wasn’t chilled long enough or was stretched when placed in the pan. Always rest the dough for at least 1 hour and avoid pulling it to fit. Chill the shaped crust for 30 minutes before baking.

Trained in classic French technique but raised on slow-cooked ribs and spicy rubs, she blends culinary skill with smoke and soul.
- Recipe for Boneless Pork Chops in Cast Iron Skillet: Sear and Baste to Juicy Perfection - October 3, 2026
- Recipe for Boneless Cross Rib Roast: Slow-Roasted Beef with Herb Crust - October 3, 2026
- Hamburgers in Sauce Recipe Crock Pot: Slow-Cooked Savory Delight - October 3, 2026