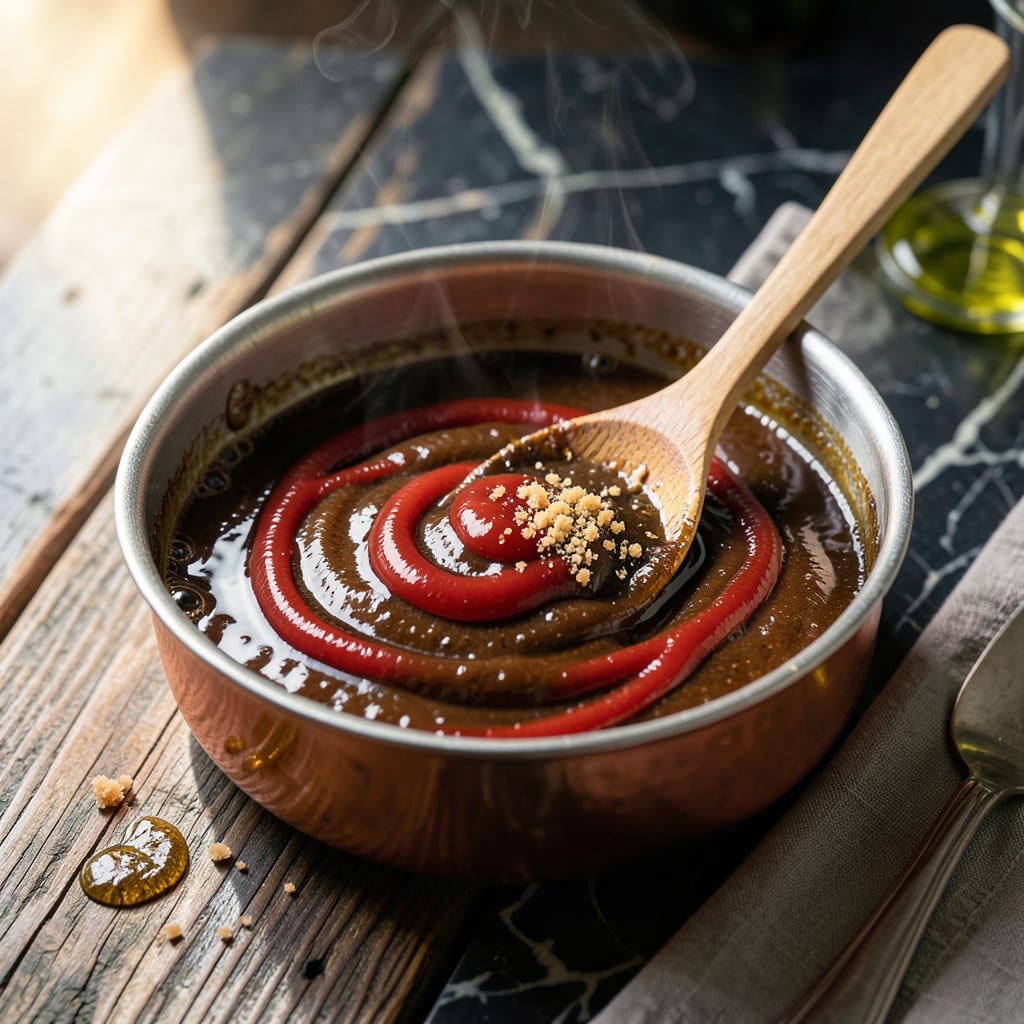
This award-winning sauce balances sweetness, tang, and subtle heat in a way that elevates any grilled dish. The secret lies in the precise ratio of vinegar, molasses, and spices.
I’ve perfected this blend over years of competition cooking, ensuring it delivers consistent, restaurant-quality flavor every time. Use it as a glaze, dip, or marinade.
Ingredients for Blue Ribbon Bbq Sauce
Eleven ingredients for that competition-winning flavor. No shortcuts, just the good stuff.
| Ingredient | Amount | Notes |
|---|---|---|
| Ketchup 🍅 | 2 cups | High-quality for depth of flavor |
| Apple Cider Vinegar 🍏 | ½ cup | Balances the sweetness perfectly |
| Molasses 💧 | ½ cup | Use unsulphured for cleaner taste |
| Brown Sugar 🍚 | ½ cup | Light or dark both work |
| Worcestershire Sauce 🫒 | 2 tbsp | Adds umami depth |
| Dijon Mustard 🟡 | 2 tbsp | Sharp flavor cuts through sweetness |
| Smoked Paprika 🌶️ | 1 tbsp | Essential for that BBQ smoke |
| Garlic Powder 🧄 | 1 tsp | Fresh minced works too |
| Onion Powder 🧅 | 1 tsp | Builds savory base |
| Salt 🧂 | 1 tsp | Adjust to taste at the end |
| Black Pepper 🌶️ | ½ tsp | Freshly ground preferred |
| Cayenne Pepper 🔥 | ¼ tsp | Adjust for heat preference |
[recipeingredientscaler]
The molasses is non-negotiable here—it’s what gives that deep, caramelized backbone to the sauce. Brands like Grandma’s Unsulphured are my go-to, but any good grocery store version works if it’s thick and dark. Ketchup matters too; Heinz or Hunt’s have the right balance of tang and sweetness. I always grab mine from Costco for the big bottles (you’ll use it up fast).
No molasses? Dark corn syrup or honey can sub in a pinch, but the flavor changes slightly (less complex). Swap apple cider vinegar for white vinegar at the same amount, though it’ll taste sharper. For the Worcestershire, Annie’s or A1 are solid. Want it smoother? Blend the sauce at the end. The cayenne can be eyeballed—start with 1/8 tsp and add more if you like heat.
This keeps for 2 weeks in the fridge in a sealed jar. For longer storage, portion into ice cube trays and freeze for up to 6 months. Thaw overnight in the fridge before using. The flavors actually deepen over time, so don’t worry if it tastes a little sharp fresh.
Why You’ll Love This Recipe
- One Pot Wonder: I just dump everything in a saucepan and let it simmer—no fancy steps, no fuss.
- Sticky Sweet Heat: The molasses and brown sugar create this deep, caramelized richness with a tangy vinegar kick.
- Grill Season Hero: I slather it on ribs, brush it on chicken, even stir it into baked beans for potlucks.
- Pantry Staples Only: Honestly, I always have ketchup, vinegar, and brown sugar on hand, so I can make this anytime.
Step-by-Step Instructions for Blue Ribbon BBQ Sauce
This method ensures perfect balance between tangy, sweet, and smoky flavors every time.
Step 1: Combine the Liquid Base
In a medium saucepan, whisk together the 2 cups ketchup, 0.5 cup apple cider vinegar, 0.5 cup molasses, and 0.5 cup brown sugar. Use a heavy-bottomed pan to prevent scorching—this sauce has a lot of sugar that can burn easily.
Set the pan over medium heat and bring to a gentle simmer. Stir frequently with a silicone spatula, making sure to scrape the bottom of the pan. You’ll notice the mixture start to darken slightly as the sugars begin to caramelize.
Step 2: Add the Flavor Boosters
Once the liquid mixture is simmering, stir in the 2 tbsp Worcestershire sauce and 2 tbsp Dijon mustard. These ingredients add depth and complexity—Worcestershire brings umami while Dijon provides a sharp, tangy contrast to the sweetness.
Add the 1 tbsp smoked paprika, which is the secret to that authentic BBQ smoke flavor. The sauce will take on a rich, reddish-brown color at this point. Keep the heat at medium to maintain a steady simmer without boiling over.
Step 3: Incorporate the Spices and Seasonings
Reduce heat to medium-low and add the 1 tsp garlic powder, 1 tsp onion powder, 1 tsp salt, 0.5 tsp black pepper, and 0.25 tsp cayenne pepper. Stir well to distribute the spices evenly throughout the sauce.
The cayenne adds a subtle kick that builds gradually. If you prefer more heat, you can add an extra pinch, but I recommend starting with the 0.25 tsp and adjusting at the end. The aroma at this stage should be intoxicating—sweet, smoky, and slightly spicy.
Step 4: Simmer to Perfection
Let the sauce simmer uncovered for 15-20 minutes, stirring every 2-3 minutes to prevent sticking. You’ll know it’s ready when it thickens enough to coat the back of a spoon and holds a line when you draw your finger through it.
The sauce should reduce by about a third, intensifying all the flavors. If it thickens too much before the time is up, add a splash of water. If it’s too thin, let it simmer a few minutes longer. Taste and adjust the salt or cayenne pepper if needed.
Remove from heat and let it cool slightly. The sauce will continue to thicken as it cools. Transfer to a jar once it reaches room temperature—it’ll keep in the fridge for up to 2 weeks.
Pro Tips For Making Blue Ribbon Bbq Sauce
- Simmer Low and Slow: Keep the heat at a gentle simmer for at least 20-30 minutes—rushing it with high heat burns the brown sugar and makes the sauce bitter.
- Bloom the Molasses: I learned this the hard way—mix the molasses with a splash of the vinegar before adding it to the pot to prevent it from sinking and sticking.
- Skip the Substitutes: Apple cider vinegar is non-negotiable here; white vinegar or lemon juice just won’t give you that rich, balanced tang this sauce needs.
- Rest Before Serving: Sounds weird, but it works: Let the sauce cool completely before using—it thickens up and the flavors meld together after sitting for an hour.
Pro Cooking Tips for Perfect Results
Perfect Pan Choice
I always reach for my All-Clad stainless steel saucepan—its heavy bottom prevents hot spots that can scorch the sugars in this sauce. A 3-quart pan gives you enough room for stirring without splashing. Avoid nonstick; the fond that develops adds depth to the final product. 🔥
Stirring Technique
Use a silicone spatula to scrape the bottom constantly during the first 10 minutes. The molasses and brown sugar want to stick, and that constant motion prevents burning. I find a figure-eight pattern covers the pan most efficiently.
Simmer Control
Maintain a gentle simmer—you should see small bubbles breaking the surface, not a rolling boil. If it starts boiling vigorously, reduce heat to medium-low immediately. Boiling can cause the sauce to separate or develop a bitter edge from caramelized sugars.
Thickness Test
Check doneness by dragging your spatula through the sauce. It should leave a clean path that slowly fills in. If it’s too thin, simmer 2-3 minutes longer. Too thick? Stir in 1-2 tbsp water and reheat gently.
Resting Time
Let the sauce cool for 15 minutes before transferring to jars. This allows the flavors to meld and the consistency to set properly. I usually pour it into mason jars while still warm but not piping hot.
The flavors deepen as it cools, so resist tasting until it’s at room temperature. That first cool spoonful is always the best indicator of the final result. ✨
Nutrition Facts

Trained in classic French technique but raised on slow-cooked ribs and spicy rubs, she blends culinary skill with smoke and soul.
- Recipe for Boneless Pork Chops in Cast Iron Skillet: Sear and Baste to Juicy Perfection - October 3, 2026
- Recipe for Boneless Cross Rib Roast: Slow-Roasted Beef with Herb Crust - October 3, 2026
- Hamburgers in Sauce Recipe Crock Pot: Slow-Cooked Savory Delight - October 3, 2026