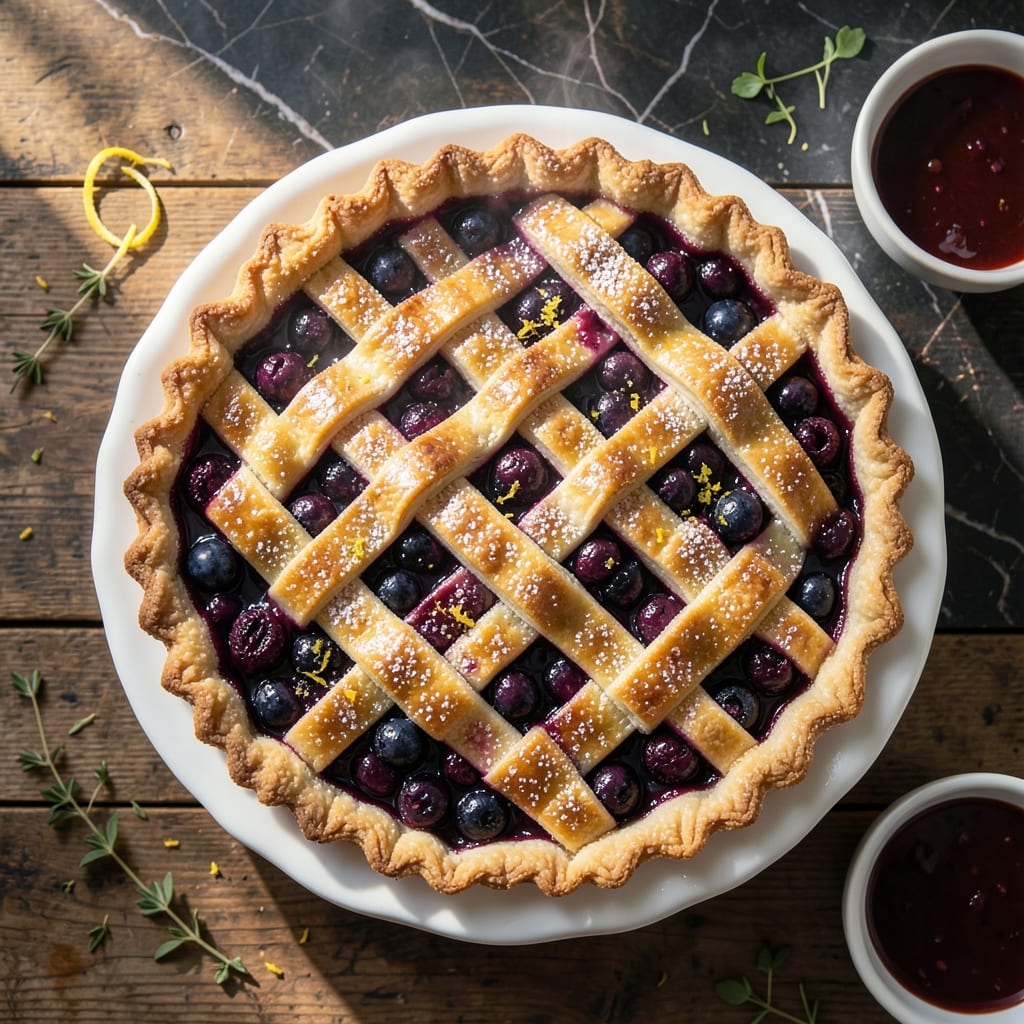
I’ve spent years perfecting a blueberry pie filling that stays thick yet bursting with juicy flavor. The secret lies in the right balance of fruit, sugar, and thickener—no watery mess here.
This method ensures a filling that holds its shape when sliced but still delivers that signature blueberry richness in every bite. A pre-cook step removes excess moisture before baking.
You’ll get a pie with a golden crust and a filling so luscious it feels like summer in every forkful. The texture is spot-on—never runny, always rewarding.
Bake with confidence knowing this recipe delivers consistent results, slice after slice.
Ingredients for Blueberry Pie Recipe That Is Not Runny
Fresh blueberries and a few pantry staples create a thick, juicy filling that never disappoints.
| Ingredient | Amount | Notes |
|---|---|---|
| Fresh Blueberries 🫐 | 6 cups | Fully ripe, washed and drained |
| Granulated Sugar 🍚 | 1 cup | Adjust to taste for tartness |
| Light Brown Sugar 🟤 | ¼ cup | Packed, for depth of flavor |
| Cornstarch 🌾 | ⅓ cup | Thickening agent for stability |
| Lemon Juice 🍋 | 2 tbsp | Freshly squeezed for brightness |
| Lemon Zest 🍋 | 1 tbsp | Finely grated for aroma |
| Ground Cinnamon 🌿 | ½ tsp | Optional for warmth |
| Salt 🧂 | ¼ tsp | Enhances fruit flavor |
| Unsalted Butter 🧈 | 2 tbsp | Cut into small pieces |
| All-Purpose Flour 🌾 | 2 ½ cups | For double pie crust |
| Ice Water 💧 | ½ cup | For crust, plus extra as needed |
| Large Egg 🥚 | 1 whole | For egg wash on crust |
| Vanilla Extract 🍯 | 1 tsp | Pure for best flavor |
[recipe_ingredient_scaler]
The blueberries are everything here. Local, in-season berries give the best flavor and natural pectin for thickness. Costco or Trader Joe’s frozen wild blueberries work well too (thaw and drain first). Use organic sugar if possible—the subtle molasses notes in brown sugar add depth. The cornstarch is non-negotiable; don’t swap for flour or the filling will cloud.
No fresh blueberries? Frozen works at a 1:1 ratio—just thaw and drain thoroughly. Out of cornstarch? Instant tapioca at the same amount is your backup. The lemon zest brightens everything, but skip it if you must (the juice is essential though). For the crust, King Arthur Flour or Gold Medal all-purpose are professional standards.
The filling can be prepped 1 day ahead—store covered in the fridge. Baked pie keeps at room temperature for 2 days or refrigerated for 5 days. Freeze slices for up to 3 months wrapped tightly in foil and plastic.
Why You’ll Love This Recipe
- One Bowl Mix: I toss everything together in a single bowl—no extra prep, just fresh blueberries, sugars, and cornstarch doing the heavy lifting.
- Burst of Summer: The lemon juice brightens the blueberries so every bite tastes like peak season, not too sweet, just right.
- Potluck Star: I’ve brought this to picnics, brunch, and even a Tuesday dinner—it’s always the first thing gone.
- No Soggy Slices: Honestly, the cornstarch works magic—thick, jammy filling every time, no runny mess on the plate.
Step-by-Step Instructions for Blueberry Pie
Here’s the method I use to create a perfectly thick yet juicy filling with a flaky crust.
Step 1: Prepare the Pie Crust
In a large bowl, combine the 2.5 cups all-purpose flour and 0.25 tsp salt. Cut in the 2 tbsp unsalted butter using a pastry cutter or your fingers until the mixture resembles coarse crumbs. The butter should be in pea-sized pieces—this creates the flaky layers.
Gradually add the 0.5 cup ice water, one tablespoon at a time, mixing just until the dough comes together. You want it to hold when pressed but not be sticky. Divide the dough in half, shape into disks, wrap in plastic, and refrigerate for 1 hour. Chilling prevents shrinking and ensures a tender crust.
Step 2: Create the Thickened Filling
In a large mixing bowl, gently toss the 6 cups fresh blueberries with the 1 cup granulated sugar, 0.25 cup light brown sugar, 0.33 cup cornstarch, 2 tbsp lemon juice, 1 tbsp lemon zest, 0.5 tsp ground cinnamon, and 0.25 tsp salt. Stir until the berries are evenly coated.
Let the mixture sit for 15 minutes to allow the cornstarch to absorb some of the juices. This is the key to a filling that’s thick yet juicy, not runny. The berries will release their natural juices, creating a slightly syrupy consistency before baking.
Step 3: Assemble the Pie
Roll out one disk of dough on a lightly floured surface to fit a 9-inch pie dish. Transfer the dough to the dish, pressing it gently into the bottom and sides. Trim the edges, leaving a ½-inch overhang.
Pour the blueberry filling into the crust, distributing it evenly. Dot the top with small pieces of the 2 tbsp unsalted butter. Roll out the second disk of dough and place it over the filling. Crimp the edges to seal, then cut a few slits in the top crust to allow steam to escape.
Brush the top crust with a beaten large egg mixed with 1 tsp vanilla extract for a golden finish. Place the pie on a baking sheet lined with parchment paper to catch any drips.
Step 4: Bake to Perfection
Preheat your oven to 425°F. Bake the pie on the lower oven rack for 20 minutes, then reduce the heat to 375°F and move it to the center rack. Continue baking for 40-45 minutes until the crust is golden brown and the filling is bubbling through the slits.
The filling should be thick and glossy, with juices that gently ooze rather than run. If the edges of the crust begin to brown too quickly, cover them with a pie shield or aluminum foil. Let the pie cool completely for 2-3 hours before slicing—this allows the filling to set fully.
Pro Tips For Making Blueberry Pie Recipe That Is Not Runny
- Precook the Berries: Toss the blueberries with sugar and cornstarch, then let them sit for 15 minutes before baking—I learned this the hard way after too many soupy pies.
- Use More Cornstarch: Bump the cornstarch to 1/4 cup for 4-5 cups of berries; it’s the thing that matters most for a thick, sliceable filling.
- Vent the Top Well: Cut generous steam vents in the crust or use a lattice top—after burning three batches, I finally figured out trapped steam makes the filling run.
- Cool Completely: Resist the urge to slice it hot; give it at least 3 hours to set, or you’ll be serving blueberry soup (yes, even if you’re impatient like me).
Essential Equipment for This Dish
Pie Dish Essentials
Use a 9-inch glass pie dish like Pyrex—it conducts heat evenly and lets you monitor the crust’s browning. I inherited my grandmother’s dish and still use it today for that perfect golden bottom. The transparency helps you see when the filling starts to bubble. 💛
Rolling Tools
A French rolling pin without handles gives you better control for even thickness. I pair mine with a pastry mat marked with measurements to ensure my crust is consistently ⅛-inch thick. The mat also prevents sticking without excess flour.
Crust Cutting
For precise cuts, I rely on my OXO pastry wheel—it glides through dough cleaner than a knife. A 9-inch pie shield (like the RSVP Endurance silicone one) prevents over-browning on the edges during the long bake time.
Mixing Bowls
Stainless steel bowls in 3-quart and 5-quart sizes are perfect for the filling and dough. I prefer Winco brand—they’re lightweight but sturdy. The larger bowl gives plenty of room to toss the blueberries without spilling.
Measuring Accuracy
Use stainless steel measuring cups for dry ingredients and a liquid measuring cup for the water. I swear by Cuisinox for their durability. Precise measurements, especially the ⅓ cup cornstarch, are critical for that perfect thick filling.
Cooling Rack
A wire cooling rack elevates the pie to prevent the bottom crust from steaming. I use a Chicago Metallic rack—it’s sturdy enough to hold the weight. This step ensures the crust stays crisp while the filling sets completely. ⚡
Nutrition Facts
Frequently Asked Questions
Why does my filling sometimes turn out watery?
Undercooking the thickener is the most common reason. The cornstarch needs time to fully absorb the juices. Skipping the 15-minute rest before baking or slicing too soon can also cause a runny filling.
Can I use frozen blueberries instead?
Yes, but thaw and drain them completely first. Frozen berries release more liquid, so add an extra 1 tbsp cornstarch to compensate for the extra moisture.
How can I tell when the filling is thick enough?
The filling should bubble through the crust slits and look glossy, not liquid. When you see thick, slow bubbles, it’s ready. Always let it cool for 2-3 hours to set completely.
What’s the best way to prevent a soggy bottom crust?
Pre-bake the bottom crust for 10 minutes before adding the filling. Also, place a baking sheet under the pie to catch drips and maintain even heat.

Trained in classic French technique but raised on slow-cooked ribs and spicy rubs, she blends culinary skill with smoke and soul.
- Recipe for Boneless Pork Chops in Cast Iron Skillet: Sear and Baste to Juicy Perfection - October 3, 2026
- Recipe for Boneless Cross Rib Roast: Slow-Roasted Beef with Herb Crust - October 3, 2026
- Hamburgers in Sauce Recipe Crock Pot: Slow-Cooked Savory Delight - October 3, 2026