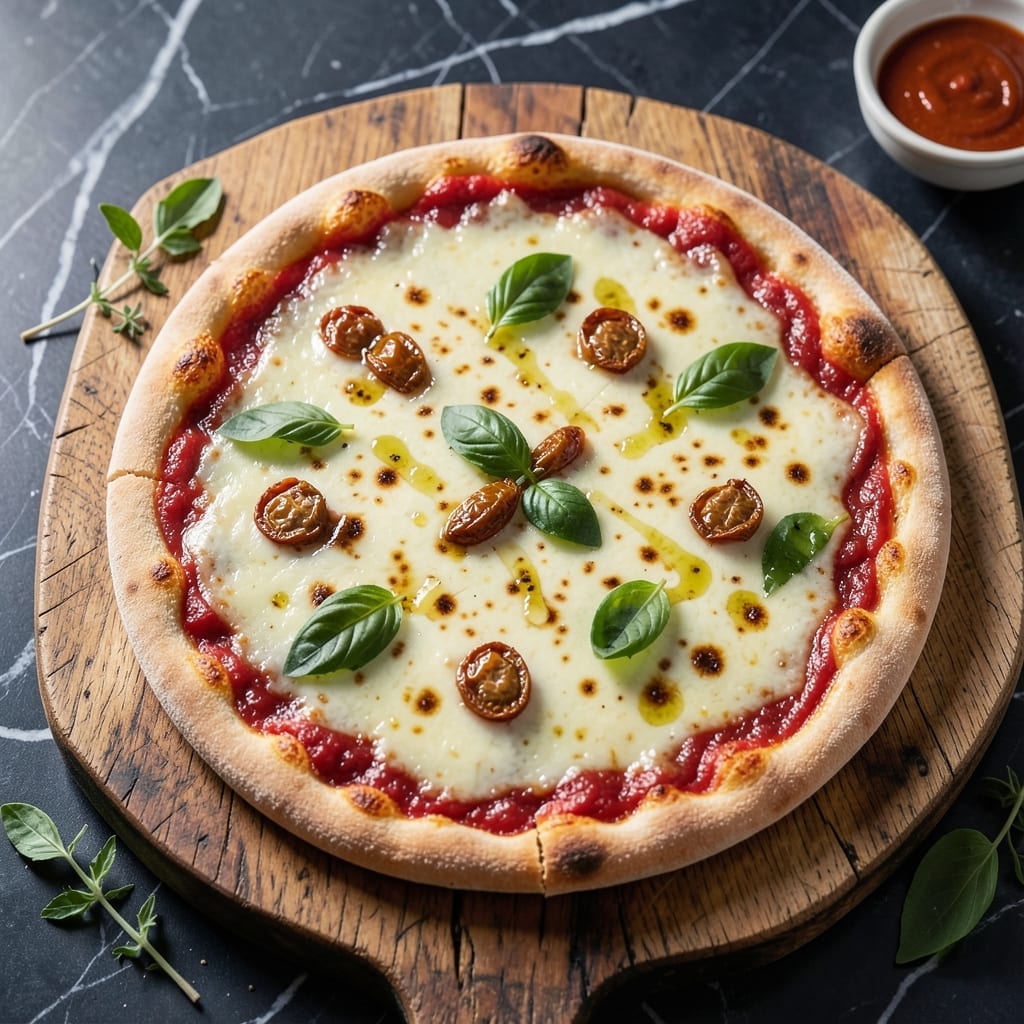
Making exceptional gluten-free pizza at home starts with a reliable dough foundation. This recipe uses Bob’s Red Mill blend to create a crust that’s both crispy and chewy, rivaling traditional pizzeria quality.
The process requires precise mixing and proper resting time to develop the right texture. I’ve refined the technique to ensure it holds toppings without becoming soggy, while baking at high heat delivers that coveted golden finish.
You’ll achieve a crust with enough structure to support generous toppings yet remains tender. The dough handles like traditional versions, making it accessible for both gluten-free beginners and experienced bakers.
Perfect for classic margherita or loaded specialty pizzas. Here’s the method that works every time.
Ingredients for Bob’s Red Mill Gluten Free Pizza Dough
Twelve pantry staples create a gluten-free pizza crust rivaling any traditional pizzeria.
| Ingredient | Amount | Notes |
|---|---|---|
| Bob's Red Mill Gluten-Free 1-to-1 Baking Flour 🌾 | 2 ½ cups | Plus extra for dusting |
| Instant Yeast 🍞 | 2 ¼ tsp | One packet, active dry works too |
| Granulated Sugar 🍚 | 1 tbsp | Feeds the yeast for rise |
| Salt 🧂 | 1 tsp | Fine sea salt preferred |
| Xanthan Gum 💧 | 1 ½ tsp | Omit if blend includes it |
| Large Eggs 🥚 | 2 whole | Room temperature for binding |
| Olive Oil 🫒 | 2 tbsp | Extra-virgin for flavor |
| Lukewarm Water 💧 | 1 ¼ cups | Approximately 110°F |
| Apple Cider Vinegar 🍎 | 1 tbsp | Enhances structure and flavor |
| Psyllium Husk Powder 🌿 | 2 tsp | Key for elasticity |
| Italian Seasoning 🍃 | 1 tsp | Dried blend for flavor |
| Garlic Powder 🧄 | ½ tsp | Optional for depth |
[recipe_ingredient_scaler]
The flour blend is non-negotiable here. Bob’s Red Mill 1-to-1 contains the perfect starch-to-gum ratio for structure. King Arthur’s measure-for-measure works too, but adjust water slightly—it absorbs differently. Psyllium husk powder (found at Whole Foods or natural food stores) is the secret to that chewy texture. Without it, the dough crumbles. Always check your blend’s label—some include xanthan gum already.
No psyllium husk? Ground flaxseed at double the amount works in a pinch, though texture varies. Eggs are essential for binding, but a flax egg (1 tbsp ground flax + 3 tbsp water per egg) can substitute if needed. The apple cider vinegar isn’t just for tang—it reacts with the baking flour for lift. Skip the xanthan gum if your blend includes it (most 1-to-1 mixes do).
The dough rests best at room temperature for 30-45 minutes—don’t rush it. Pre-portion and freeze dough balls for up to 1 month; thaw overnight in the fridge. Baked crusts keep for 2 days wrapped tightly, but they’re best fresh. Always preheat your baking surface for that crisp bottom crust.
Why You’ll Love This Recipe
- No Fuss Mixing: I just dump the Bob’s Red Mill flour, yeast, and a pinch of sugar into one bowl—no complicated steps, no specialty tools.
- That Classic Crust: The xanthan gum gives it that chewy bite I missed in gluten-free pizzas, with a golden crust that actually holds up.
- Freezer Friendly: I make a double batch on Sunday and freeze the extras—perfect for impromptu pizza nights later.
- Budget Stretcher: One bag of that flour makes multiple doughs, and it’s way cheaper than store-bought gluten-free crusts.
Step-by-Step Instructions for Gluten Free Pizza Dough
Master these steps for a dough that rises properly and bakes into a chewy, crisp-edged crust.
Step 1: Activate the Yeast Mixture
In a small bowl, combine the 2.25 tsp Instant Yeast, 1 tbsp Granulated Sugar, and 1.25 cups Lukewarm Water. Let this sit for 5-7 minutes until the mixture becomes frothy and cloudy. This visual confirmation means the yeast is active and ready to work.
I always check the water temperature with a thermometer—it should read approximately 110°F. Too hot and you’ll kill the yeast; too cold and it won’t activate properly. This first step is critical for ensuring your dough will rise as expected.
Step 2: Mix the Dry Ingredients and Wet Components
In a large mixing bowl, whisk together the 2.5 cups Bob’s Red Mill Gluten-Free 1-to-1 Baking Flour, 1.5 tsp Xanthan Gum, 1 tsp Salt, 2 tsp Psyllium Husk Powder, 1 tsp Italian Seasoning, and 0.5 tsp Garlic Powder. These dry ingredients form the structural backbone of your dough.
Create a well in the center and add the activated yeast mixture, 2 whole Large Eggs, 2 tbsp Olive Oil, and 1 tbsp Apple Cider Vinegar. The vinegar enhances both the structure and flavor profile, while the eggs provide necessary binding in gluten-free baking.
Step 3: Combine and Knead the Dough
Using a stand mixer with the paddle attachment, beat the mixture on medium speed for 2-3 minutes until fully combined. The dough will be thicker than traditional pizza dough but should still be sticky and pliable.
If you’re mixing by hand, use a sturdy wooden spoon. The dough should pull away from the sides of the bowl but still cling slightly to the bottom. This texture indicates proper hydration and development of the gluten-free structure.
Step 4: First Rise for Structure Development
Cover the bowl with a damp kitchen towel and let the dough rise in a warm, draft-free area for 45-60 minutes. You want it to double in volume. I’ve found that placing the bowl on top of the preheating oven (turned off) creates the ideal environment.
Resist the urge to punch down the dough during this rise. Gluten-free doughs are more delicate than their wheat counterparts. You’ll know it’s ready when the surface looks domed and jiggly, and a finger pressed gently into the dough leaves a slight indentation.
Step 5: Shape and Second Rise
Lightly dust your work surface with additional Bob’s Red Mill Gluten-Free 1-to-1 Baking Flour. Turn out the dough and gently press it into a 12-inch circle for your pizza base. Use your hands to create a slight rim around the edge for the crust.
Transfer the shaped dough to a parchment-lined baking sheet. Cover loosely with the damp towel and let it rise again for 20-30 minutes. This second rise allows the dough to relax and develop its final texture before baking. The dough should look puffy and hold its shape when ready.
Pro Tips For Making Bob’S Red Mill Gluten Free Pizza Dough
- Warm Your Water: Use water around 110°F—hot enough to activate the yeast but not so hot it kills it. I learned this the hard way after a few flat, sad pizzas.
- Skip Extra Xanthan: The flour blend already contains xanthan gum, so adding more makes the dough gummy. Stick to the recipe’s amount—it’s non-negotiable.
- Let It Rise: Give the dough a full 30-45 minutes to rise in a warm spot, even if it doesn’t look like it’s doing much. Gluten-free dough needs time to get that airy texture.
- Pre-Bake the Crust: Par-bake the crust for 8-10 minutes before adding toppings to prevent a soggy bottom. Sounds weird, but it works every time.
Pro Cooking Tips for bobs red mill gluten free pizza dough
Yeast Activation
Always verify your water temperature with a thermometer—110°F is ideal. Too hot kills yeast; too cold prevents activation. I use a ThermoWorks Instant Read for precision. The yeast mixture should look frothy within 5-7 minutes. If it doesn’t, start over with fresh yeast. 🌡️
Mixing Technique
Use a stand mixer with paddle attachment for 2-3 minutes on medium. The dough will be thicker than traditional but should still be sticky. If mixing by hand, a sturdy wooden spoon works—just ensure all dry bits are hydrated.
Rising Environment
Place your dough in a warm, draft-free spot. I swear by setting the bowl atop my preheating oven (turned off). Cover with a damp towel and let it rise for 45-60 minutes—it should double in volume. Resist punching it down; gluten-free dough is delicate.
Shaping Tips
Dust your surface with extra Bob’s Red Mill 1-to-1 Flour. Press the dough into a 12-inch circle, creating a slight rim for the crust. If it resists, let it rest for 5 minutes before trying again. The psyllium husk helps it hold shape better than most blends.
Second Rise
After shaping, let the dough rise again for 20-30 minutes. It should look puffy and hold its shape. This step ensures the crust bakes evenly and develops that chewy texture we all love. 💡
Pre-Baking Prep
Preheat your oven to 425°F with a pizza stone or inverted baking sheet inside. The hot surface mimics a pizzeria oven, giving you that crisp bottom crust. Slide the dough (on parchment) directly onto the hot surface for best results.
Nutrition Facts
Frequently Asked Questions
Can I use a different gluten-free flour blend?
Stick with 1-to-1 blends like King Arthur for best results. Other mixes may need adjusted liquid amounts. The psyllium husk is non-negotiable for that chewy texture.
Why does my dough taste gritty?
Let the dough rest the full 45-60 minutes. This gives the flours time to hydrate completely. Also ensure you’re using fine-milled blends, not coarse ones.
Can I make this dough ahead of time?
Yes! Shape into balls, wrap tightly, and refrigerate for up to 24 hours or freeze for 1 month. Thaw overnight in the fridge before shaping.
What if my dough doesn’t rise?
Check your yeast freshness first. Also verify water temperature was exactly 110°F. Gluten-free doughs rise less dramatically than wheat-based ones.

Trained in classic French technique but raised on slow-cooked ribs and spicy rubs, she blends culinary skill with smoke and soul.
- Recipe for Crock Pot Swiss Steak: Slow-Cooked Beef With Mushroom Gravy - October 3, 2026
- Recipe for Kabsa Rice: Spiced Middle Eastern Feast in One Pot - October 3, 2026
- Hamburger Stir Fry Recipe Healthy: Lean Protein and Veggie-Packed Dinner - October 3, 2026