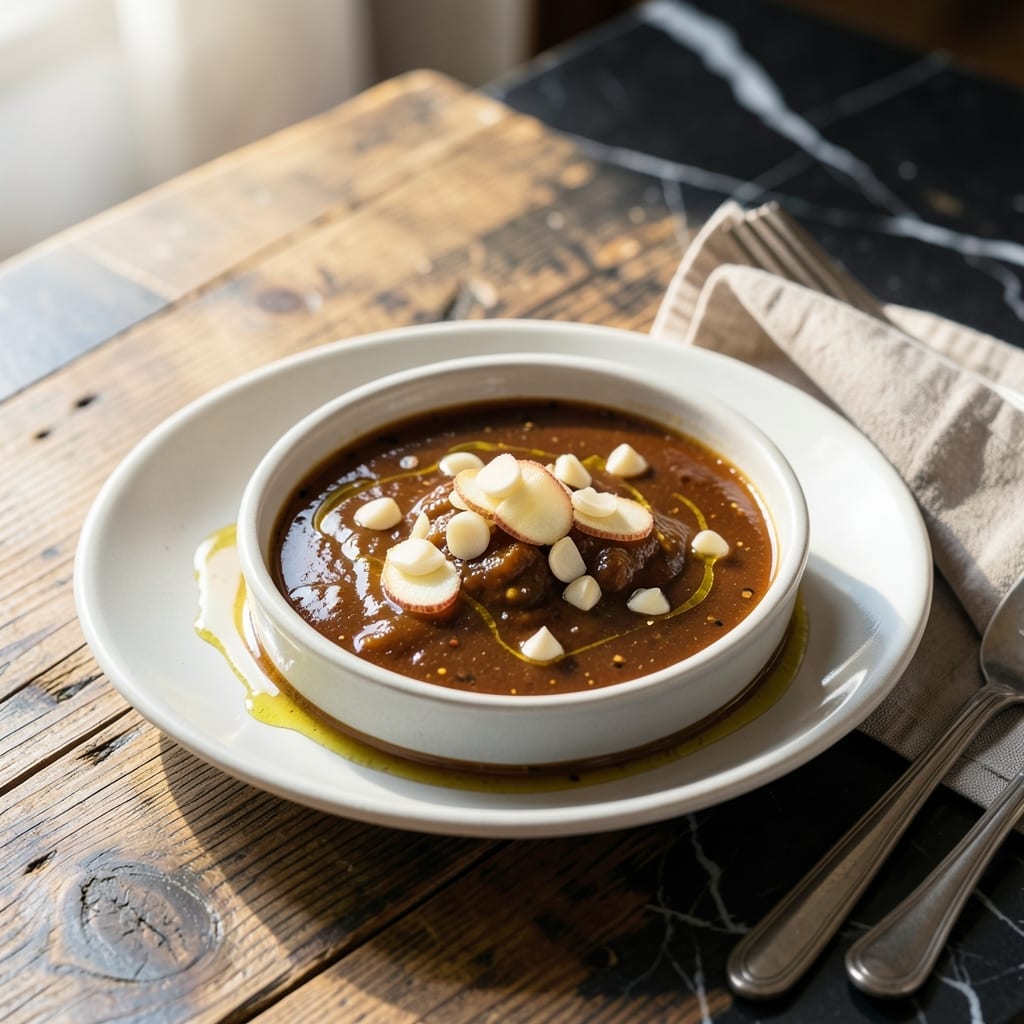
This sauce captures the bold flavors of Bonefish Grill’s signature creation with a perfect balance of garlic and ginger.
I’ve streamlined the process to deliver that same zesty fusion in just minutes, making it ideal for dipping, drizzling, or marinating.
Ingredients for Bonefish Grill Asian Sauce
Nine ingredients deliver that signature restaurant zesty fusion right at home.
| Ingredient | Amount | Notes |
|---|---|---|
| Soy Sauce 🫒 | ½ cup | Low-sodium preferred for balance |
| Fresh Garlic Cloves 🧄 | 6 cloves | Minced finely for even distribution |
| Fresh Ginger Root 🌿 | 2 tbsp | Peeled and grated fresh |
| Rice Vinegar 🍶 | ¼ cup | Unseasoned for clean acidity |
| Honey 🍯 | ¼ cup | Pure for smooth sweetness |
| Sesame Oil 🫒 | 1 tbsp | Toasted for depth of flavor |
| Sriracha Sauce 🌶️ | 1 tbsp | Adjust to desired heat level |
| Lime Juice 🍋 | 2 tbsp | Freshly squeezed for zing |
| Green Onions 🧅 | 4 whole | Thinly sliced for garnish |
[recipe_ingredient_scaler]
The garlic and ginger are non-negotiable here. Fresh is the only option—jarred minced garlic just doesn’t have the punch. I grab mine from Whole Foods or any Asian market (better selection, often cheaper). For soy sauce, Kikkoman low-sodium is my go-to, but any quality brand works. The sesame oil? Look for toasted on the label—it’s darker and way more flavorful than the light stuff.
No honey? Agave nectar or maple syrup at a 1:1 ratio. Want more heat? Add an extra tablespoon of Sriracha or gochujang. Short on fresh ginger? Ground ginger in a pinch (use half the amount). The lime juice can be bottled, but fresh is always brighter. If you’re making this ahead, hold the green onions—add them right before serving to keep them crisp.
This keeps beautifully in the fridge for up to 2 weeks. I always make a double batch—half for now, half for later. For longer storage, freeze in ice cube trays, then pop into a bag. Thaw only what you need (the flavors meld even better after freezing).
Why You’ll Love This Recipe
- 5-Minute Magic: I dump everything in one bowl—soy sauce, garlic, ginger, rice vinegar, honey—whisk and done.
- Flavor Bomb: The garlic and ginger hit first, then the honey smooths it out like a perfect finish.
- Drizzle on Everything: I’ve used it on salmon, chicken, even brushed it on grilled veggies for a quick weeknight upgrade.
- Stays Fresh: Makes more than I need, but it keeps in the fridge for up to a week with no loss of punch.
Step-by-Step Instructions for Zesty Garlic-Ginger Fusion Sauce
This method ensures perfect balance of sweet, tangy, and spicy every single time.
Step 1: Bloom the Aromatics
Heat a small saucepan over medium-low heat. Add the 1 tbsp Sesame Oil and let it warm for 10 seconds until it shimmers slightly but doesn’t smoke. This gentle heat prevents the sesame oil from becoming bitter.
Add all 6 cloves Fresh Garlic Cloves and 2 tbsp Fresh Ginger Root. Stir constantly for 30-45 seconds until the mixture becomes fragrant and the garlic turns just lightly golden—don’t let it brown or it will turn bitter. The ginger should soften slightly but maintain its vibrant color. This blooming step releases the essential oils that form the flavor foundation of your creation.
Step 2: Build the Flavor Base
Pour in the 0.5 cup Soy Sauce, 0.25 cup Rice Vinegar, and 0.25 cup Honey. Increase heat to medium and stir for 1-2 minutes until the honey fully dissolves into the liquid. You’ll notice the mixture darken slightly as the honey incorporates.
Add the 1 tbsp Sriracha Sauce and 2 tbsp Lime Juice, then stir to combine. Bring the mixture to a gentle simmer—you should see small bubbles forming around the edges but not a rolling boil. This simmering step allows the flavors to meld together without reducing the liquid too quickly.
Step 3: Simmer and Thicken
Once simmering, reduce heat to medium-low and let the sauce cook for 5-7 minutes. Stir occasionally to prevent sticking. The sauce should reduce slightly and take on a glossy appearance, coating the back of a spoon when dipped.
Watch for the sauce to thicken enough that it leaves a visible trail when you run a finger through it on the spoon. The volume will reduce by about 10-15%, concentrating the flavors while maintaining a pourable consistency perfect for drizzling or dipping.
Step 4: Finish and Garnish
Remove the saucepan from heat and let the mixture cool for 2-3 minutes. The sauce will continue to thicken slightly as it cools. Give it a final stir to ensure all ingredients are evenly distributed.
Thinly slice all 4 whole Green Onions and sprinkle them over the sauce or stir them in for a pop of color and freshness. The green onions add a crisp texture and mild oniony bite that brightens up the rich sauce. Transfer to a serving bowl or jar for immediate use, or let it cool completely before storing.
Pro Tips For Making Bonefish Grill Asian Sauce
- Bloom the Aromatics: Sauté the minced garlic and ginger in a little oil for 30-45 seconds until fragrant—any longer and they’ll turn bitter. I learned this the hard way after burning three batches trying to rush it.
- Balance the Honey: Thin the honey with a splash of warm water before mixing it in, or it’ll clump and refuse to blend with the soy sauce. Sounds tedious, but it saves you from a lumpy, separated mess.
- Skip the Powdered Stuff: Fresh ginger and garlic are non-negotiable here. The jarred or powdered versions just don’t deliver that bright, sharp kick this sauce needs.
- Simmer Low and Slow: Once combined, let the sauce simmer on low for 5-7 minutes—high heat will caramelize the honey too fast, leaving a burnt aftertaste.
Creative Variations of These Flavors
Thai Peanut Twist
Add ¼ cup creamy peanut butter and 1 tsp red curry paste to the finished sauce. Whisk until smooth over low heat for 2-3 minutes. This variation adds creamy richness with a hint of Thai complexity. I love this with grilled shrimp. 🔥
Citrus Forward
Boost the zing by adding 1 tbsp orange zest and 2 tbsp fresh orange juice at the end. The citrus brightens the soy base beautifully. It’s my go-to for fish tacos—try it with mahi mahi.
Spicy Mango Fusion
Blend ½ cup mango puree and an extra 1 tsp Sriracha into the cooled sauce. The sweet-tangy mango pairs perfectly with the garlic-ginger foundation. This version is amazing with chicken satay.
Umami Bomb
Stir in 1 tbsp fish sauce and 1 tsp hoisin during the simmering step. These additions deepen the savory notes significantly. I learned this trick at a local BBQ competition—it’s a crowd pleaser.
Creamy Sesame
Whisk in 3 tbsp tahini and 1 tsp toasted sesame seeds off heat. The tahini adds a velvety texture while enhancing the sesame oil’s nuttiness. Drizzle this over roasted vegetables for a veggie boost.
Sweet Chili Glaze
Reduce the sauce by half, then stir in 2 tbsp sweet chili sauce and 1 tsp lime zest. This thicker version works wonderfully as a glaze for grilled salmon or chicken wings. 💫
Nutrition Facts
Frequently Asked Questions
Can I use powdered ginger instead of fresh?
Yes, but use half the amount since powdered is more concentrated. Fresh ginger gives the best flavor, but 1 tbsp powdered can work in a pinch.
How long can I store this sauce?
It keeps for up to 2 weeks in the fridge in an airtight container. For longer storage, freeze in ice cube trays.
What’s the best way to adjust the heat level?
Add more Sriracha gradually to taste. For milder heat, reduce to ½ tbsp or use 1 tsp of gochujang instead.
Can I use this as a marinade?
Marinate proteins for 30 minutes to 2 hours. Avoid longer marinating as the vinegar can start to “cook” the meat.

Trained in classic French technique but raised on slow-cooked ribs and spicy rubs, she blends culinary skill with smoke and soul.
- Recipe for Boneless Pork Chops in Cast Iron Skillet: Sear and Baste to Juicy Perfection - October 3, 2026
- Recipe for Boneless Cross Rib Roast: Slow-Roasted Beef with Herb Crust - October 3, 2026
- Hamburgers in Sauce Recipe Crock Pot: Slow-Cooked Savory Delight - October 3, 2026