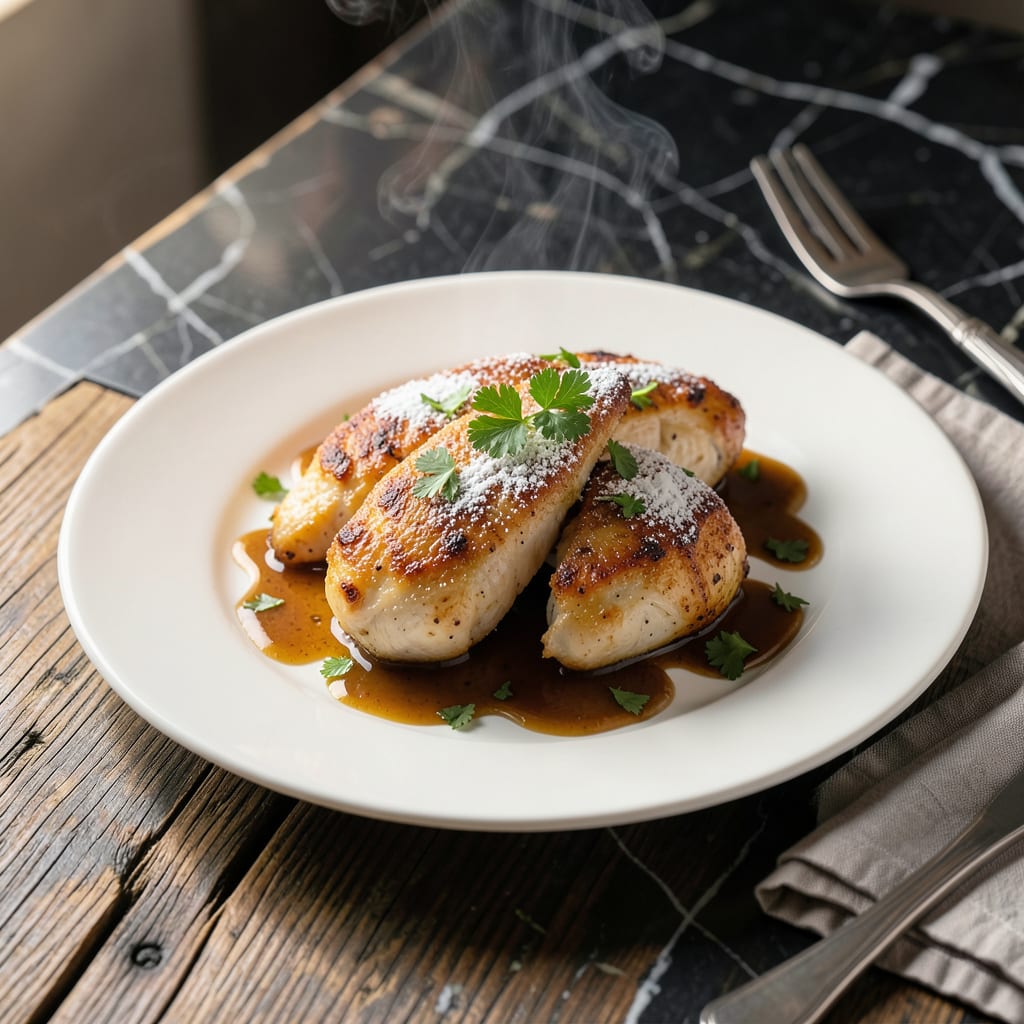
This dish brings restaurant-quality flavors to your home kitchen with a restaurant-style lemon butter sauce that elevates simple chicken.
I’ve refined this technique to ensure tender, juicy chicken every time, paired with a bright, velvety sauce that’s both rich and refreshing.
Ingredients for Bonefish Grill Lily’s Chicken
Restaurant-quality begins with these carefully selected, professional-grade ingredients for vibrant, tender results.
| Ingredient | Amount | Notes |
|---|---|---|
| Chicken Breast 🍗 | 1 ½ lb | Boneless, skinless, pounded to even thickness |
| All-Purpose Flour 🌾 | ½ cup | For light dredging |
| Kosher Salt 🧂 | 1 ½ tsp | Divided for seasoning |
| Black Pepper 🌶️ | ¾ tsp | Freshly ground preferred |
| Unsalted Butter 🧈 | ½ cup | Divided for cooking and sauce |
| Olive Oil 🫒 | 2 tbsp | For initial searing |
| Garlic Cloves 🧄 | 4 cloves | Minced for sauce |
| Fresh Lemon Juice 🍋 | ⅓ cup | About 2-3 lemons |
| Lemon Zest 🍋 | 1 tbsp | From 1-2 lemons |
| Chicken Stock 💧 | ½ cup | Low-sodium preferred |
| Heavy Cream 🥛 | ¼ cup | For velvety sauce texture |
| Dijon Mustard 🟡 | 1 tsp | For depth of flavor |
| Fresh Parsley 🌿 | 2 tbsp | Chopped, for garnish |
| Shallot 🧅 | 1 whole | Finely minced |
[recipeingredientscaler]
The chicken must be uniformly thick for even cooking—pound to ½-inch thickness between plastic wrap. Boneless, skinless breasts from reputable suppliers like Whole Foods or Costco ensure consistent quality. For the butter, European-style (higher fat content) creates a richer sauce base. Always use freshly squeezed lemon juice—bottled lacks the bright acidity that defines this dish.
No shallots? Substitute 2 tbsp minced onion. Out of Dijon? Whole-grain mustard works in a pinch. For a lighter version, replace heavy cream with half-and-half. Low-sodium chicken stock prevents the sauce from becoming overly salty. The parsley garnish isn’t just decorative—flat-leaf parsley adds a fresh finish that balances the richness.
Prepare the chicken just before cooking—pounded breasts keep 2 days refrigerated. The sauce can be made ahead and reheated gently. Leftovers store 3-4 days in the fridge, though the sauce may thicken slightly. Reheat with a splash of stock to restore the velvety texture.
Why You’ll Love This Recipe
- One Pan Wonder: I love that it only dirties one skillet—just butter, flour, and chicken, no fuss.
- Buttery Crisp: The unsalted butter gives it that golden, crispy crust with a tender inside.
- Weeknight Hero: Honestly, it’s my go-to for busy evenings—ready before the kids start asking for snacks.
- Budget Friendly: Chicken breast stretches far, and the pantry staples keep costs low.
Step-by-Step Instructions for Restaurant-Style Lemon Butter Chicken
Master the technique that transforms simple ingredients into an elegant, restaurant-quality dish.
Step 1: Prepare and Season the Chicken
Begin by pounding the 1.5 lb chicken breast to an even ½-inch thickness between plastic wrap. This ensures uniform cooking and prevents dry spots. Lightly dredge each piece in the 0.5 cup all-purpose flour, shaking off any excess.
Season both sides generously with 1 tsp kosher salt and 0.5 tsp black pepper (reserve the remaining 0.5 tsp kosher salt and 0.25 tsp black pepper for later). The flour creates a delicate crust that will absorb the sauce beautifully.
Step 2: Sear the Chicken to Golden Perfection
Heat the 2 tbsp olive oil and 2 tbsp unsalted butter in a large skillet over medium-high heat until the butter stops foaming. Add the chicken and cook for 4-5 minutes per side until golden brown and just cooked through.
Don’t move the chicken during searing—this develops the crust that will hold up to the sauce. Transfer to a plate and tent with foil to keep warm. The residual heat will carry the cooking process slightly as it rests.
Step 3: Build the Lemon Butter Sauce Base
In the same skillet, reduce heat to medium and add the remaining 4 tbsp unsalted butter. Sauté the finely minced shallot for 2 minutes until translucent, then add the 4 cloves minced garlic cloves and cook for 30 seconds until fragrant.
Pour in the 0.33 cup fresh lemon juice and 1 tbsp lemon zest, scraping up any browned bits from the pan. Simmer for 2 minutes to allow the acid to mellow and the flavors to concentrate.
Step 4: Finish the Sauce and Reunite with Chicken
Whisk in the 0.5 cup chicken stock, 0.25 cup heavy cream, 1 tsp Dijon mustard, and remaining 0.5 tsp kosher salt and 0.25 tsp black pepper. Simmer for 3-4 minutes until the sauce thickens enough to coat the back of a spoon.
Return the chicken to the skillet with any accumulated juices. Spoon the sauce over each piece and let it warm through for 1-2 minutes. The sauce should cling to the chicken with a glossy, velvety finish.
Step 5: Garnish and Serve Immediately
Transfer the chicken to serving plates and drizzle with the remaining sauce. Garnish with the 2 tbsp chopped fresh parsley for a pop of color and freshness. The parsley adds a bright contrast to the rich lemon butter sauce.
Serve immediately while the sauce is still fluid and the chicken is at its peak tenderness. Each bite should deliver the perfect balance of tangy lemon, rich butter, and savory chicken with a hint of garlic and shallot depth.
Pro Tips For Making Bonefish Grill Lily’S Chicken
- Pound the Breasts: Use a meat mallet to evenly pound the chicken to ½-inch thickness—this guarantees even cooking and prevents dry, chewy edges. I learned this the hard way after pulling out dry chicken too many times.
- Season the Flour: Mix kosher salt and black pepper directly into the all-purpose flour before dredging. It sticks better than seasoning the chicken separately and gives that signature Lily’s crust.
- Hot Pan, Cold Butter: Start with a screaming hot pan to sear the floured chicken, then add cold unsalted butter at the end to baste. This creates a golden crust without burning the butter.
- Rest Before Serving: Let the chicken rest 5 minutes under foil after cooking—it keeps the juices inside instead of on the cutting board. Sounds simple, but it actually changes the outcome.
Storing and Reheating This Dish
Refrigerator Storage
Let the chicken cool for no more than 2 hours before transferring to airtight containers. Store at 40°F or below for up to 3-4 days. The flavors actually meld and improve overnight, making leftovers a treat. ❄️
Freezer Storage
For longer storage, freeze in quart-sized freezer bags with excess air removed. This dish freezes well for up to 2 months without significant texture loss. Leave 1 inch headspace for expansion.
Stovetop Reheating
Reheat gently in a skillet over medium-low heat with a splash of chicken stock. Cover and warm for 5-7 minutes, stirring occasionally. This method preserves the sauce’s velvety texture. 🔥
Microwave Reheating
For quick meals, microwave individual portions covered with a damp paper towel. Use 50% power for 2-3 minutes, then stir and continue in 30-second intervals until reaching 165°F.
Sauce Revival Tip
If the sauce thickens too much during storage, whisk in 1-2 tbsp warm chicken stock or water to restore its glossy consistency. I always keep extra stock on hand for this exact purpose.
Nutrition Facts

Trained in classic French technique but raised on slow-cooked ribs and spicy rubs, she blends culinary skill with smoke and soul.
- Recipe for Boneless Pork Chops in Cast Iron Skillet: Sear and Baste to Juicy Perfection - October 3, 2026
- Recipe for Boneless Cross Rib Roast: Slow-Roasted Beef with Herb Crust - October 3, 2026
- Hamburgers in Sauce Recipe Crock Pot: Slow-Cooked Savory Delight - October 3, 2026