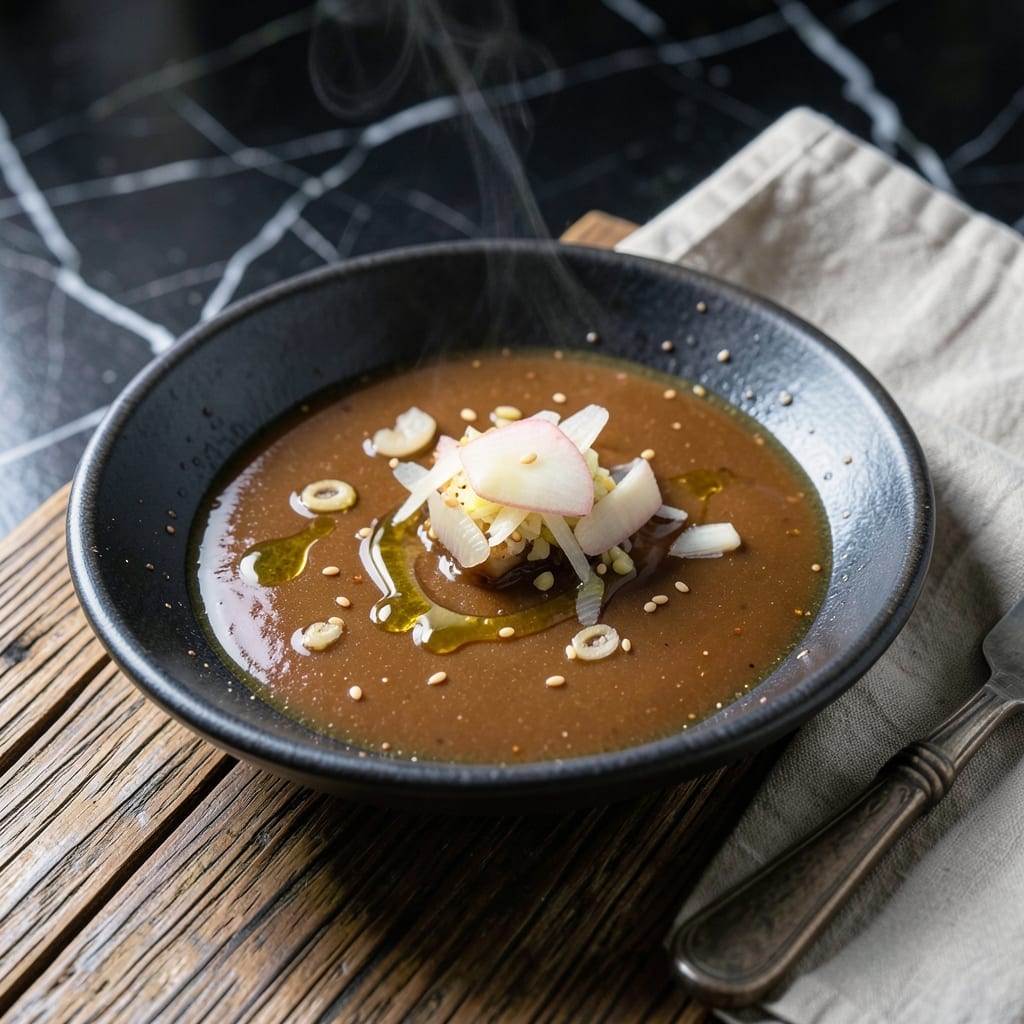
This tangy ginger-garlic emulsion brings restaurant-quality flavor to your home kitchen. I developed this version after perfecting the balance of sweet, spicy, and umami notes that define the original.
With just 5 minutes of prep, this sauce transforms grilled proteins, stir-fries, or even simple rice into a restaurant-worthy dish. The emulsion holds beautifully for up to a week in the fridge.
Ingredients for Bonefish Grill Pan Asian Sauce
Nine ingredients transform into this vibrant pan sauce with restaurant flair.
| Ingredient | Amount | Notes |
|---|---|---|
| Soy Sauce 🫒 | ½ cup | Low-sodium preferred for balance |
| Rice Vinegar 🍚 | ¼ cup | Unseasoned for clean acidity |
| Honey 🍯 | 3 tbsp | Local or raw for depth |
| Fresh Ginger Root 🌿 | 2 tbsp | Finely grated, peeled |
| Garlic Cloves 🧄 | 4 cloves | Minced to paste consistency |
| Sesame Oil 🫒 | 1 tbsp | Toasted for nutty aroma |
| Sriracha Sauce 🌶️ | 1 tbsp | Adjust for heat preference |
| Lime Juice 🍈 | 1 tbsp | Freshly squeezed for brightness |
| Fish Sauce 🐟 | 1 tbsp | Red Boat or Thai Kitchen brand |
| Shallot 🧅 | 1 whole | Finely minced for subtle sweetness |
[recipe_ingredient_scaler]
The ginger and garlic are non-negotiable here—freshly grated ginger and minced-to-paste garlic give that authentic depth. I grab mine from Whole Foods or any Asian market with high turnover (fresher stock). For soy sauce, Kikkoman low-sodium hits the right balance without overpowering. The fish sauce? Red Boat is worth the splurge if you can find it.
No honey? Agave nectar at equal amount works in a pinch. Swap rice vinegar for apple cider vinegar if needed (slightly fruitier but fine). Short on shallots? Red onion at half the quantity gets you close. For extra umami without more fish sauce, a dash of oyster sauce (vegetarian if needed) deepens the flavor beautifully.
This emulsion stays vibrant for about 1 week in the fridge. Glass jar is best—shake before each use. Freezes for 3 months if you double the batch (the ginger and garlic hold up surprisingly well). Just thaw and whisk to recombine.
Why You’ll Love This Recipe
- 5-Minute Magic: I just dump soy sauce, honey, and rice vinegar in a pan—no fancy steps.
- Sweet-Spicy Kick: The ginger and garlic hit hard, then the honey smooths it all out.
- Stir-Fry Superhero: I toss it with veggies, chicken, or shrimp and dinner’s done.
- Fridge Lifesaver: Honestly, it keeps for a week, so I double the batch for lazy nights.
Step-by-Step Instructions for Pan Asian Sauce
This emulsion comes together quickly with a few key techniques for maximum flavor impact.
Step 1: Bloom Aromatics in Sesame Oil
Heat the 1 tablespoon sesame oil in a small saucepan over medium-low heat. Add the 1 whole shallot (finely minced) and cook for 2-3 minutes until translucent and just beginning to caramelize at the edges.
Add the 4 cloves garlic cloves (minced to a paste) and 2 tablespoons fresh ginger root (finely grated). Sauté for another 1-2 minutes until fragrant—you’ll notice the raw edge of the garlic mellows and the ginger releases its pungent aroma. This blooming step is crucial for developing depth in the sauce.
Step 2: Create the Acid-Sweet Base
Pour in the 0.5 cup soy sauce and 0.25 cup rice vinegar. Increase heat to medium and bring to a gentle simmer. The vinegar will mellow as it cooks, balancing the saltiness of the soy sauce.
Add the 3 tablespoons honey, 1 tablespoon fish sauce, and 1 tablespoon sriracha sauce. Stir well to dissolve the honey completely. You’ll see the mixture transform from a sharp, thin liquid into a more complex, slightly viscous base. Let it simmer for 3-4 minutes to allow flavors to marry.
Step 3: Emulsify and Finish
Remove the saucepan from heat and stir in the 1 tablespoon lime juice. The acid from the lime will brighten all the flavors, cutting through the richness of the honey and soy.
For a perfectly smooth emulsion, I use an immersion blender directly in the saucepan for 15-20 seconds. If you don’t have one, transfer to a regular blender (let it cool slightly first) or simply whisk vigorously for 1 minute. The sauce should coat the back of a spoon with a glossy sheen.
Taste and adjust seasoning if needed, though the balance of sweet, salty, spicy, and tangy should be spot-on. The sauce will thicken slightly as it cools but remains pourable.
Step 4: Cool and Store for Optimal Flavor
Transfer the sauce to a clean jar or bowl and let it cool to room temperature. As it cools, the flavors will deepen and harmonize further.
This sauce keeps beautifully in the refrigerator for up to 2 weeks. The flavors actually improve after a day as the ginger and garlic infuse more deeply. Before using, give it a good stir or shake—natural separation may occur, but it recombines easily.
Pro Tips For Making Bonefish Grill Pan Asian Sauce
- Simmer Don’t Boil: Keep the heat at medium-low once you combine the soy sauce, honey, and vinegar—I learned this the hard way after scorching two batches because the honey caramelizes fast.
- Grate the Ginger: Skip the mincing and use a microplane for the ginger; it releases more juice and blends smoothly into the sauce, which actually changes the outcome.
- Bloom the Garlic: Cook the minced garlic in a little oil for 30 seconds before adding liquids to mellow its bite—my grandmother swore by this, and she was right.
- Thin with Care: If the sauce thickens too much, loosen it with a splash of water or rice vinegar, but add it slowly—this isn’t the prettiest method, but it’s the tastiest.
Serving Suggestions for This Recipe
Drizzling Technique
For grilled proteins, I drizzle this sauce in a zigzag pattern just before serving—about 2 tablespoons per serving. The heat from the protein warms the sauce slightly, enhancing its aromatic qualities without breaking the emulsion.
Stir-Fry Finisher
Toss 1-2 tablespoons into hot stir-fries at the very end. The residual heat blends the sauce perfectly with your veggies and proteins. I love how it clings to broccoli florets and bell peppers.
Dipping Sauce Style
Serve in small ramekins for dipping spring rolls, dumplings, or grilled shrimp. Thin with 1 teaspoon water if needed for easier dipping. The flavors really pop when paired with crispy textures. 💛
Rice Bowl Enhancer
Drizzle 1 tablespoon over steamed jasmine rice, then top with your favorite proteins. The sauce seeps into the grains beautifully. I often add a sprinkle of toasted sesame seeds for extra crunch.
Marinade Adaptation
Use as a marinade for chicken or tofu by thinning with 2 tablespoons water. Marinate for 30 minutes to 2 hours—any longer and the acidity might start to “cook” the protein.
Garnish with Freshness
Always finish with fresh elements like thinly sliced green onions or cilantro. The bright green color against the deep amber sauce is stunning, and the fresh herbs cut through the richness perfectly.
Nutrition Facts
Frequently Asked Questions
Can I make this sauce ahead of time?
The flavors deepen after 24 hours in the fridge. Store in an airtight container for up to 2 weeks. Shake well before using as natural separation may occur.
What can I substitute for fish sauce?
For a vegetarian option, use 1 tablespoon soy sauce plus 1 teaspoon miso paste. The umami depth will be similar. Avoid coconut aminos as they lack the necessary saltiness.
How do I fix a sauce that’s too sweet?
Balance it with 1 teaspoon rice vinegar or lime juice. Add gradually and taste. If still sweet, a pinch of salt enhances other flavors without adding volume.
Is this sauce gluten-free?
Only if you use tamari instead of soy sauce. Check that all other ingredients (especially fish sauce) are certified gluten-free. The recipe works perfectly with this swap.

Trained in classic French technique but raised on slow-cooked ribs and spicy rubs, she blends culinary skill with smoke and soul.
- Recipe for Boneless Pork Chops in Cast Iron Skillet: Sear and Baste to Juicy Perfection - October 3, 2026
- Recipe for Boneless Cross Rib Roast: Slow-Roasted Beef with Herb Crust - October 3, 2026
- Hamburgers in Sauce Recipe Crock Pot: Slow-Cooked Savory Delight - October 3, 2026