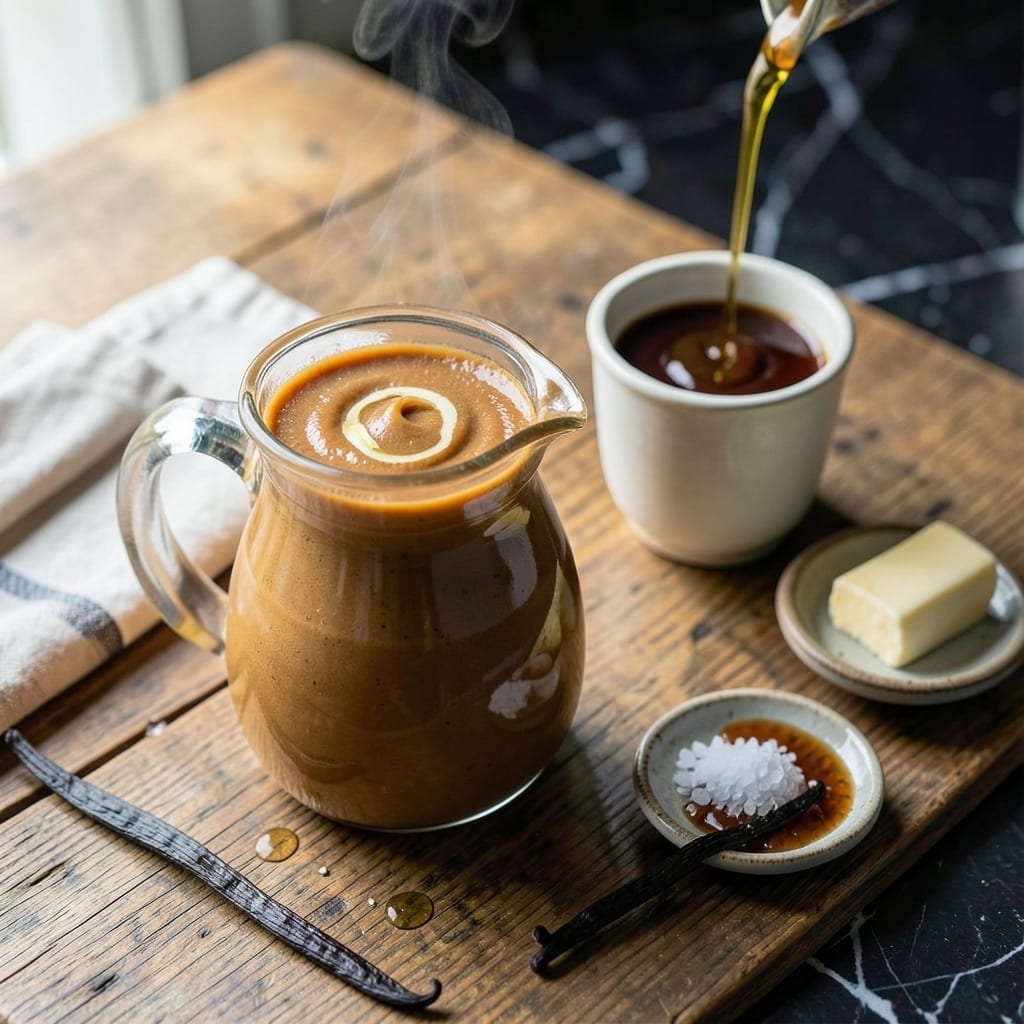
I’ve been adding a splash of this to my morning coffee for years. It transforms a regular cup into something rich and nutty.
Brown butter brings depth, while a touch of sweetness balances it perfectly. Keep it in the fridge for up to a week.
Ingredients for Brown Butter Coffee Creamer
Seven simple ingredients transform your coffee into something rich and nutty every morning.
| Ingredient | Amount | Notes |
|---|---|---|
| Unsalted Butter 🧈 | ½ cup | For browning, high quality |
| Heavy Cream 🥛 | 1 cup | Full-fat for richness |
| Whole Milk 🥛 | 1 cup | Or substitute half-and-half |
| Pure Maple Syrup 🍁 | 2 tbsp | Adjust to taste preference |
| Pure Vanilla Extract 🌿 | 1 tsp | Real vanilla for best flavor |
| Sea Salt 🧂 | ¼ tsp | Fine grain preferred |
| Ground Cinnamon 🌿 | ¼ tsp | Optional for warmth |
[recipe_ingredient_scaler]
The butter is the star here—Plugra or European-style gives you that deep, toasty flavor faster. I grab mine from Whole Foods or Trader Joe’s (their cultured butter works great). The cream and milk need to be full-fat for that velvety texture (trust me on this). If you’re buying maple syrup, look for Grade A or B on the label—darker syrups have more complex flavor.
No maple syrup? Honey or agave works, but it’ll taste different. Want it thicker? Swap the milk for half-and-half or evaporated milk. The vanilla is worth the splurge—Nielsen-Massey is my go-to. If you only have vanilla sugar, 1 tbsp replaces 1 tsp extract. Skipping the cinnamon? Add a pinch of nutmeg instead.
This keeps 7-10 days in the fridge. Give it a good shake before each use—the butter will separate. Freezing works too (up to 3 months), but thaw in the fridge overnight. The brown bits might settle, but that’s normal and delicious.
Why You’ll Love This Recipe
- 5-Minute Magic: I can brown the butter while my coffee brews—no extra time, just richer flavor.
- Nutty Sweetness: The maple syrup and browned butter create this deep, caramelized taste that makes my morning coffee feel like dessert.
- Fridge Staple: I make a double batch on Sunday and it keeps perfectly for my weekly lattes.
- Pantry Friendly: Between us, these are ingredients I already keep on hand—no special shopping required.
Step-by-Step Instructions for Brown Butter Coffee Creamer
Here’s the method I use to create this rich, nutty addition to your morning coffee.
Step 1: Brown the Unsalted Butter
In a light-colored saucepan (this helps you see the color change), melt the 0.5 cup Unsalted Butter over medium heat. I always use a light saucepan for browning butter—it makes it so much easier to monitor the color.
Stir frequently with a wooden spoon or heatproof spatula. After 5-7 minutes, the butter will start to foam, then the milk solids will turn golden brown and smell nutty. Watch closely—it can go from brown to burnt in seconds.
Once it reaches a deep amber color and smells toasty, immediately pour the brown butter (solids and all) into a heatproof bowl to stop the cooking. This prevents it from burning and preserves that perfect nutty flavor we’re after.
Step 2: Combine Dairy Ingredients
In a separate saucepan, combine the 1 cup Heavy Cream and 1 cup Whole Milk over medium-low heat. Warm the mixture until it’s just steaming—don’t let it boil.
As it heats, you’ll see small bubbles forming at the edges. At this point, remove it from the heat. Heating the dairy gently ensures it blends smoothly with the brown butter without curdling.
Slow heating also prevents a skin from forming on the surface, which can affect the texture of your final creamer.
Step 3: Infuse with Sweetness and Flavor
Pour the warm dairy mixture into the bowl with the brown butter. Add the 2 tbsp Pure Maple Syrup, 1 tsp Pure Vanilla Extract, 0.25 tsp Sea Salt, and 0.25 tsp Ground Cinnamon.
Whisk everything together until fully combined. The maple syrup will dissolve easily into the warm mixture, and the vanilla will distribute evenly throughout.
The sea salt enhances all the flavors, while the cinnamon adds a subtle warmth that complements the nutty brown butter perfectly.
Step 4: Cool and Store
Let the mixture cool to room temperature, stirring occasionally. This usually takes about 30 minutes. As it cools, you’ll notice the mixture thickening slightly.
Once completely cool, pour the creamer into a clean bottle or jar with a tight-fitting lid. I like to use a glass bottle with a pour spout—it makes adding to my coffee so much easier.
Store in the refrigerator for up to 1 week. The flavors will continue to develop over the first day, becoming even more delicious.
Pro Tips For Making Brown Butter Coffee Creamer
- Brown the Butter Slowly: Keep the heat at medium-low and stir constantly—brown butter can go from golden to burnt in seconds. I learned this the hard way after ruining a batch by walking away for “just a minute.”
- Use Real Maple Syrup: Skip the imitation stuff; pure maple syrup adds a depth of flavor that pancake syrup just can’t match. The difference is noticeable, especially in something as simple as this creamer.
- Cool Before Mixing: Let the browned butter cool for about 5 minutes before adding the cream and milk, or you’ll risk curdling the dairy. Sounds weird, but it works.
- Strain the Butter: Pour the browned butter through a fine-mesh strainer to remove the toasted milk solids—they can leave a bitter taste. It’s a small step, but it makes the creamer smoother.
Perfect Pairings for This Dish
Coffee Pairings
This creamer shines in medium to dark roast coffees like Sumatra or Guatemalan. The nutty depth complements bold, earthy notes. I love it with my morning French press—the creamy texture softens the bitterness beautifully. 💛
Beverage Extensions
Don’t limit this to coffee. A splash in chai tea or hot chocolate adds incredible richness. Try it in iced coffee too—the brown butter flavor holds up even over ice. I’ve even used it in oatmeal for a cozy breakfast twist.
Baked Goods Match
Drizzle this over pancakes or waffles for a next-level brunch. The maple and vanilla notes pair perfectly with cinnamon rolls. I’ve also stirred it into bread pudding batter before baking.
Savory Surprises
Use it to finish mashed sweet potatoes or butternut squash soup. The brown butter adds a gourmet touch that’s unexpected but delicious. A small pour over grilled corn brings a sweet-savory balance.
Gifting Idea
Pour into mason jars with a ribbon for a thoughtful homemade gift. Pair with a bag of locally roasted coffee beans and a handwritten note. It’s a hit at holiday markets—people always ask for the recipe. ✨
Nutrition Facts
Frequently Asked Questions
Why does browning the butter matter?
Browning transforms the butter’s milk solids, creating deep, nutty flavors. It adds complexity that regular butter can’t, making your coffee taste like a gourmet treat. The process only takes 5-7 minutes but makes all the difference.
Can I use salted butter instead?
It’s best to stick with unsalted to control the saltiness. If you only have salted, reduce the added sea salt to 1/8 tsp or omit it entirely. The browning process concentrates the salt, so less is more.
How do I know when it’s gone bad?
If you see mold or notice an off smell, it’s time to toss it. Fresh creamer should smell rich and nutty. It lasts 7-10 days in the fridge, but always give it a sniff before using.
What if my creamer separates?
That’s completely normal! Just give it a good shake or stir before pouring. The butter solids may settle, but they’ll blend right back in. For best results, store it in an airtight container.

Trained in classic French technique but raised on slow-cooked ribs and spicy rubs, she blends culinary skill with smoke and soul.
- Recipe for Boneless Pork Chops in Cast Iron Skillet: Sear and Baste to Juicy Perfection - October 3, 2026
- Recipe for Boneless Cross Rib Roast: Slow-Roasted Beef with Herb Crust - October 3, 2026
- Hamburgers in Sauce Recipe Crock Pot: Slow-Cooked Savory Delight - October 3, 2026