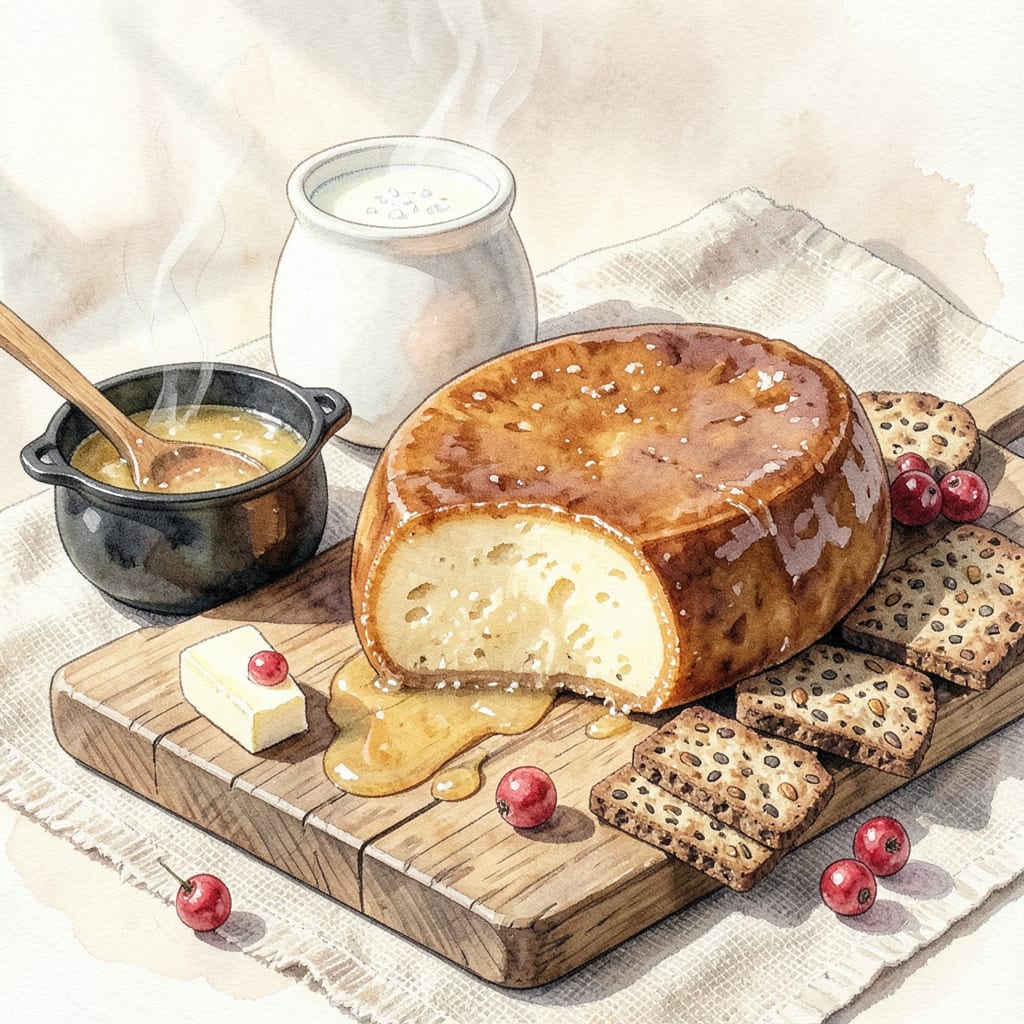
Norwegian brunost offers a unique caramelized sweetness that sets it apart from traditional cheeses. This recipe captures the authentic flavor profile through careful control of lactose caramelization, transforming simple dairy ingredients into a rich, spreadable cheese with distinctive brown color and complex taste.
The process requires patience and precision—simmering whey to just the right temperature to develop those signature caramel notes. Using a heavy pot and reliable thermometer ensures consistent results, while traditional cheesecloth straining maintains the proper texture. The final product delivers both the nostalgic taste of Norwegian brunost and the satisfaction of homemade craftsmanship.
Ingredients for Brunost
This authentic Norwegian cheese begins with simple dairy ingredients transformed through precise caramelization techniques to achieve its signature sweetness and texture.
| Ingredient | Amount | Notes |
|---|---|---|
| Whole Milk 🥛 | 1 gallon | Full-fat for optimal whey extraction |
| Buttermilk 🥛 | 1 cup | Cultured, for acidifying milk |
| Cheese Rennet 🧪 | ¼ tsp | Liquid vegetarian rennet preferred |
| Salt 🧂 | 1 tsp | Fine sea salt for precise measurement |
| Heavy Cream 🥛 | ½ cup | Cold, for texture adjustment |
| Unsalted Butter 🧈 | 2 tbsp | European-style preferred for fat content |
| Lactose Powder 🧂 | ¼ cup | Food-grade, for caramelization |
| Baking Soda 🧪 | 0.125 tsp | For pH balance adjustment |
| Cheesecloth 🧵 | 1 sheet | Unbleached, for straining whey |
| Water 💧 | 2 cups | Filtered, for whey dilution |
[recipe_ingredient_scaler]
The quality of dairy is paramount for authentic brunost. Whole milk with 4% fat content yields optimal whey extraction, while cultured buttermilk ensures proper acidification. For vegetarian compliance, liquid vegetarian rennet (available at New England Cheesemaking Supply or Amazon) is essential. European-style butter with 82% fat content provides superior texture. Lactose powder must be food-grade (check Modernist Pantry for reliable sourcing).
For those unable to source lactose powder, extended simmering of whey can develop similar caramel notes, though with less precision. Vegetable-based rennet substitutes (like thistle rennet) may alter coagulation times. The baking soda quantity is critical—use precisely 1/8 tsp to maintain proper pH without bitterness. Heavy cream can be substituted with full-fat coconut cream for a dairy-free variation, though flavor will differ significantly.
Fresh brunost keeps refrigerated in an airtight container for 3-4 weeks. The texture firms slightly over time while flavors deepen. For long-term storage, portion into wax paper before vacuum-sealing—prevents moisture loss during freezing (up to 6 months). Always bring cheese to room temperature before serving to restore its characteristic spreadable consistency.
Why You’ll Love This Recipe
- I’ll be real: if you can measure milk and stir a pot, you can make this. The hardest part is waiting for the rennet to work its magic—no fancy equipment, just patience and a thermometer.
- Five Ingredients, Done: I’ll be real: if you can measure milk and stir a pot, you can make this. The hardest part is waiting for the rennet to work its magic—no fancy equipment, just patience and a thermometer.
- Caramel Meets Cheese: That first bite where the sweet, fudgy richness hits? It’s like if butterscotch and gouda had a lovechild. The heavy cream gives it this velvety melt that’s dangerous on waffles—or straight off the knife.
- Breakfast to Midnight Snack: Honestly, I’ve slathered this on toast at 7 a.m. and melted it into pasta at 10 p.m. It’s the kind of cheese that plays nice with jam, eggs, or just a hunk of bread when you’re too lazy for a full meal.
Step-by-Step Instructions for Norwegian Brown Cheese
This method transforms simple dairy ingredients into rich, caramelized brunost through precise temperature control and whey reduction.
Step 1: Acidify and Coagulate the Milk
In a large stainless steel pot, combine the 1 gallon Whole Milk and 1 cup Buttermilk. Heat over medium-low heat until the mixture reaches 86°F, stirring gently to prevent scorching. This gradual warming activates the buttermilk cultures while preserving the milk proteins.
Once at temperature, add the 0.25 tsp Cheese Rennet and stir for 30 seconds to distribute evenly. Remove from heat, cover, and let stand undisturbed for 1 hour. The milk should form a clean break when tested with a knife – a sign of proper coagulation. The curds will appear as a single, custard-like mass.
Step 2: Separate and Cook the Whey
Line a colander with the 1 sheet Cheesecloth and set it over a large bowl. Gently ladle the coagulated milk into the cheesecloth, allowing the whey to drain through. Reserve all the whey – this liquid gold contains the sugars needed for caramelization.
Transfer the whey to a clean pot and add the 0.25 cup Lactose Powder and 0.125 tsp Baking Soda. Cook over medium heat, stirring constantly with a wooden spoon, until the mixture reaches 212°F. The lactose powder will begin caramelizing, turning the whey a rich amber color. This process requires vigilance – the temperature must remain steady to prevent burning.
Step 3: Reduce to Caramelized Consistency
Continue cooking the whey mixture at 212°F for 2-3 hours, stirring frequently as it thickens. The color will deepen to a warm brown, and the volume will reduce by about two-thirds. Add the 2 tbsp Unsalted Butter and 1 tsp Salt during the final 30 minutes of reduction – this enhances the caramel notes while balancing sweetness.
The finished whey should coat the back of a spoon and hold a line when you draw your finger through it. At this stage, you’ll notice a complex aroma developing – nutty, caramelized, with subtle dairy sweetness. Remove from heat immediately when it reaches this consistency to prevent over-reduction.
Step 4: Incorporate Cream and Finish
Allow the caramelized whey to cool to 140°F, then gradually whisk in the 0.5 cup Heavy Cream. The mixture will lighten slightly in color and become more fluid. This step tempers the intensity while adding richness to the final texture.
Pour the mixture into a heatproof container and let it set at room temperature for 1 hour, then refrigerate for 12 hours to achieve the proper fudgy consistency. The finished brunost should slice cleanly while maintaining a smooth, spreadable quality when warmed.
Essential Equipment for Perfect Results
Heavy Pot Selection
For brunost, I swear by my 5.5-quart Le Creuset Dutch oven—its even heat distribution prevents scorching during the long whey reduction. The enamel coating makes cleanup easier after caramelization. If investing isn’t an option, look for a stainless steel pot with aluminum core (like All-Clad D3) that’s at least 4 quarts to handle the volume. 🔥
Precision Thermometer
A digital instant-read thermometer is non-negotiable for monitoring whey temperature. I use the ThermoWorks Thermapen ONE—it reads in 1 second and has a 0.1°F resolution for catching temperature shifts. For budget options, the CDN ProAccurate works well. Calibrate your thermometer before starting by testing in ice water (32°F).
Cheesecloth Quality
Don’t skimp on cheesecloth—unbleached, 90-grade (like Butter Muslin from cheesemaking suppliers) is ideal. It strains whey efficiently without fibers breaking into your mixture. I rinse mine in hot water first to remove any manufacturing residues. For reuse, wash with unscented soap and boil for 5 minutes to sanitize between batches.
Wooden Spoon Essentials
A solid maple wooden spoon (like those from J.K. Adams) is perfect for stirring caramelizing whey. The wood won’t scratch your pot and distributes heat gently. I keep a dedicated spoon just for cheese projects—it develops a patina over time that actually enhances flavor. The 12-inch length gives you leverage for constant stirring without fatigue.
Storage Containers
For setting brunost, I use glass loaf pans (like Pyrex 1.5-quart) because they’re non-reactive and show the beautiful caramel color. Once set, transfer to airtight containers with wax paper between layers. My favorite is the OXO Good Grips POP containers—their square shape maximizes space, and the silicone seal prevents moisture loss.
Optional pH Strips
While not essential, pH test strips (range 5.5-7.0) help monitor acidity during whey reduction. I use ColorpHast strips from EMD Chemicals—they’re accurate and easy to read. The ideal pH for brunost is 6.0-6.2; below that, the cheese becomes too tart. Test periodically during the final 30 minutes of cooking. ✨
Nutrition Facts

Trained in classic French technique but raised on slow-cooked ribs and spicy rubs, she blends culinary skill with smoke and soul.
- Recipe for Boneless Pork Chops in Cast Iron Skillet: Sear and Baste to Juicy Perfection - October 3, 2026
- Recipe for Boneless Cross Rib Roast: Slow-Roasted Beef with Herb Crust - October 3, 2026
- Hamburgers in Sauce Recipe Crock Pot: Slow-Cooked Savory Delight - October 3, 2026