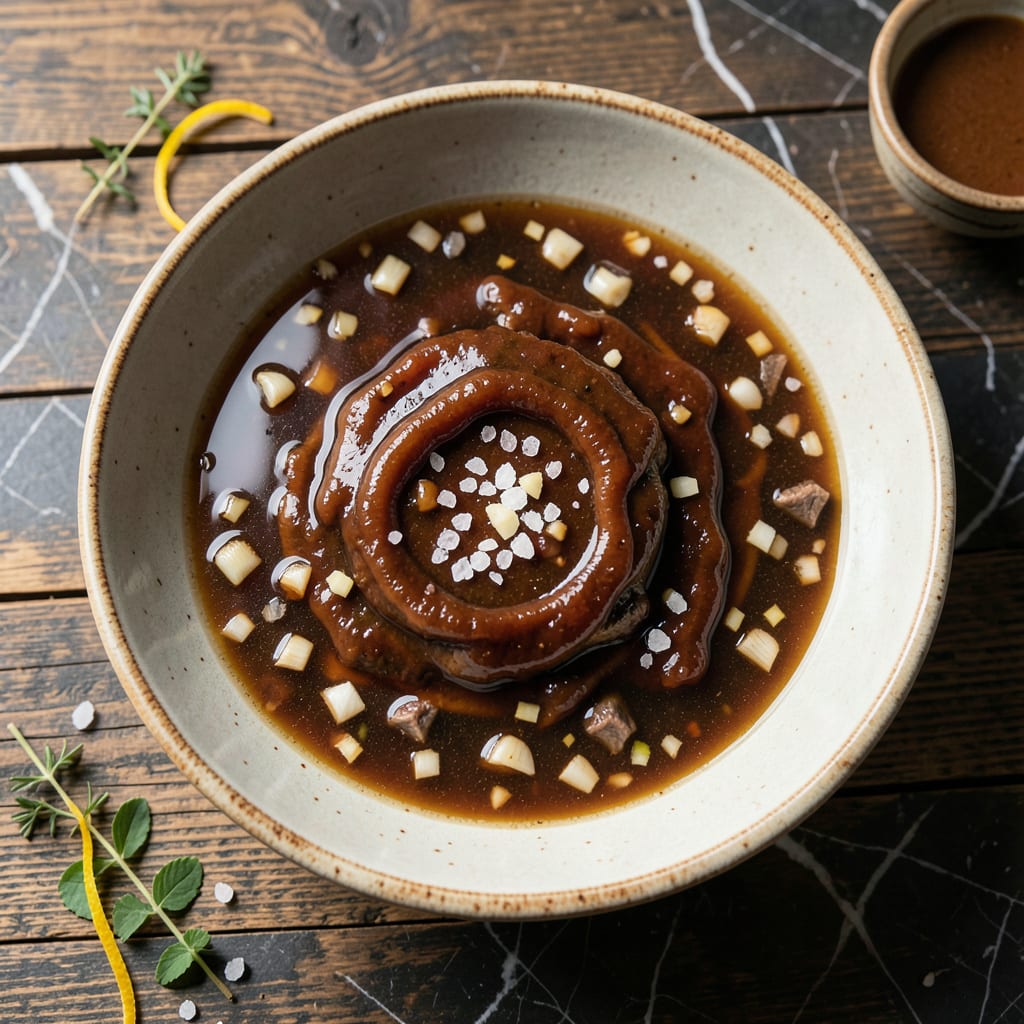
This injection blend is a game-changer for pitmasters seeking juicier, more flavorful beef every time. Developed through years of competition BBQ experience, it delivers moisture and depth that dry rubs alone can’t achieve.
With just a few simple ingredients and 5 minutes of prep, you’ll have a liquid seasoning that penetrates deep into the meat. The result is beef that stays tender and packed with flavor from the first bite to the last.
Ingredients for Butcher Bbq Beef Injection
Nine ingredients transform this liquid seasoning into a pitmaster’s secret weapon for next-level beef.
| Ingredient | Amount | Notes |
|---|---|---|
| Beef Broth 🥩 | 2 cups | Low-sodium preferred for control |
| Worcestershire Sauce 🫒 | ½ cup | Anchovy-free version if preferred |
| Soy Sauce 🫒 | ¼ cup | Low-sodium for balance |
| Garlic Powder 🧄 | 2 tbsp | Fine grind for even dispersion |
| Onion Powder 🧅 | 2 tbsp | Fresh ground for potency |
| Coarse Kosher Salt 🧂 | 1 tbsp | Diamond Crystal brand recommended |
| Black Pepper 🌶️ | 1 tbsp | Freshly ground preferred |
| Brown Sugar 🍚 | ¼ cup | Light or dark variety |
| Apple Cider Vinegar 🍏 | 2 tbsp | Balances richness with acidity |
[recipe_ingredient_scaler]
The beef broth is the foundation—low-sodium lets you control the salt content precisely. Costco’s Kirkland or Swanson are solid grocery store options. For competition-grade results, many pitmasters swear by Better Than Bouillon beef base (mixed with water). The Worcestershire sauce adds umami depth, but opt for anchovy-free if you’re avoiding fish products. Always check labels for hidden additives.
No apple cider vinegar? White vinegar at a 1:1 ratio works, though the flavor profile shifts slightly. Brown sugar can be swapped for white sugar or honey (use 1/3 less honey due to sweetness concentration). If avoiding soy, coconut aminos offer a similar saltiness with a milder taste. The garlic and onion powders are non-negotiable—fresh versions won’t dissolve properly in the injection.
Mix and use immediately, or refrigerate for up to 5 days. For longer storage, freeze in ice cube trays—thaw only what you need. Always discard any leftover injection that’s touched raw meat. This blend penetrates best when injected 2-4 hours before cooking.
Why You’ll Love This Recipe
- Minimal Effort: I just dump everything in a bowl and whisk—no chopping, no fuss.
- Deep Umami Hit: The Worcestershire and soy sauce combo gives that rich, meaty depth I crave in every bite.
- Grill Day Hero: I use this for brisket, ribs, even burgers—it’s my secret for juicy, flavor-packed meat every time.
- Budget Stretcher: A few pantry staples and beef broth transform cheap cuts into something restaurant-worthy.
Step-by-Step Instructions for Butcher BBQ Beef Injection
This method ensures deep penetration and maximum flavor retention for competition-level results.
Step 1: Combine Liquid Base Components
In a large mixing bowl, whisk together the 2 cups Beef Broth, 0.5 cup Worcestershire Sauce, and 0.25 cup Soy Sauce until fully incorporated. The low-sodium versions work best here, as they allow you to control the salt content precisely.
Use a wire whisk to break up any surface tension and create a homogeneous liquid base. This foundation provides the moisture and umami depth that makes injected beef so tender and flavorful.
Step 2: Integrate Dry Seasonings and Sweeteners
Add the 2 tbsp Garlic Powder, 2 tbsp Onion Powder, 1 tbsp Coarse Kosher Salt, 1 tbsp Black Pepper, and 0.25 cup Brown Sugar to the liquid mixture. Whisk vigorously for 2-3 minutes until all dry ingredients are completely dissolved.
The fine grind of the garlic and onion powders ensures they disperse evenly throughout the injection liquid, preventing clumping in your syringe. The coarse kosher salt dissolves more slowly, so persistent whisking is essential.
Step 3: Balance with Acid and Finalize
Stir in the 2 tbsp Apple Cider Vinegar last. This acid component brightens the rich, savory flavors and helps tenderize the meat fibers from within.
Let the mixture rest for 10 minutes before using. This allows the brown sugar to fully dissolve and the flavors to meld. Strain the solution through a fine-mesh sieve to remove any undissolved particles that could clog your injection needle.
Step 4: Prepare for Injection
Transfer the completed injection liquid to a clean, sanitized meat injector. Fill the syringe completely, tapping it gently to remove any air bubbles that could disrupt the flow.
The ideal temperature for injection is 40-45°F. If your beef is cold from the refrigerator, the solution will be absorbed more effectively. Inject in multiple locations, working the needle in a circular pattern as you withdraw it to distribute the liquid evenly.
Pro Tips For Making Butcher Bbq Beef Injection
- Warm the Broth: Heat your beef broth to just below simmering before mixing—cold liquid shocks the meat and slows absorption. I learned this the hard way when my first brisket came out unevenly seasoned.
- Strain the Injection: Run the mixed injection through a fine-mesh strainer to catch garlic/onion powder clumps. Sounds tedious, but it prevents clogged injectors and messy cleanup.
- Inject Slowly: Pull the needle out as you depress the plunger—this spreads the marinade evenly instead of blowing a hole through the meat. After ruining a flat with tunnel tracks, I finally got the hang of it.
- Rest After Injecting: Let the beef sit 30-60 minutes before cooking so the flavors distribute. I skip this when I’m in a hurry, but the difference in tenderness is noticeable.
Common Mistakes When Making This Recipe
Over-Salting the Blend
Using regular beef broth instead of low-sodium can make your injection too salty, masking the other flavors. I learned this the hard way at my first local BBQ competition—the judges could barely taste the garlic and onion notes. Stick to low-sodium and adjust with coarse kosher salt to taste. 💡
Skipping the Straining
Not straining your injection can clog your syringe with undissolved brown sugar or spices. I always use a fine-mesh sieve to ensure a smooth liquid. This extra 2 minutes saves you frustration and wasted time during the cooking process.
Injecting Cold Meat
Injecting into meat straight from the fridge can cause the liquid to pool rather than disperse. Let your beef sit at room temperature for 30-45 minutes first. The injection will spread more evenly, giving you consistent flavor in every bite.
Using Dull Needles
A dull needle tears meat fibers instead of piercing cleanly, which can make your beef tough. I replace my injector needles every 5-6 uses or when I notice resistance. Stainless steel needles from Weber or Cave Tools are my go-to for durability.
Rushing the Rest
Injecting right before cooking doesn’t give the flavors time to penetrate deeply. I inject my beef 2-4 hours before it hits the smoker, then let it rest in the fridge. This waiting period is non-negotiable for maximum flavor and moisture retention. ⏰
Overfilling the Syringe
Filling the syringe to the brim creates air pockets that disrupt the flow. Leave ¼ inch of space at the top and tap the syringe gently to remove bubbles. This ensures a steady, consistent injection every time.
Nutrition Facts

Trained in classic French technique but raised on slow-cooked ribs and spicy rubs, she blends culinary skill with smoke and soul.
- Recipe for Boneless Pork Chops in Cast Iron Skillet: Sear and Baste to Juicy Perfection - October 3, 2026
- Recipe for Boneless Cross Rib Roast: Slow-Roasted Beef with Herb Crust - October 3, 2026
- Hamburgers in Sauce Recipe Crock Pot: Slow-Cooked Savory Delight - October 3, 2026