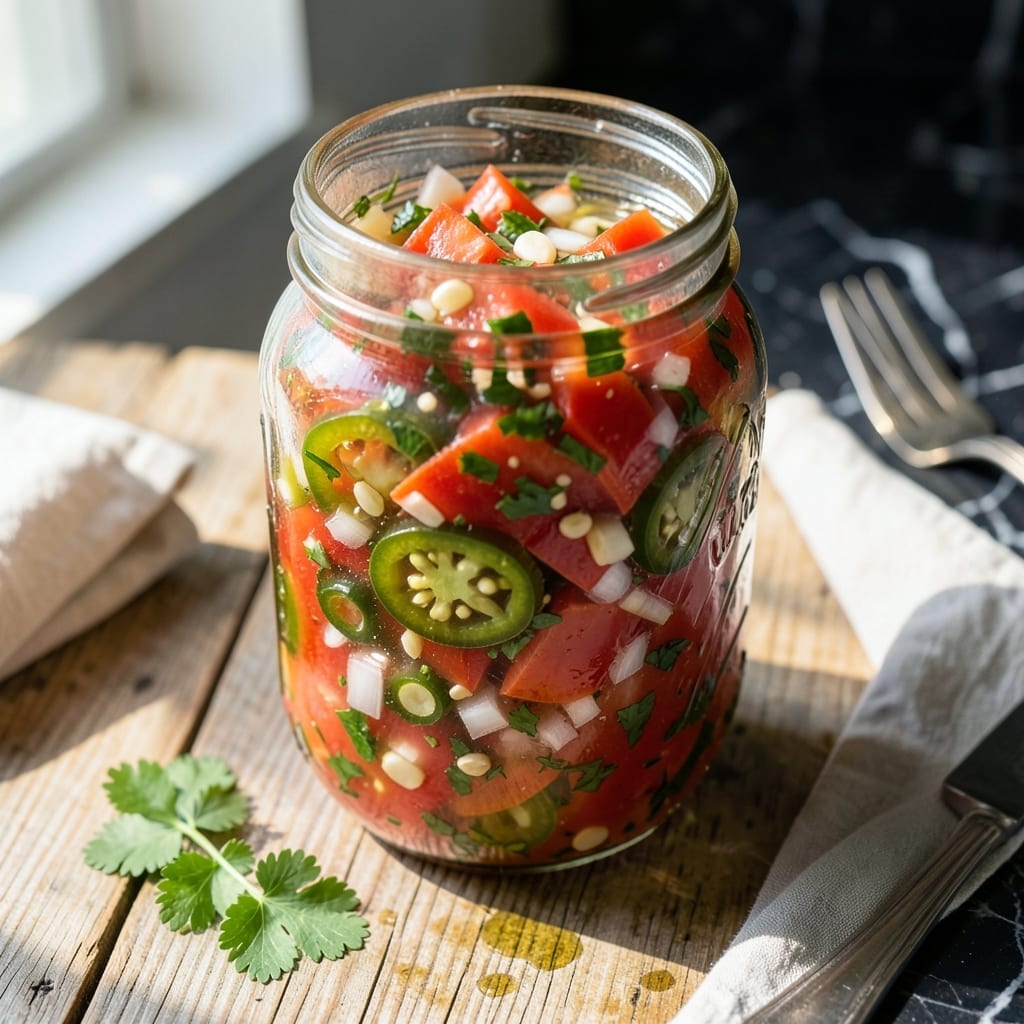
Preserving fresh salsa without vinegar requires careful attention to safety and flavor balance. This method ensures your garden tomatoes retain their vibrant taste while meeting canning standards.
By using lemon juice as an acidifier and processing in a water bath, you maintain the salsa’s fresh character. The result is a safe, flavorful condiment that captures summer in a jar.
Ingredients for Canning Salsa Recipe Without Vinegar
Fresh tomatoes and a few pantry staples keep summer flavors alive in every jar.
| Ingredient | Amount | Notes |
|---|---|---|
| Fresh Tomatoes 🍅 | 8 lb | Ripe, cored and peeled |
| Lemon Juice 🍋 | 1 cup | Freshly squeezed, bottled works |
| Onions 🧅 | 2 whole | Yellow or white, finely diced |
| Jalapeño Peppers 🌶️ | 4 whole | Seeds removed for less heat |
| Garlic Cloves 🧄 | 6 cloves | Peeled and minced |
| Fresh Cilantro 🌿 | 1 cup | Chopped, stems removed |
| Canning Salt 🧂 | 2 tsp | Pickling salt preferred |
| Ground Cumin 🌿 | 1 tsp | Toasted for depth |
| Black Pepper 🌶️ | ½ tsp | Freshly ground |
| Dried Oregano 🍃 | 1 tsp | Mediterranean variety |
[recipe_ingredient_scaler]
Tomatoes are everything here. Use heirloom or Roma for best texture—avoid watery varieties like beefsteak. Farmers markets are gold mines for canning tomatoes (look for seconds, they’re cheaper). The lemon juice isn’t just for safety—it brightens the flavor too. Bottled lemon juice is actually preferred for canning since its acidity is consistent. Pickling salt avoids cloudiness in the jars.
Need to adjust heat? Swap jalapeños for serranos (hotter) or bell peppers (milder). No fresh cilantro? Dried at one-third the amount works, but add it during cooking, not canning. Short on tomatoes? Tomato paste at 2 tbsp per pound can stretch your batch. The cumin and oregano are non-negotiable for that classic salsa flavor—don’t skip them.
Processed jars stay good for 12-18 months in a cool, dark place. Once opened, use within 5 days or freeze for 3 months. Always check for proper seal before storing—popped lids mean it didn’t take.
Why You’ll Love This Recipe
- No Fuss Chopping: I just dice the tomatoes, onions, and jalapeños—no fancy techniques, and the garlic presses in seconds.
- Bright & Zesty: The lemon juice gives it this fresh, tangy kick that makes every bite pop without overpowering the tomatoes.
- Pantry Staple: I can this salsa in bulk and it keeps for ages, so I always have a jar ready for tacos or last-minute snacks.
- Budget Friend: Five simple ingredients, most of which I grow in my garden, and it costs pennies compared to store-bought.
Step-by-Step Instructions for Canning Salsa Without Vinegar
Here’s the method I use to safely preserve that fresh garden taste all year long.
Step 1: Prepare and Process the Vegetables
Start by coring and peeling the 8 lb fresh tomatoes. I find the easiest way is to score an X on the bottom of each tomato, blanch in boiling water for 30-45 seconds, then shock in ice water—the skins will slip right off. Core the tomatoes and remove any tough parts.
Finely dice the 2 whole onions and 4 whole jalapeño peppers (seeds removed if you prefer milder heat). Mince the 6 cloves garlic cloves and chop the 1 cup fresh cilantro, removing any thick stems. This prep work ensures even distribution of flavors in your finished salsa.
Step 2: Cook the Salsa Base
Combine the prepared tomatoes, onions, jalapeños, garlic, and cilantro in a large, heavy-bottomed pot. Stir in the 2 tsp canning salt, 1 tsp ground cumin, 0.5 tsp black pepper, and 1 tsp dried oregano. These spices will bloom beautifully as the mixture heats.
Bring the mixture to a boil over medium-high heat, then reduce to a simmer. Cook for 20-25 minutes, stirring occasionally, until the salsa thickens slightly and the flavors meld together. You’ll notice the tomatoes breaking down and the aroma becoming rich and inviting.
Step 3: Add Acid and Finalize Flavor
Stir in the 1 cup lemon juice—this is crucial for safe canning without vinegar, as it provides the necessary acidity. The lemon juice should be added at the end of cooking to preserve its bright, fresh flavor rather than cooking it down with the vegetables.
Taste and adjust seasoning if needed, though I find the initial measurements perfect for balancing the natural sweetness of the tomatoes with the heat from the jalapeños. The salsa should taste vibrant and well-balanced at this stage.
Step 4: Process for Safe Canning
Ladle the hot salsa into sterilized pint jars, leaving ½-inch headspace. Remove any air bubbles by running a clean knife or bubble tool around the inside of each jar. Wipe the rims clean with a damp cloth to ensure a proper seal.
Process the jars in a water bath canner for 15 minutes (adjust for altitude if necessary). The processing time starts once the water returns to a full, rolling boil. After processing, let the jars cool undisturbed for 12-24 hours—you’ll hear that satisfying “pop” as each jar seals.
Step 5: Verify Seals and Store
After cooling, check each jar’s seal by pressing down on the lid. If it doesn’t pop up and down, it’s properly sealed. Any jars that didn’t seal should be refrigerated and used within 1 week.
Store your sealed jars in a cool, dark place. The salsa will be at its best flavor after about 4-6 weeks, as the flavors continue to develop. Properly canned salsa will keep for up to 1 year, though I doubt it’ll last that long once you taste how fresh it is.
Pro Tips For Making Canning Salsa Recipe Without Vinegar
- Blanch the Tomatoes: Drop tomatoes in boiling water for 30-60 seconds, then ice bath—I learned this the hard way after struggling to peel them raw. It makes removing skins effortless and keeps the texture smooth.
- Use Fresh Lemon Juice: Bottled juice lacks the brightness and acidity needed for safe canning. Always squeeze fresh lemons, about ½ cup per 5 lbs of tomatoes, to hit the right pH balance.
- Remove Jalapeño Seeds: Sounds obvious, but I used to leave them in for heat until I got inconsistent spice levels. Scrape them out unless you want a fiery surprise in every jar.
- Simmer Before Canning: Let the salsa cook down for 10-15 minutes at a gentle boil. This merges the flavors and thickens it just enough—no watery jars, just rich, well-blended salsa.
Make-Ahead Tips for canning salsa recipe without vinegar
🔪 Week Before
Start by gathering all non-perishable ingredients like canning salt, spices, and jars. Check your pantry for staples like tomatoes (canned or fresh) and citric acid (a vinegar alternative for safety). Order any missing items to avoid last-minute stress. 💡 Pro tip: Wash and sterilize jars now—they’ll stay clean stored upside down in a dry cabinet.
🍅 Day Before
Prep your fresh ingredients: chop onions, peppers, and garlic, then store them in airtight containers in the fridge. If using fresh tomatoes, blanch, peel, and dice them the day before to save time. Measure spices and citric acid into small bowls for quick access. This way, assembly will be a breeze! ⏰
👨🍳 Day Of
Focus on cooking and canning. Simmer your salsa mixture for the required time (usually 10–15 minutes) to blend flavors. While it cooks, heat your canning jars in boiling water to prep for filling. Work in batches to avoid rushing—safety first! 🌡️
✨ Last-Minute Tasks
Once the salsa is cooked, ladle it into hot jars, leaving the recommended headspace. Wipe rims, apply lids, and process in a water bath for 15–20 minutes (adjust for altitude). Let jars cool undisturbed for 12–24 hours to seal properly. ✨ Pro tip: Label jars with the date once fully cooled!
Nutrition Facts

Trained in classic French technique but raised on slow-cooked ribs and spicy rubs, she blends culinary skill with smoke and soul.
- Recipe for Boneless Pork Chops in Cast Iron Skillet: Sear and Baste to Juicy Perfection - October 3, 2026
- Recipe for Boneless Cross Rib Roast: Slow-Roasted Beef with Herb Crust - October 3, 2026
- Hamburgers in Sauce Recipe Crock Pot: Slow-Cooked Savory Delight - October 3, 2026