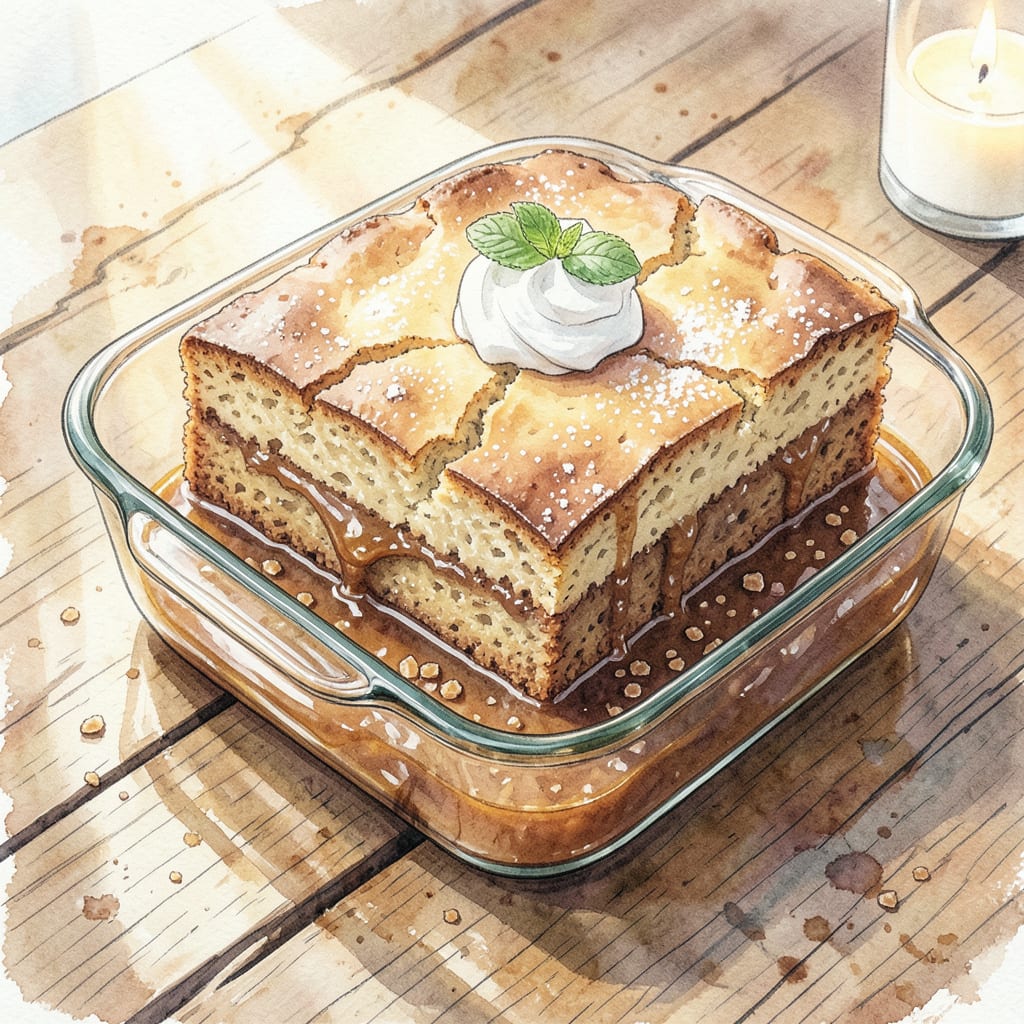
Some desserts feel like magic, and this caramel pudding cake is the perfect example. While baking, it transforms into two distinct layers: a moist, tender cake on top and a rich, gooey caramel sauce beneath. The science behind this self-saucing wonder lies in how the ingredients separate during baking, creating a dessert that serves itself.
What makes this recipe special is its simplicity. With basic pantry staples and 30 minutes of baking time, you’ll achieve a dessert that tastes like it came from a professional kitchen. The warm caramel sauce soaks into the cake just enough to create that ideal balance between saucy and structured—no soggy bottoms here, just perfectly textured indulgence in every bite.
Ingredients for Caramel Pudding Cake
Basic pantry ingredients transform into this self-saucing dessert with minimal effort and maximum reward.
| Ingredient | Amount | Notes |
|---|---|---|
| All-Purpose Flour 🌾 | 1 cup | Sifted for light texture |
| Granulated Sugar 🍚 | 1 cup | Divided for batter and sauce |
| Light Brown Sugar 🍯 | ¾ cup | Packed for caramel depth |
| Unsalted Butter 🧈 | ½ cup | Melted and cooled slightly |
| Whole Milk 🥛 | 1 ½ cups | Warm for better incorporation |
| Large Egg 🥚 | 1 whole | Room temperature preferred |
| Baking Powder 🧂 | 1 ½ tsp | Fresh for optimal rise |
| Vanilla Extract 💧 | 1 tsp | Pure extract recommended |
| Salt 🧂 | ¼ tsp | Fine sea salt preferred |
| Hot Water 💧 | 1 ½ cups | For caramel sauce layer |
[recipe_ingredient_scaler]
The quality of butter and brown sugar directly impacts the caramel layer’s depth. Optimal results require European-style butter (like Plugrá or Kerrygold) for its higher fat content, which creates a richer sauce. The brown sugar should be light brown—dark brown can overpower the delicate balance. For the milk, whole milk provides the necessary fat content for proper separation during baking; lower-fat alternatives may yield a thinner sauce layer.
For dietary adaptations, almond milk with 1 tbsp melted coconut oil can replace whole milk, though the sauce may be slightly less rich. The egg can be substituted with ¼ cup unsweetened applesauce for a vegan version, though this may slightly alter the cake’s structure. If avoiding refined sugar, coconut sugar can replace granulated sugar at a 1:1 ratio, but note it will darken the caramel color and add a subtle coconut flavor.
The unbaked batter can be refrigerated for up to 24 hours before baking. Once baked, the cake keeps well at room temperature for 2 days—the sauce actually improves as it absorbs into the cake. For longer storage, refrigerate for up to 5 days; reheat individual portions in the microwave for 20-30 seconds to restore the saucy texture. The separation effect works best when served warm.
Why You’ll Love This Recipe
- One-Bowl Magic: I’m not kidding—this comes together in a single mixing bowl. Just melt the butter, whisk in the sugars and milk, then fold in the flour. No fancy equipment, no fuss.
- That Caramel Puddle: Here’s what sold me—the way the brown sugar and butter transform into this deep, gooey caramel layer at the bottom while baking. It’s like the cake and its own sauce had a delicious baby.
- Dessert or Breakfast?: Honestly, I’ve served this warm with coffee for brunch and cold with whipped cream after dinner. The leftovers (if there are any) taste even better the next day—like a cross between cake and bread pudding.
- Pantry Staples Only: No last-minute grocery runs. If you’ve got flour, sugar, butter, and milk, you’re 90% there. I’ve made this on snow days, lazy Sundays, and even when my kitchen looked tragically bare. It’s my secret weapon for unexpected guests.
Step-by-Step Instructions for Caramel Pudding Cake
This method creates a moist cake with a rich caramel sauce that forms magically during baking.
Step 1: Prepare the Caramel Base Layer
In a 9-inch square baking dish, combine the 0.75 cup light brown sugar with the 1.5 cups hot water. Stir until the sugar dissolves completely and the mixture becomes smooth. The water should be hot enough to dissolve the sugar but not boiling. This creates the foundation for your caramel sauce layer.
Set the baking dish aside while you prepare the cake batter. The caramel mixture will begin to thicken slightly as it cools, which is exactly what you want for that perfect self-saucing effect during baking.
Step 2: Create the Cake Batter
In a large mixing bowl, whisk together the 1 cup all-purpose flour, 0.25 tsp salt, and 1.5 tsp baking powder until well combined. This ensures even distribution of the leavening agent for consistent rise.
In a separate bowl, combine the 0.5 cup unsalted butter, 1 cup granulated sugar, 1 whole large egg, and 1 tsp vanilla extract. Beat until smooth and creamy. Gradually add the 1.5 cups whole milk while mixing, then incorporate the dry ingredients until just combined. The batter should be smooth but not overmixed.
Step 3: Assemble and Bake the Cake
Carefully pour the prepared cake batter over the caramel mixture in the baking dish. Do not stir or mix the layers – this separation is crucial for the self-saucing effect. The batter will naturally sink into the caramel layer during baking.
Bake in a preheated 350°F oven for 40-45 minutes, or until the top is golden brown and a toothpick inserted in the center comes out clean. You’ll notice the caramel sauce forming beneath the cake layer as it bakes.
Step 4: Cool and Serve
Remove the cake from the oven and let it cool for 10-15 minutes before serving. This brief resting period allows the caramel sauce to thicken slightly while still remaining pourable.
Serve the cake warm, spooning the caramel sauce from the bottom of the dish over each portion. The contrast between the moist cake and rich caramel sauce creates the signature self-saucing experience that makes this dessert so special.
Pro Cooking Tips for caramel pudding cake
Perfect Layer Separation
The magic of this dessert happens when the batter separates into cake and sauce. For clean layers, ensure your hot water is precisely 180°F when mixing with brown sugar—I use an instant-read thermometer to check. The water should dissolve the sugar completely without boiling, creating a smooth base for the sauce to develop beneath the cake. 🌡️
When pouring the batter over the caramel mixture, resist the urge to stir. The density difference is what creates the separation during baking. I like to pour the batter in a slow, steady stream from one corner of the dish to minimize disturbance to the caramel layer below.
Oven Temperature Control
Your oven’s accuracy is everything here. I recommend using an oven thermometer to verify the temperature—many home ovens run 25°F hotter or cooler than their settings. For this recipe, 350°F is ideal; too hot and the cake will set before the sauce forms, too cool and you’ll get a gummy texture.
Place the baking dish on the middle rack for even heat distribution. If your oven has hot spots, rotate the dish 180 degrees halfway through baking. This prevents one side from over-browning while ensuring the sauce develops uniformly beneath.
Batter Consistency Secrets
The cake batter should resemble thick pancake batter—smooth but with enough body to sit atop the caramel layer. If it’s too thin, add 1 tbsp more flour; if too thick, thin with 1 tbsp warm milk. I always use room temperature ingredients (especially the egg and milk) for better emulsification.
Mix the batter just until the flour disappears—overmixing develops gluten, which can make the cake layer tough. The moment you see no dry spots, stop mixing. This gentle handling preserves the tender crumb that makes this dessert so irresistible.
Caramel Depth Boosters
For a more complex caramel flavor, I add 1 tsp blackstrap molasses to the brown sugar-water mixture. It deepens the color and adds mineral notes without overpowering. Another trick: sprinkle ¼ tsp flaky sea salt over the caramel layer before adding the batter—it enhances all the sweet flavors.
The quality of your brown sugar matters here. I prefer Domino Light Brown Sugar for its consistent moisture content and clean caramel notes. Avoid dark brown sugar unless you want a more robust, almost toffee-like sauce.
Serving Temperature Mastery
This dessert shines when served at the perfect temperature—warm enough for the sauce to flow but cool enough to hold its shape. After the 10-15 minute rest, the cake should register 120°F internally. If it’s cooled too much, reheat individual portions in the microwave for 15-20 seconds.
For restaurant-quality plating, I use a large spoon to create a well in each serving, then pour the caramel sauce over the top. The contrast of the golden cake with the amber sauce makes for stunning presentation that tastes as good as it looks. ✨
Equipment Game-Changers
A 9-inch square glass baking dish (like Pyrex) lets you monitor the caramel formation through the sides. The transparency helps you spot when the sauce starts bubbling up around the edges—your cue that the cake is nearly done. Avoid metal pans; they conduct heat too quickly and can burn the caramel.
My secret weapon is a silicon spatula for folding the batter and a fine-mesh sieve for dusting powdered sugar on top before serving. These small tools make a big difference in both preparation and presentation of this showstopping dessert.
Nutrition Facts

Trained in classic French technique but raised on slow-cooked ribs and spicy rubs, she blends culinary skill with smoke and soul.
- Recipe for Boneless Pork Chops in Cast Iron Skillet: Sear and Baste to Juicy Perfection - October 3, 2026
- Recipe for Boneless Cross Rib Roast: Slow-Roasted Beef with Herb Crust - October 3, 2026
- Hamburgers in Sauce Recipe Crock Pot: Slow-Cooked Savory Delight - October 3, 2026