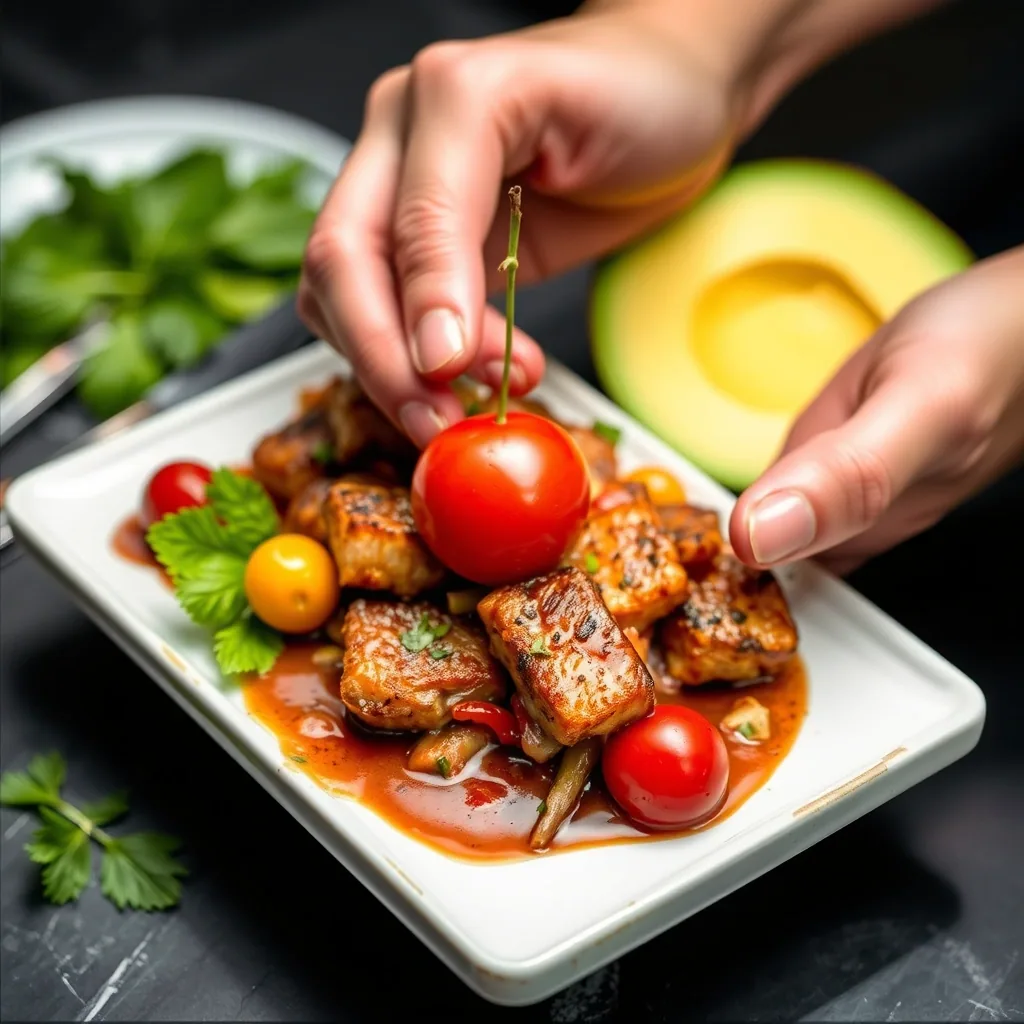
When it comes to enchilada gravy, nothing beats the rich, robust flavors that elevate any dish. 🌶️ I’ve perfected this Casa Ole-inspired recipe to bring a delightful twist to your favorite meals, making it a must-have in your kitchen. You’ll love how easy it is to whip up!
This homemade enchilada gravy combines simple ingredients like chili powder, garlic, and a touch of cumin to create a sauce that’s both savory and slightly smoky. Plus, it’s quick to prepare and stores beautifully in the fridge for up to a week—perfect for meal prep!
By the time you’re done, you’ll have a velvety gravy that’s bursting with flavor, ready to enhance any dish. Just pour it over your favorite enchiladas or use it as a dip! Let’s get started on this flavorful journey!
Ingredients for casa ole enchilada gravy
These simple ingredients come together to make Casa Ole-inspired enchilada gravy.
| Ingredient | Amount | Notes |
|---|---|---|
| Chili Powder 🌶️ | 3 tbsp | Mild variety recommended |
| Ground Cumin 🌿 | 1 tbsp | Toasted for deeper flavor |
| Garlic Powder 🧄 | 2 tsp | Not garlic salt |
| Onion Powder 🧅 | 1 tsp | Fresh ground preferred |
| Dried Oregano 🍃 | 1 tsp | Mexican oregano if available |
| Tomato Sauce 🍅 | 15 oz | Use quality canned variety |
| Chicken Broth 🍗 | 1 cup | Low-sodium preferred |
| Olive Oil 🫒 | 2 tbsp | Extra-virgin for richness |
| Salt 🧂 | 1 tsp | Kosher or sea salt |
| Black Pepper 🌶️ | ½ tsp | Freshly ground preferred |
[recipe_ingredient_scaler]
You can find most of these ingredients at your local grocery store. For the best chili powder, consider Penzeys or bulk bins at Whole Foods. Look for tomato sauce that has no added sugars or preservatives. Using low-sodium chicken broth allows you to control the saltiness of your gravy.
If you don't have chili powder, use a mix of paprika and cayenne for similar heat. For a vegetarian version, substitute vegetable broth for chicken broth. Fresh garlic can be used instead of garlic powder, but adjust the amount to avoid overpowering flavors.
Store any leftover gravy in an airtight container in the fridge for up to a week. It can also be frozen in ice cube trays for easy use later. Reheat on the stove over low heat, adding a splash of water if it thickens too much.
Step-by-Step Instructions for Casa Ole Enchilada Gravy
Let me guide you through this simple yet delicious enchilada gravy that elevates any dish.
👨🍳 Step 1: Gather Your Ingredients and Prep
First, I like to gather all my ingredients to ensure a smooth cooking process. You’ll need 2 tablespoons of vegetable oil, 1/4 cup of all-purpose flour, 2 cups of chicken broth, and 1 can (10 oz) of red enchilada sauce. Having everything ready makes it easier to focus on each step without feeling rushed.
Next, measure out your flour and set it aside. I find that having my spices ready to go also helps; you’ll want 1 teaspoon of chili powder, 1 teaspoon of cumin, and 1/2 teaspoon of garlic powder. This ensures that the flavors blend perfectly as you cook.
🔥 Step 2: Create the Roux
In a medium saucepan, heat the vegetable oil over medium heat. Once hot, I sprinkle in the flour and whisk continuously for about 2-3 minutes. You want the roux to turn a light golden color—this is crucial for flavor development. Watch for that nutty aroma, which tells you it’s ready.
This step is important because it forms the base of your gravy. If the roux isn’t cooked long enough, the flour will taste raw. Keep whisking to prevent any lumps from forming. You’ll know you’re on the right track when the mixture is smooth and bubbly.
🍳 Step 3: Add Liquid Ingredients Gradually
Now, slowly pour in the chicken broth while whisking constantly. It’s essential to add the broth gradually to prevent lumps from forming in your gravy. Continue to whisk until the mixture is well combined and begins to thicken, about 3-5 minutes.
Next, stir in the red enchilada sauce along with your spices: chili powder, cumin, and garlic powder. I find this combination adds a rich depth of flavor that makes the gravy truly special. Keep stirring until everything is fully incorporated, and you see a smooth, velvety consistency.
⏰ Step 4: Simmer for Flavor Development
Bring the gravy to a gentle simmer and let it cook for another 5-10 minutes. This step allows all those wonderful flavors to meld together beautifully. Keep an eye on it and stir occasionally to prevent sticking.
You’ll know it’s ready when the gravy thickens slightly and coats the back of a spoon. If it seems too thick, don’t hesitate to whisk in a splash more chicken broth until you reach your desired consistency. Taste and adjust seasoning as needed; sometimes I add a pinch of salt for enhancement.
🥘 Step 5: Serve and Enjoy!
Your Casa Ole enchilada gravy is now ready to serve! I love using it over cheese enchiladas, but it can also complement tacos or burritos beautifully. Pour the gravy generously over your dish, ensuring every bite is flavorful.
As a finishing touch, I like to sprinkle some fresh cilantro or chopped green onions on top for added freshness. This not only enhances the visual appeal but also adds a delightful contrast of flavor. Enjoy this savory treat with your favorite side dishes!
Troubleshooting Perfect Results
Problem: Gravy too thick? Root Cause: This can happen if you’ve added too much flour or not enough liquid. The ratio of flour to liquid is key for the right consistency. Quick Fix: Gradually whisk in more broth or water, about 1/4 cup at a time, until you reach your desired thickness. To prevent this, always start with less flour and add more gradually as needed. 🔧
Problem: Flavor is bland? Root Cause: If you skimped on spices or didn’t allow them to bloom, your gravy may lack depth. Quick Fix: Add more 1 tsp chili powder and a pinch of salt to enhance the flavor. Additionally, sauté your spices in oil for a minute before adding liquid to maximize their flavor potential. This blooming process is crucial for a well-seasoned sauce.
Problem: Gravy has lumps? Root Cause: Lumps often occur when flour is added directly to hot liquid without being mixed properly. Quick Fix: If lumps form, use an immersion blender to smooth it out. Alternatively, strain the gravy through a fine-mesh sieve. To prevent this, mix your flour with cold broth first to create a slurry before adding it to the pot. 🆘
Problem: Gravy tastes too salty? Root Cause: Over-seasoning or using salty broth can lead to an overly salty sauce. Quick Fix: Add a potato—peeled and cut in half—to the gravy while it simmers for about 10 minutes. The potato will absorb some of the excess salt. To avoid this issue, taste as you go and opt for low-sodium broth when making your gravy.
Problem: Gravy has a metallic taste? Root Cause: This can happen if you used aluminum cookware, which can react with acidic ingredients like tomato sauce. Quick Fix: Switch to stainless steel or cast iron for cooking. If you already have a metallic taste, adding a pinch of sugar can help balance it out. Always be mindful of your cookware choices to maintain the best flavor profile! 🔧
Nutrition Facts
120kcal
[recipe_ingredient_scaler]

Trained in classic French technique but raised on slow-cooked ribs and spicy rubs, she blends culinary skill with smoke and soul.
- Recipe for Boneless Pork Chops in Cast Iron Skillet: Sear and Baste to Juicy Perfection - October 3, 2026
- Recipe for Boneless Cross Rib Roast: Slow-Roasted Beef with Herb Crust - October 3, 2026
- Hamburgers in Sauce Recipe Crock Pot: Slow-Cooked Savory Delight - October 3, 2026