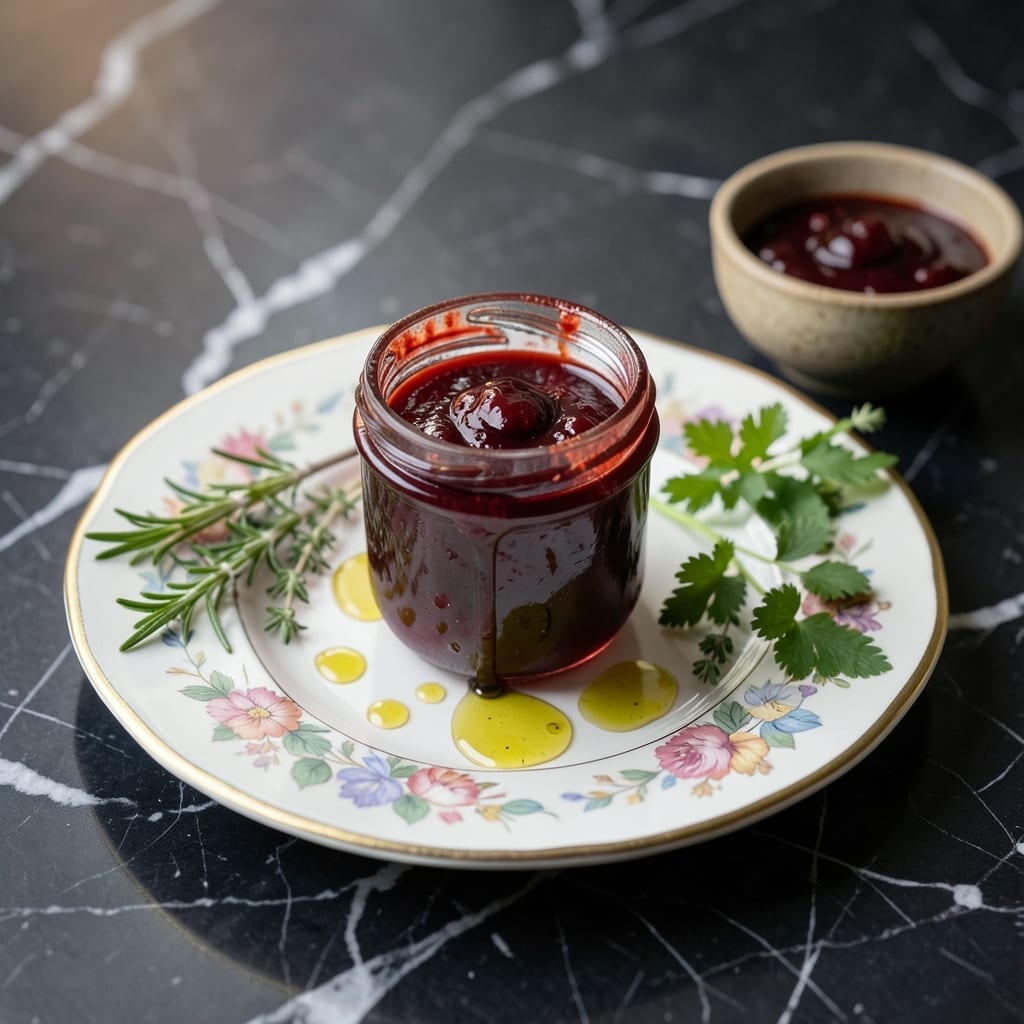
This cherry BBQ sauce captures the perfect balance of sweet and tangy, ideal for preserving summer flavors year-round.
With a simple canning method, you can enjoy this vegan sauce on grilled meats or as a bold dipping sauce for months to come.
Ingredients for Cherry Bbq Sauce Canning
Ten simple ingredients for a bold, tangy sauce that keeps summer alive all year.
| Ingredient | Amount | Notes |
|---|---|---|
| Fresh Cherries 🍒 | 4 cups | Pitted, stems removed |
| Apple Cider Vinegar 🍏 | 1 cup | For tangy brightness |
| Brown Sugar 🍚 | 1 ½ cups | Light or dark variety |
| Tomato Paste 🍅 | ½ cup | For depth and thickness |
| Molasses 🫙 | ¼ cup | Adds rich complexity |
| Garlic Cloves 🧄 | 4 cloves | Minced for flavor base |
| Onion 🧅 | 1 whole | Finely diced, yellow preferred |
| Smoked Paprika 🌶️ | 1 tbsp | For smoky depth |
| Dijon Mustard 🟡 | 1 tbsp | Smooth, no seeds |
| Salt 🧂 | 1 ½ tsp | Kosher or sea salt |
[recipe_ingredient_scaler]
Cherries are the soul here. Farmers market cherries in peak season have the best flavor, but frozen works too (just thaw and drain first). Sweet and tart varieties both work—sweeter cherries need a touch more vinegar. For the tomato paste, San Marzano in the tube is my go-to (no waste, keeps forever). Brown sugar from Domino or any store brand is fine—just avoid the clumpy stuff.
No molasses? Maple syrup at a 1:1 swap keeps it vegan and adds a different richness. Smoked paprika missing? Regular paprika plus half teaspoon liquid smoke gets you close. Fresh out of Dijon? Yellow mustard plus a pinch of turmeric works in a pinch. The onion can be shallots if you’ve got them (use two). And if you’re watching sugar, coconut sugar swaps in perfectly.
This keeps like a champ. Unopened jars last 12-18 months in a cool, dark place. Once opened, use within 1 month or freeze for 3 months. Pro tip: save those old jam jars—they’re perfect for canning (just sterilize first).
Why You’ll Love This Recipe
- One Pot Wonder: I just dump everything in and let it simmer—no fancy steps, just cherries, vinegar, and a few pantry staples doing their thing.
- Sweet-Tangy Magic: The molasses and brown sugar give it this deep, caramelized richness, while the apple cider vinegar cuts through with the perfect zing.
- Slather on Anything: I’ve used this on ribs, chicken, even as a dip for fries—honestly, it’s my go-to sauce for anything that needs a little life.
- Pantry Staple: Canning a batch means I’ve got homemade BBQ sauce ready for months, and it’s way cheaper than store-bought.
Step-by-Step Instructions for Cherry BBQ Sauce Canning
Here’s the method I use every time for rich, tangy sauce that stays fresh for months.
Step 1: Prepare the Cherries and Aromatics
Start by pitting and stemming all 4 cups Fresh Cherries. I use a cherry pitter for speed, but a paring knife works too. Finely dice the 1 whole Onion and mince the 4 cloves Garlic Cloves—you want these small so they melt into the sauce.
This prep work ensures even cooking and a smooth texture. The cherries should be completely clean with no stems or pits, as these can affect the sauce’s flavor and preservation.
Step 2: Cook the Base Until Thickened
In a large stainless steel pot, combine the prepared cherries, diced onion, and minced garlic with 1 cup Apple Cider Vinegar, 1.5 cups Brown Sugar, 0.5 cup Tomato Paste, 0.25 cup Molasses, 1 tbsp Smoked Paprika, 1 tbsp Dijon Mustard, and 1.5 tsp Salt.
Bring the mixture to a boil over medium-high heat, then reduce to a simmer. Cook for 25-30 minutes, stirring frequently, until the sauce thickens and the cherries break down completely. You’ll know it’s ready when a spoon dragged through the sauce leaves a clear path that holds for a few seconds.
Step 3: Blend for a Smooth Texture
Once the sauce has thickened, remove it from heat and let it cool for 5 minutes. Use an immersion blender to puree the sauce until smooth. If you don’t have one, carefully transfer the sauce in batches to a regular blender, then return it to the pot.
A smooth texture is key for even canning and a professional finish. Taste the sauce at this point and adjust seasoning if needed, though the flavors will deepen slightly during canning.
Step 4: Sterilize Jars and Lids
While the sauce cools slightly, wash 4 pint-sized canning jars and their lids in hot, soapy water. Rinse well, then place the jars in a large pot of boiling water for 10 minutes to sterilize. Keep the jars hot until you’re ready to fill them.
Sterilizing prevents contamination and ensures your sauce stays safe for long-term storage. The lids should be simmered, not boiled, for 5 minutes to soften the sealing compound.
Step 5: Fill, Seal, and Process the Jars
Ladle the hot sauce into the sterilized jars, leaving ½-inch headspace at the top. Wipe the rims with a clean, damp cloth to remove any residue that could prevent a proper seal. Place the lids on the jars and screw on the bands until fingertip-tight.
Process the jars in a boiling water bath for 15 minutes, ensuring they’re fully submerged. Remove the jars and let them cool on a towel-lined countertop. You’ll hear the satisfying “pop” of the lids sealing as they cool. Check the seals after 24 hours—if any jars didn’t seal, refrigerate and use within 1 week. Properly sealed jars can be stored in a cool, dark place for up to 1 year.
Pro Tips For Making Cherry Bbq Sauce Canning
- Pit the Cherries: I learned this the hard way—leaving pits in creates bitter spots and ruins the texture. A cherry pitter or paring knife makes quick work of 2-3 pounds.
- Simmer Low and Slow: After burning my first batch, I now keep the heat at medium-low and let it bubble gently for 30-40 minutes. This thickens the sauce without scalding the sugars.
- Skip the Substitutes: Apple cider vinegar’s mild tang is non-negotiable here—white vinegar or lemon juice will make your sauce taste harsh. Stick with the original.
- Balance the Sweetness: Taste before canning and add a pinch more salt or a splash of vinegar if the brown sugar and molasses overwhelm. I usually need about 1/2 tsp extra salt per quart.
Essential Equipment for cherry bbq sauce canning
Must-Have Tools
To get started with your cherry BBQ sauce canning, you’ll need a few non-negotiables. A water bath canner (like the Ball FreshTECH) is essential for safely preserving your sauce. 🔥 Don’t forget a canning rack to keep jars off the pot’s bottom and prevent breakage. A jar lifter and canning funnel will make filling jars a breeze while keeping things mess-free.
Precision matters, so a kitchen scale and measuring cups ensure your cherry BBQ sauce turns out perfectly balanced every time. A large stainless steel pot is also a must for cooking down your sauce before canning.
Nice-to-Have
For extra convenience, consider a magnetic lid lifter to simplify handling hot lids. A bubble remover tool helps eliminate air pockets, ensuring a clean, professional finish. If you’re making large batches, an immersion blender (like the Cuisinart Smart Stick) can blend ingredients smoothly right in the pot. 🍳
Budget Alternatives
No water bath canner? A large stockpot with a rack can work in a pinch—just ensure it’s deep enough to cover jars by 1-2 inches. For lifting jars, tongs can substitute for a jar lifter, though they’re less secure. Mason jars with new lids and rings are a must, but you can reuse jars from previous canning sessions if they’re in good shape. ⏰
Nutrition Facts

Trained in classic French technique but raised on slow-cooked ribs and spicy rubs, she blends culinary skill with smoke and soul.