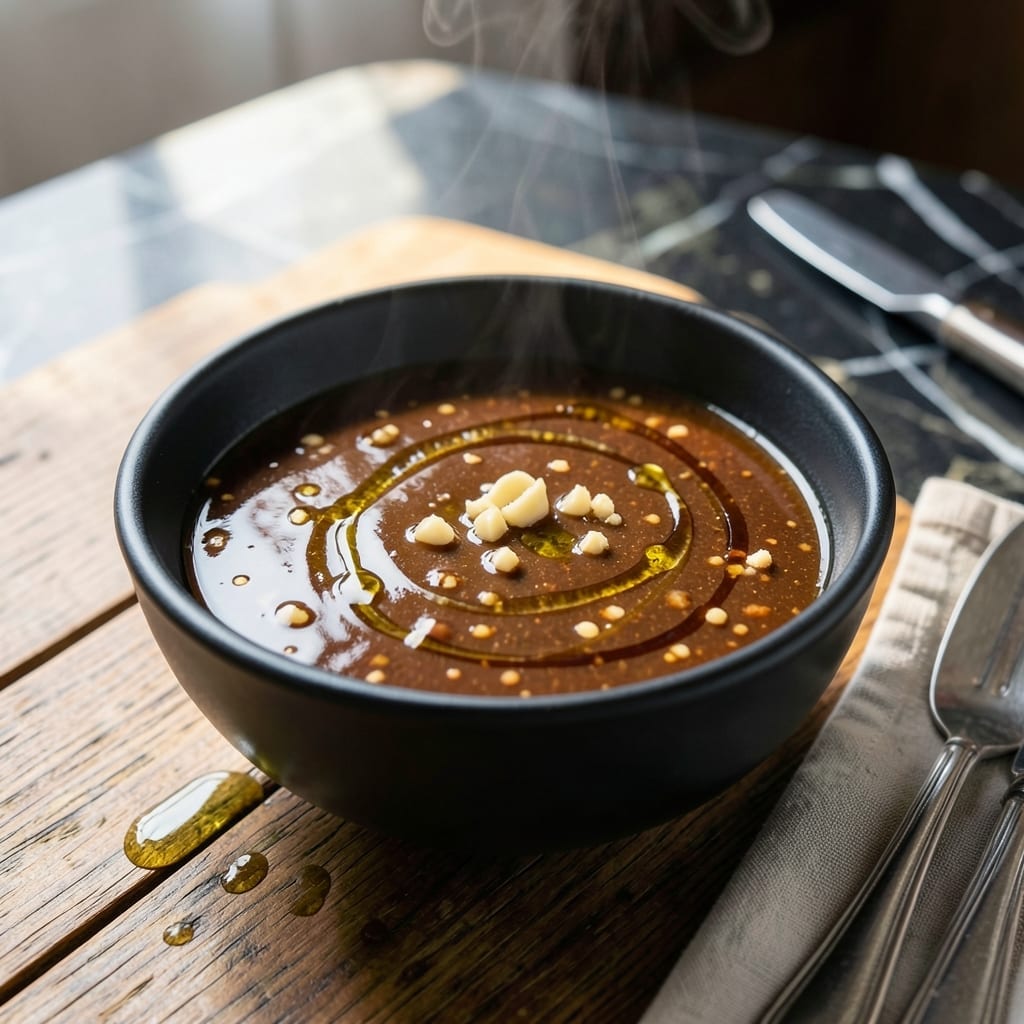
This sauce transforms simple rice noodles into an authentic dim sum experience. The balance of sweet, salty, and umami flavors is what makes it perfect for dipping.
I developed this version after tasting countless variations at dim sum restaurants, refining the ratio of soy sauce, hoisin, and sesame oil until it was just right. The addition of a touch of sugar rounds out the flavors.
What you get is a glossy, rich sauce that clings beautifully to cheung fun rolls. It’s versatile enough to use with other dim sum dishes or even as a marinade.
Make a double batch and keep it on hand. This sauce stays fresh in the fridge for up to a week.
Ingredients for Cheung Fun Sauce
Eight simple ingredients create this glossy, umami-packed dim sum dipping sauce.
| Ingredient | Amount | Notes |
|---|---|---|
| Light Soy Sauce 💧 | ½ cup | Low-sodium preferred for balance |
| Hoisin Sauce 🥫 | ¼ cup | Thick, sweet variety essential |
| Sesame Oil 🫒 | 1 tbsp | Toasted for rich aroma |
| Granulated Sugar 🍚 | 1 tbsp | Adjust to taste preference |
| Rice Vinegar 🍶 | 1 tbsp | Mild acidity for brightness |
| Garlic Cloves 🧄 | 2 cloves | Minced for pungent flavor |
| Fresh Ginger 🌿 | 1 tsp | Grated for zesty kick |
| Water 💧 | 2 tbsp | To thin sauce consistency |
[recipe_ingredient_scaler]
The hoisin is non-negotiable here—Koon Chun or Lee Kum Kee are my go-tos for that perfect sweet-salty depth. Find them in the Asian aisle at most supermarkets or any Asian grocery store. Light soy sauce (not dark) keeps the color right. I grab Pearl River Bridge brand when I can—it’s the gold standard for dim sum sauces. Fresh ginger and garlic? Always better than powdered.
No hoisin? Mix 2 tbsp soy sauce + 1 tbsp molasses + 1 tsp five-spice powder in a pinch. Short on sesame oil? Toasted peanut oil adds a similar nutty note. The sugar can be swapped for honey or maple syrup if you prefer. Rice vinegar is mild, but apple cider vinegar works too (just a touch less).
This keeps beautifully in a sealed jar for up to 1 week in the fridge. The flavors deepen after a day, so make it ahead if you can. Stir before using—natural separation is normal.
Why You’ll Love This Recipe
- Five-Minute Mix: I just stir these five pantry staples together—no cooking, no fuss.
- Sweet-Savory Balance: The hoisin brings depth, light soy keeps it bright, and that hint of rice vinegar cuts through perfectly.
- Drizzle on Everything: Honestly, I use it on cheung fun, dumplings, even roasted veggies when I’m feeling lazy.
- Stays Fresh for Days: A small batch keeps in the fridge for a week, so I can make it Sunday and forget about sauces till next weekend.
Step-by-Step Instructions for Cheung Fun Sauce
This foolproof method brings together all the bold, balanced flavors you expect from a perfect dipping sauce.
Step 1: Bloom the Aromatics
Heat a small saucepan over medium-low heat and add the 1 tbsp Sesame Oil. Once it shimmers slightly, add the 2 cloves Garlic Cloves and 1 tsp Fresh Ginger, both minced. Stir constantly for 30-45 seconds until the mixture becomes fragrant.
Watch carefully—you want the garlic to turn just light golden at the edges, not brown. If it darkens too much, it’ll turn bitter. This step releases the essential oils, creating the aromatic foundation for your sauce.
Step 2: Combine the Sauce Base
Pour in the 0.5 cup Light Soy Sauce and 0.25 cup Hoisin Sauce, stirring to combine with the aromatics. The hoisin will begin to dissolve into the soy sauce, creating a thick, glossy base. Let this simmer gently for 2 minutes.
You’ll notice the sauce start to slightly reduce and deepen in color. This is where the sweet, salty balance begins to take shape. Keep the heat low to prevent scorching—hoisin sauce can burn easily if overheated.
Step 3: Balance the Flavors
Add the 1 tbsp Granulated Sugar and 1 tbsp Rice Vinegar, stirring until the sugar fully dissolves. The vinegar will brighten the richness of the hoisin and soy, while the sugar rounds out the sharpness.
Taste and adjust if needed—though the recipe is balanced as written, some prefer a touch more sweetness or acidity. Simmer for another 1-2 minutes to let the flavors meld completely. The sauce should be smooth and slightly syrupy at this stage.
Step 4: Adjust the Consistency
Remove the saucepan from heat and stir in the 2 tbsp Water. This thins the sauce to the perfect dipping consistency—thick enough to cling to cheung fun rolls but fluid enough to drizzle easily.
Let the sauce cool for 5 minutes before using. As it cools, it will thicken slightly. If it becomes too thick after cooling, add another 1 tsp of water and stir well. The final texture should coat the back of a spoon with a glossy sheen.
Transfer to a small serving bowl and enjoy with your favorite dim sum dishes. The flavors will continue to develop as it sits, making it even more delicious.
Pro Tips For Making Cheung Fun Sauce
- Heat the Sauces: Gently warm the light soy and hoisin together in a small pan for 30 seconds—this blends the flavors better than mixing cold.
- Dissolve the Sugar: Stir the granulated sugar into the rice vinegar first before adding to the sauce; it dissolves faster and prevents graininess.
- Skip the Overmixing: After combining all ingredients, give it one good stir and stop—overmixing can make the sauce thin and watery.
- Add Sesame Last: I learned this the hard way—stir in the sesame oil only after the sauce has cooled slightly to preserve its aroma.
Make-Ahead Tips for Leftovers
Prep Ahead
I always make this sauce 1-2 days before serving. The flavors deepen as it sits, especially the garlic and ginger. Just whisk before using—natural separation is normal. 💡
Fridge Storage
Transfer to a clean airtight jar and refrigerate for up to 1 week. I use 8-ounce mason jars for perfect portion control. The sauce thickens slightly when chilled.
Freezing Option
For longer storage, freeze in ice cube trays for 1 month. Once solid, pop out cubes and store in a freezer bag. Thaw 2-3 cubes overnight in the fridge for a quick batch.
Room Temp Revival
Let refrigerated sauce sit at room temperature for 15-20 minutes before serving. This brings out the full aroma. If too thick, stir in 1 tsp warm water to restore consistency.
Batch Scaling
Double or triple the recipe easily—just maintain the same ratios. I often make a 2-cup batch for dim sum parties. Stir well and taste before adjusting flavors.
Travel Tip
For potlucks, pack in a small thermos or insulated container. It stays fresh for 4-5 hours without refrigeration. Shake well before pouring into serving dishes.
Nutrition Facts
Frequently Asked Questions
Can I make this without hoisin sauce?
Yes! Mix 2 tbsp soy sauce with 1 tbsp molasses and 1 tsp five-spice powder as a substitute. The flavor won’t be identical but it’ll still be delicious.
How do I fix sauce that’s too salty?
Balance it with a touch of honey or sugar and a splash of rice vinegar. Add 1 tsp at a time, tasting as you go until it’s perfect.
What’s the best way to store leftover sauce?
Keep it in an airtight container in the fridge for up to 1 week. The flavors deepen after 24 hours, making it even tastier.
Can I use dark soy sauce instead of light?
Not recommended—dark soy is thicker and more intense. It’ll overpower the other flavors and make your sauce too dark. Stick with light for the best results.

Trained in classic French technique but raised on slow-cooked ribs and spicy rubs, she blends culinary skill with smoke and soul.
- Recipe for Boneless Pork Chops in Cast Iron Skillet: Sear and Baste to Juicy Perfection - October 3, 2026
- Recipe for Boneless Cross Rib Roast: Slow-Roasted Beef with Herb Crust - October 3, 2026
- Hamburgers in Sauce Recipe Crock Pot: Slow-Cooked Savory Delight - October 3, 2026