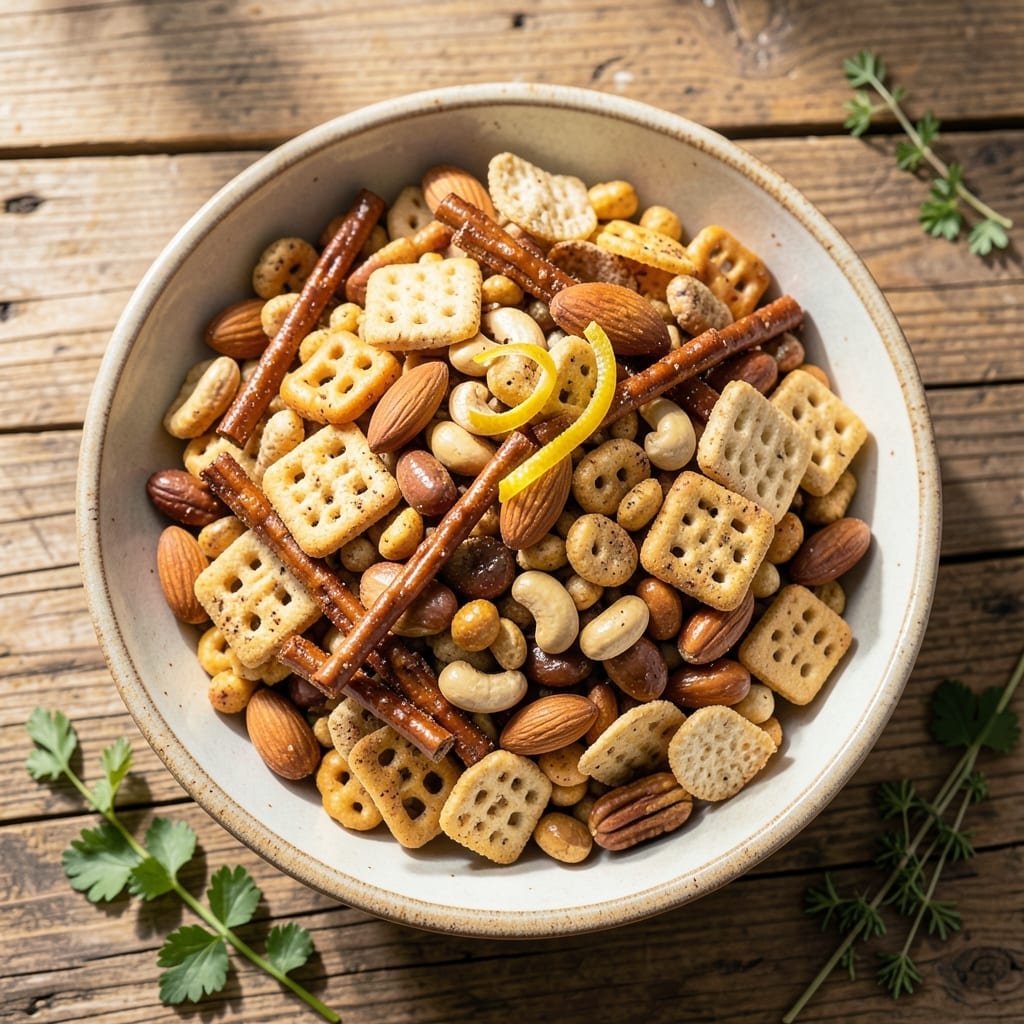
This baked Chex Mix delivers the perfect balance of savory flavor and crunchy texture in every bite.
With a simple combination of seasonings and a one-pan baking method, it transforms store-bought cereal into an irresistible snack.
Ingredients for Chex Mix Recipe Baked in the Oven
Transform store-bought cereal into a savory, crunchy snack with these ingredients.
| Ingredient | Amount | Notes |
|---|---|---|
| Corn Chex Cereal 🌽 | 3 cups | Standard variety preferred |
| Rice Chex Cereal 🍚 | 3 cups | Standard variety preferred |
| Wheat Chex Cereal 🌾 | 3 cups | Standard variety preferred |
| Mixed Nuts 🥜 | 1 cup | Salted or unsalted variety |
| Pretzel Sticks 🥨 | 1 ½ cups | Broken into bite-sized pieces |
| Bagel Chips 🥯 | 1 cup | Plain or everything flavor |
| Unsalted Butter 🧈 | ½ cup | Melted for coating |
| Worcestershire Sauce 🫒 | 2 tbsp | Vegetarian variety if available |
| Garlic Powder 🧄 | 2 tsp | Freshly ground preferred |
| Onion Powder 🧅 | 2 tsp | Freshly ground preferred |
| Sea Salt 🧂 | 1 ½ tsp | Fine grain preferred |
| Paprika 🌶️ | 1 tsp | Sweet or smoked variety |
[recipe_ingredient_scaler]
The cereal base matters most. General Mills Chex is the standard—both corn and rice varieties provide different textures (the corn adds sweetness, rice adds crispness). Wheat Chex brings a nuttier flavor. For the nuts, mixed varieties from Costco work well, but avoid heavily salted types that can overwhelm the seasoning blend.
No vegetarian Worcestershire? Annie’s or Edward & Sons make reliable plant-based versions. Smoked paprika at one-third the amount adds depth if you want more complexity. The butter can be swapped for olive oil or coconut oil (melted) for a dairy-free version. Pretzels and bagel chips are flexible—use whatever you have on hand.
Store in an airtight container at room temperature for up to 2 weeks. This actually improves as it sits, with the flavors melding together. Freezing isn’t necessary, but if you must, portion into bags for up to 1 month (though texture may soften).
Why You’ll Love This Recipe
- One Pan Wonder: I toss everything—Chex, nuts, pretzels—on a sheet pan, bake, and we’re done. No messy stovetop, no fuss.
- Dangerously Addictive: That first crunch of savory, buttery cereal with salty pretzels and nuts? I make a double batch because it disappears fast.
- Party or Pajamas: Honestly, it’s just as good for game day as it is for my solo snack attack at 10 p.m.
- Pantry Hero: Between us, I always have the ingredients on hand, and it costs pennies compared to store-bought mixes.
Step-by-Step Instructions for Chex Mix Baked in the Oven
This method ensures even coating and perfect crispness with minimal effort.
Step 1: Combine Dry Ingredients in Large Bowl
In an extra-large mixing bowl, combine the 3 cups Corn Chex Cereal, 3 cups Rice Chex Cereal, 3 cups Wheat Chex Cereal, 1 cup Mixed Nuts, 1.5 cups Pretzel Sticks, and 1 cup Bagel Chips. I use a bowl that’s at least 6 quarts to give everything room to toss without spilling.
The pretzel sticks should already be broken into bite-sized pieces as noted in the ingredients. If any cereal pieces are crushed, that’s fine—they’ll still crisp up nicely in the oven. This base mixture gives you the ideal balance of textures for the final product.
Step 2: Prepare the Seasoning Butter Mixture
In a microwave-safe bowl, melt the 0.5 cup Unsalted Butter until completely liquid. Stir in the 2 tbsp Worcestershire Sauce, 2 tsp Garlic Powder, 2 tsp Onion Powder, 1.5 tsp Sea Salt, and 1 tsp Paprika until fully combined. The mixture should be fragrant and slightly thick from the melted butter.
Real talk: the Worcestershire sauce is what gives this its signature umami depth, while the paprika adds a subtle warmth and color. Don’t be tempted to reduce the salt—the cereal and pretzels can handle it, and it balances the richness of the butter.
Step 3: Coat the Mixture Thoroughly
Pour the melted butter mixture over the dry ingredients in the large bowl. Using a silicone spatula or wooden spoon, gently fold everything together until all pieces are evenly coated. This takes about 2-3 minutes of careful mixing to ensure every piece gets attention.
You’ll notice the cereal starts to look glossy as it absorbs the seasoned butter. If you see any dry spots, keep folding until the mixture is uniform. The goal is complete coverage without breaking the cereal into dust.
Step 4: Bake Until Crisp and Golden
Preheat your oven to 250°F and line two large baking sheets with parchment paper. Spread the coated mixture in an even layer across both sheets. Bake for 1 hour, stirring and rotating the pans halfway through for even browning.
Watch for the edges to turn a deep golden brown and the cereal to appear crisp. The low temperature ensures everything dries out without burning, while the stirring prevents any piece from sticking. You’ll smell the aromatic spices intensifying as it nears completion.
Step 5: Cool Completely Before Serving
Remove the baking sheets from the oven and let the mixture cool completely on the pans, about 30-45 minutes. As it cools, the pieces will crisp up further and the flavors will meld together.
Here’s the thing—this step is non-negotiable. If you try to pack it away while still warm, the steam will make everything soggy. Once fully cool, transfer to airtight containers where it’ll keep for up to 2 weeks at room temperature.
Pro Tips For Making Chex Mix Recipe Baked In The Oven
- Rotate the Pan: I learned this the hard way—stir the mix and swap the pan’s position halfway through baking, or the back corners will burn while the front stays soggy.
- Dry the Nuts: Sounds weird, but it works: toast the mixed nuts for 5 minutes alone first to remove moisture so they crisp up instead of steaming the cereal.
- Skip the Overcrowding: After burning three batches, I finally figured out that using two pans or baking in shifts guarantees even browning instead of a sad, chewy clump.
- Melt Butter Slowly: My grandmother swore by this, and she was right: warm the butter and seasonings together off-heat to avoid separating, which makes coating the cereal a breeze.
Storing and Reheating This Dish
Room Temperature Storage
Once completely cooled, store your mix in an airtight container at room temperature. I use glass jars with clamp lids for visibility and freshness. It stays crisp for up to 2 weeks—if it lasts that long! 💪
Freezer Storage
For longer storage, portion into ziplock freezer bags and freeze for up to 1 month. Squeeze out excess air to prevent freezer burn. Note that texture may soften slightly upon thawing.
Reviving Stale Mix
If your mix loses its crunch, spread it on a baking sheet and warm at 250°F for 5-10 minutes. This drives off moisture and restores crispness. Watch closely to prevent burning.
Reheating Not Needed
This snack is best enjoyed at room temperature straight from the container. The flavors are most vibrant when not reheated. Just grab a handful whenever the craving strikes!
I often pack small portions in lunchboxes for work or school snacks. ✨
Nutrition Facts
Frequently Asked Questions
Can I make this ahead of time?
This mix actually tastes better after 24 hours as flavors meld. Store in an airtight container at room temperature for up to 2 weeks for peak freshness.
What if I don’t have all three Chex varieties?
No problem. Use 6 cups total of any combination. Corn and rice are sweeter, while wheat adds a nuttier flavor. The texture will still be perfect.
How do I prevent my mix from getting soggy?
Let it cool completely before storing and use a parchment-lined pan. Stirring during baking also ensures even crispness. Never store while warm.
Can I bake this at a higher temperature for less time?
Not recommended. The low 250°F temperature for 1 hour ensures even drying without burning. Higher heat risks uneven cooking and bitter flavors.

Trained in classic French technique but raised on slow-cooked ribs and spicy rubs, she blends culinary skill with smoke and soul.
- Recipe for Boneless Pork Chops in Cast Iron Skillet: Sear and Baste to Juicy Perfection - October 3, 2026
- Recipe for Boneless Cross Rib Roast: Slow-Roasted Beef with Herb Crust - October 3, 2026
- Hamburgers in Sauce Recipe Crock Pot: Slow-Cooked Savory Delight - October 3, 2026