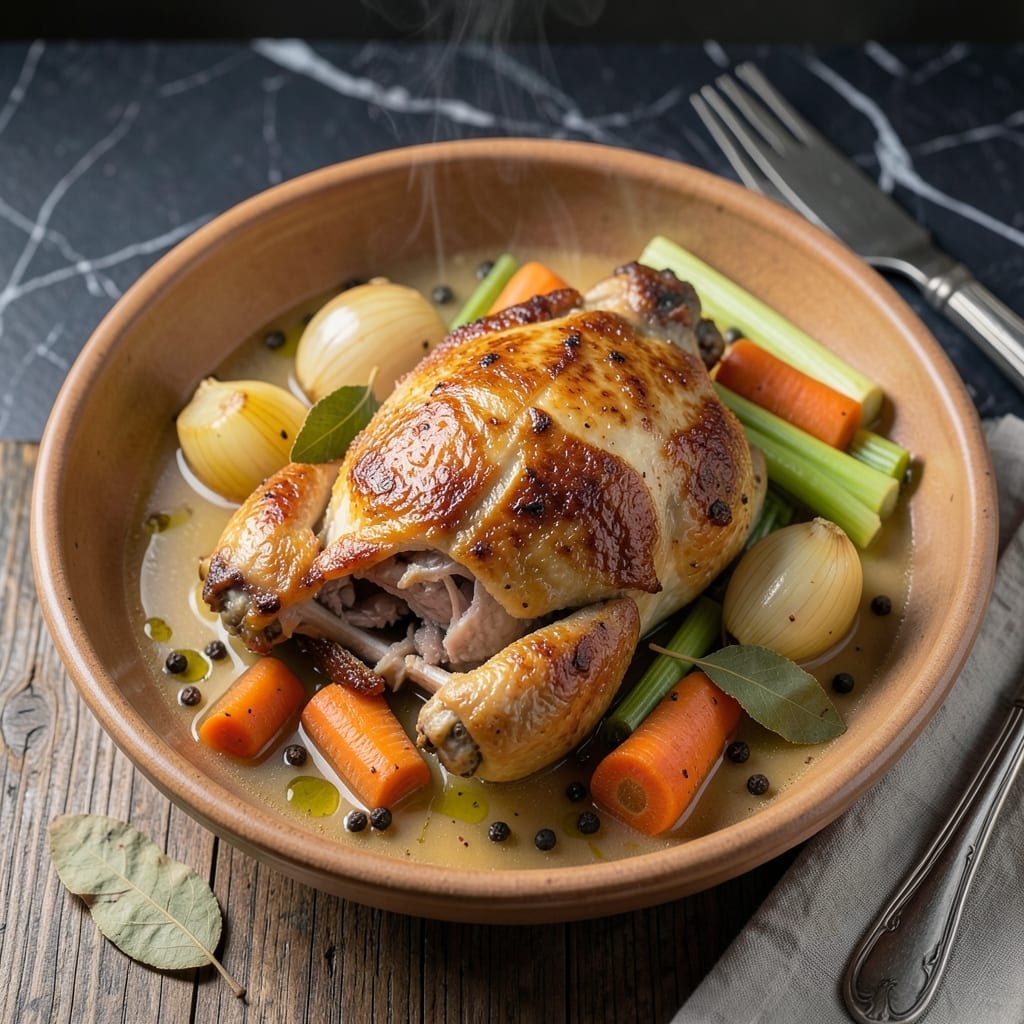
Every chicken carcass holds the potential for a rich, flavorful stock that transforms scraps into liquid gold. This zero-waste method extracts maximum depth from bones and bits most would discard.
Simmering the carcass with aromatic vegetables and herbs creates a golden broth with complex, savory notes. The slow cooking process coaxes out every bit of gelatin and flavor, resulting in a versatile base for soups, sauces, or risottos.
What emerges is a rich, aromatic stock that puts store-bought versions to shame. The house fills with an intoxicating aroma as the stock reduces, signaling its readiness.
Use within a week or freeze for up to three months. This is cooking at its most resourceful.
Ingredients for Chicken Carcass
Transform leftovers into liquid gold with these humble yet essential components ready for simmering.
| Ingredient | Amount | Notes |
|---|---|---|
| Chicken Carcass 🍗 | 1 whole | From roasted or raw chicken |
| Yellow Onions 🧅 | 2 whole | Quartered, skin on |
| Carrots 🥕 | 3 whole | Cut into large chunks |
| Celery Stalks 🌿 | 3 whole | Including leafy tops |
| Garlic Cloves 🧄 | 6 cloves | Unpeeled, smashed |
| Bay Leaves 🍃 | 2 whole | Dried, whole |
| Black Peppercorns 🌶️ | 1 tbsp | Whole, lightly crushed |
| Fresh Thyme Sprigs 🌿 | 4 whole | Or 1 tsp dried |
| Fresh Parsley Stems 🌿 | 1 cup | Reserve leaves for garnish |
| Cold Water 💧 | 12 cups | To cover all ingredients |
| Apple Cider Vinegar 🍏 | 2 tbsp | Helps extract calcium from bones |
| Kosher Salt 🧂 | 1 tsp | Adjust to taste after straining |
[recipe_ingredient_scaler]
The chicken carcass is everything. Use bones from a roasted bird—raw works but lacks depth. Ask your butcher for extra carcasses if you’re making a big batch. Organic or free-range chickens yield the most gelatinous stock. Vegetables don’t need peeling (the skins add color), but do wash them well. Whole Foods and farmers markets have the best organic produce for this.
No carcass? Bones from chicken thighs or wings work in a pinch. Short on fresh herbs? Dried thyme or parsley at one-third the amount is fine. Apple cider vinegar can be swapped for white vinegar or lemon juice. The celery can be omitted, but it adds a subtle earthy note. For a darker stock, roast the vegetables first in a 400°F oven for 20 minutes.
Stock keeps 1 week refrigerated in airtight containers or 3 months frozen. Freeze in ice cube trays for easy portioning (worth the extra minute). Skim off any fat after chilling—it’ll solidify at the top for easy removal.
Why You’ll Love This Recipe
- One Pot Magic: I just toss the carcass, onions, carrots, and celery in a pot and let it simmer—no fancy steps.
- Deep Rich Flavor: The garlic and slow-cooked veggies pull every bit of goodness from the bones. Honestly, it’s better than any store-bought stock.
- Meal Prep Hero: I make a big batch and freeze it for soups, risottos, or sauces all week.
- Pennywise Perfection: It turns scraps into liquid gold, saving me money and reducing waste. I’ll be real: that’s a win-win.
Step-by-Step Instructions for Chicken Stock
This method extracts maximum flavor while maintaining clarity and depth in your stock.
Step 1: Prepare and Par-Cook the Vegetables and Aromatics
Quarter the 2 whole Yellow Onions with skin on, as the papery layers add color and tannins. Cut the 3 whole Carrots and 3 whole Celery Stalks into large chunks—uniform pieces ensure even extraction. Lightly crush the 1 tbsp Black Peppercorns to release their oils without pulverizing them.
In a large stockpot, combine the chicken carcass, prepared vegetables, 6 cloves Garlic Cloves (unpeeled and smashed), 2 whole Bay Leaves, 4 whole Fresh Thyme Sprigs, and 1 cup Fresh Parsley Stems. Add enough cold water to cover everything by 2 inches—this prevents evaporation from exposing ingredients during simmering.
Step 2: Cold Start and Slow Heat Buildup
Place the stockpot over medium-low heat and add the 12 cups Cold Water. The cold start method—beginning with cold water and ingredients—ensures gradual heat penetration, which extracts gelatin from the bones for a richer mouthfeel. Stir in the 2 tbsp Apple Cider Vinegar, which helps break down collagen and extract calcium from the bones.
As the water heats, you’ll see tiny bubbles forming at the bottom before they rise. Skim off any foam or impurities that surface during this stage with a fine-mesh skimmer. This step, done within the first 20-30 minutes, is crucial for achieving a clean, clear stock without bitterness.
Step 3: Maintain a Gentle Simmer
Once the liquid reaches a gentle simmer (small bubbles occasionally breaking the surface, not a rolling boil), reduce the heat to low. A vigorous boil emulsifies fat into the stock, creating a cloudy appearance and greasy texture. Partially cover the pot to retain moisture while allowing steam to escape.
Simmer undisturbed for 3-4 hours. You’ll notice the liquid gradually reducing and taking on a deep amber color. The chicken carcass will begin to fall apart, and the vegetables will soften significantly, signaling that their flavors have been fully extracted. Avoid stirring, as this can break up solids and cloud the stock.
Step 4: Strain and Finish
Carefully strain the stock through a fine-mesh sieve into a large bowl or another pot. Discard all solids—they’ve given up all their flavor. For an even clearer stock, line the sieve with cheesecloth or a coffee filter. This step removes fine particles that could make the stock cloudy.
Stir in the 1 tsp Kosher Salt and taste. The stock should have a clean, rounded chicken flavor without being overly salty. Remember, the stock will reduce further when used in recipes, so season lightly. Let the stock cool to room temperature, then refrigerate. Once chilled, the fat will solidify on the surface for easy removal before use or storage.
Pro Tips For Making Chicken Carcass
- Roast the Carcass First: I learned this the hard way—tossing the raw carcass straight into water gives weak flavor. Roast it at 400°F for 20-25 minutes until deeply browned for a stock with real depth.
- Skip the Peeling: Leave the skins on your onions, carrots, and celery. Sounds weird, but it works: they add color and nutrients, and you’ll strain them out anyway.
- Simmer, Don’t Boil: After burning three batches, I finally figured out that a rolling boil makes stock cloudy. Keep it at a gentle simmer—small bubbles, not a frothy mess.
- Add Garlic Late: My grandmother swore by this, and she was right: add crushed garlic cloves only in the last 30 minutes to avoid bitterness and keep the flavor bright.
Dietary Considerations for This chicken carcass
Gluten-Free Naturally
This stock is inherently gluten-free since it contains no wheat, barley, or rye ingredients. I always verify my chicken carcass comes from birds not processed with gluten-containing additives. For extra safety, use certified gluten-free vinegar. 💪
Dairy-Free and Vegan Adaptation
While this uses a chicken carcass, you can make a vegetable stock with the same aromatics. Swap the carcass for mushroom stems and seaweed for umami depth. The process remains identical, just adjust simmering to 1-2 hours.
Low-Sodium Option
Omit the 1 tsp Kosher Salt entirely during cooking. Instead, season dishes made with the stock to taste. This gives you full control over sodium levels, perfect for heart-healthy diets.
Allergy Considerations
The primary allergen here is chicken. For poultry allergies, use beef bones or stick to vegetable-based stocks. Always check that your aromatic vegetables haven’t been cross-contaminated with allergens.
Keto and Paleo Friendly
This stock fits perfectly into keto and paleo diets with zero modifications needed. The apple cider vinegar adds minimal carbs, and all ingredients are whole-food based. I use this as a base for my keto soups regularly.
Nutrient Density
The slow simmering extracts collagen, gelatin, and minerals like calcium from the bones. This makes the stock not just flavorful but also a nutrient-dense addition to any meal. Perfect for nourishing broths during cold season. ✨
Nutrition Facts
Frequently Asked Questions
How long should I simmer the bones?
Simmer for 3-4 hours on low heat to extract maximum flavor and gelatin. Avoid boiling, which makes the stock cloudy. The longer simmer time ensures rich, deep flavor.
Can I use a slow cooker instead?
Yes! Use the low setting for 8-10 hours or high for 4-6 hours. This hands-off method works well for busy cooks. Just skim foam in the first hour.
How do I store the finished stock?
Cool completely, then refrigerate for up to 1 week or freeze for 3 months. Use airtight containers or ice cube trays for easy portions.
Why did my stock turn out cloudy?
Cloudiness usually comes from boiling or stirring too much. Next time, maintain a gentle simmer and avoid breaking up solids. Straining through cheesecloth helps too.

Trained in classic French technique but raised on slow-cooked ribs and spicy rubs, she blends culinary skill with smoke and soul.
- Octopus Recipe Pan Fried: Crispy Edges With Tender Bites - October 3, 2026
- Recipe For Fried Pork Chops In An Iron Skillet: Crispy Crust With Juicy Centers - October 3, 2026
- Recipe for Fully Cooked Spiral Ham: Sweet Glaze and Effortless Elegance - October 3, 2026