There’s nothing like the first bite of perfectly grilled chicken—juicy inside with that signature smoky char. My method combines classic technique with backyard tradition for results that never disappoint.
This approach ensures every piece comes off the grill with tender meat and crisp edges. The secret lies in proper heat control and timing, which I’ve refined through years of pitmaster experience.
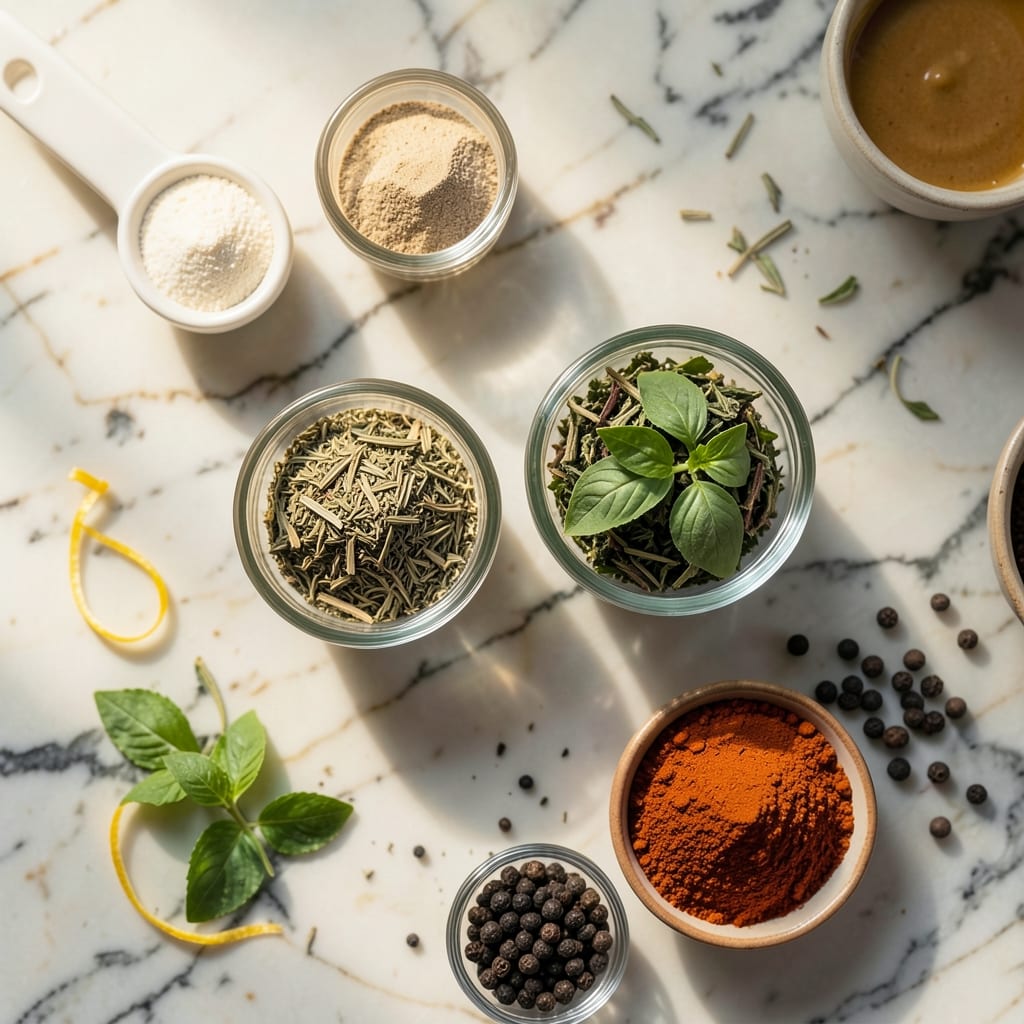
Ingredients for Chicken Griller
Quality chicken and a bold dry rub create that signature smoky char with juicy results.
| Ingredient | Amount | Notes |
|---|---|---|
| Chicken Thighs 🍗 | 2 lb | Boneless, skin-on for crispiness |
| Olive Oil 🫒 | 3 tbsp | Extra-virgin for brushing |
| Kosher Salt 🧂 | 1 ½ tbsp | Diamond Crystal preferred |
| Black Pepper 🌶️ | 1 tsp | Freshly ground coarse |
| Garlic Powder 🧄 | 1 tsp | Not garlic salt |
| Smoked Paprika 🌶️ | 1 tsp | For authentic smoky depth |
| Dried Thyme 🌿 | 1 tsp | Rubbed between fingers |
| Dried Oregano 🌿 | 1 tsp | Mediterranean variety preferred |
| Brown Sugar 💛 | 1 tbsp | Light or dark both work |
| Lemon Juice 🍋 | 2 tbsp | Freshly squeezed essential |
| Worcestershire Sauce 💧 | 1 tbsp | Lea & Perrins recommended |
| Hot Sauce 🔥 | 1 tsp | Crystal or Tabasco style |
| Apple Cider Vinegar 🍏 | 1 tbsp | Balances the sweetness |
[recipeingredientscaler]
The chicken thighs are non-negotiable here. Skin-on, bone-in delivers superior moisture and crispiness, though boneless works if that’s your preference. Source from Whole Foods or a trusted local butcher for the best texture. The Diamond Crystal kosher salt dissolves perfectly into the rub, creating ideal adhesion. For the smoked paprika, Penzeys offers exceptional quality with authentic Spanish smokiness.
No smoked paprika? Regular paprika plus 1/4 tsp liquid smoke approximates the flavor. Chicken breasts can substitute for thighs but require closer monitoring to prevent dryness. The Worcestershire adds umami depth—vegan versions are available if needed. Brown sugar can be swapped for honey or maple syrup at equal amounts, though the caramelization differs slightly.
The dry rub keeps 1 week in an airtight container. Marinate the chicken 4-12 hours for optimal flavor penetration. Grilled leftovers reheat best in a 350°F oven wrapped in foil to maintain moisture.
Why You’ll Love This Recipe
- 5-Minute Prep: I just toss the thighs with olive oil, salt, pepper, and garlic powder—no marinating, no fuss.
- Crispy & Juicy: The high heat gives the skin that perfect crunch while keeping the inside succulent.
- Weeknight Hero: I’ve served this for quick dinners, picnic contributions, and even meal-prep lunches.
- Budget Stretcher: A pack of thighs feeds my family for less than fancy cuts, and leftovers taste great cold or reheated.
Step-by-Step Instructions for Chicken Griller
Master the technique for crispy skin and moist meat with this foolproof grilling method.
Step 1: Prepare the Chicken Thighs and Marinade
Pat the 2 lb Chicken Thighs completely dry with paper towels. This eliminates excess moisture, which is critical for achieving crispy skin during grilling. Place the thighs in a large bowl.
In a separate bowl, whisk together the 3 tbsp Olive Oil, 1.5 tbsp Kosher Salt, 1 tsp Black Pepper, 1 tsp Garlic Powder, 1 tsp Smoked Paprika, 1 tsp Dried Thyme, and 1 tsp Dried Oregano. Pour this mixture over the chicken, ensuring each piece is thoroughly coated. The smoked paprika will give that authentic depth of flavor.
Step 2: Add the Wet Ingredients and Marinate
To the same bowl, add the 1 tbsp Brown Sugar, 2 tbsp Lemon Juice, 1 tbsp Worcestershire Sauce, 1 tsp Hot Sauce, and 1 tbsp Apple Cider Vinegar. Mix well to combine.
The brown sugar will caramelize during grilling, while the vinegar and lemon juice balance the richness. Marinate the chicken for at least 1 hour, or preferably overnight in the refrigerator. This ensures the flavors penetrate deeply into the meat.
Step 3: Preheat and Grill to Perfection
Preheat your grill to medium-high heat (about 400°F). Remove the chicken from the marinade and let excess drip off. Place the thighs skin-side down on the grill grates.
Cook undisturbed for 6-8 minutes until the skin is deep golden brown and crispy. Flip the thighs and cook for another 5-7 minutes until the internal temperature reaches 165°F. Avoid pressing the thighs with a spatula, as this can squeeze out the juices.
Step 4: Rest and Serve
Transfer the grilled chicken to a clean plate or cutting board. Tent loosely with aluminum foil and let rest for 5-10 minutes. This allows the juices to redistribute throughout the meat, ensuring every bite is moist and flavorful.
Serve immediately while hot. The skin should be crispy with a smoky char, while the inside remains tender and juicy. Garnish with fresh herbs or additional lemon wedges if desired.
Pro Tips For Making Chicken Griller
- Pat Thighs Dry: I learned this the hard way—wet chicken steams instead of searing. A quick pat with paper towels guarantees that golden crust you’re after.
- Season Twice: Hit the thighs with salt and pepper before cooking, then dust with garlic powder right as they hit the grill. The double layer actually changes the outcome.
- Skip the Cold Start: After burning three batches, I finally figured out that chicken straight from the fridge sticks like glue. Let it sit 15 minutes first—it’ll release cleanly.
- Rest Under Foil: Give it a solid 5-10 minutes tented with foil after grilling. Sounds weird, but it works: juices redistribute instead of pooling on your cutting board.
Pro Cooking Tips for Great chicken griller
Heat Control
Preheat your grill to 400°F for that perfect sear on the skin. I use a Weber Genesis with a dual-zone setup—hot coals on one side for direct heat, cooler side for finishing. This prevents burning while ensuring even cooking. 🌡️
Skin-Side Down
Place thighs skin-side down first and resist the urge to move them. That initial 6-8 minutes creates a crispy foundation. I learned this trick at my first local BBQ competition—patience pays off.
Avoid the Press
Never press the chicken with your spatula. It squeezes out precious juices, leaving you with dry meat. Let the heat do the work, and flip only once for even charring.
Internal Temp Check
Use a ThermoWorks Instant Read to check for 165°F internally. I always test the thickest piece first. Remove from heat just before reaching temp—it’ll carry over to perfection.
Resting Matters
Let the chicken rest 5-10 minutes under foil. This step keeps it juicy. Honestly, I’ve ruined many a meal by skipping this—never again. 💛
Grill Cleanliness
Clean grates with a brass brush before cooking. Leftover debris can stick to your chicken and cause uneven cooking. A quick scrub with vegetable oil on a paper towel keeps things slick.
Nutrition Facts

Trained in classic French technique but raised on slow-cooked ribs and spicy rubs, she blends culinary skill with smoke and soul.
- Recipe for Boneless Pork Chops in Cast Iron Skillet: Sear and Baste to Juicy Perfection - October 3, 2026
- Recipe for Boneless Cross Rib Roast: Slow-Roasted Beef with Herb Crust - October 3, 2026
- Hamburgers in Sauce Recipe Crock Pot: Slow-Cooked Savory Delight - October 3, 2026