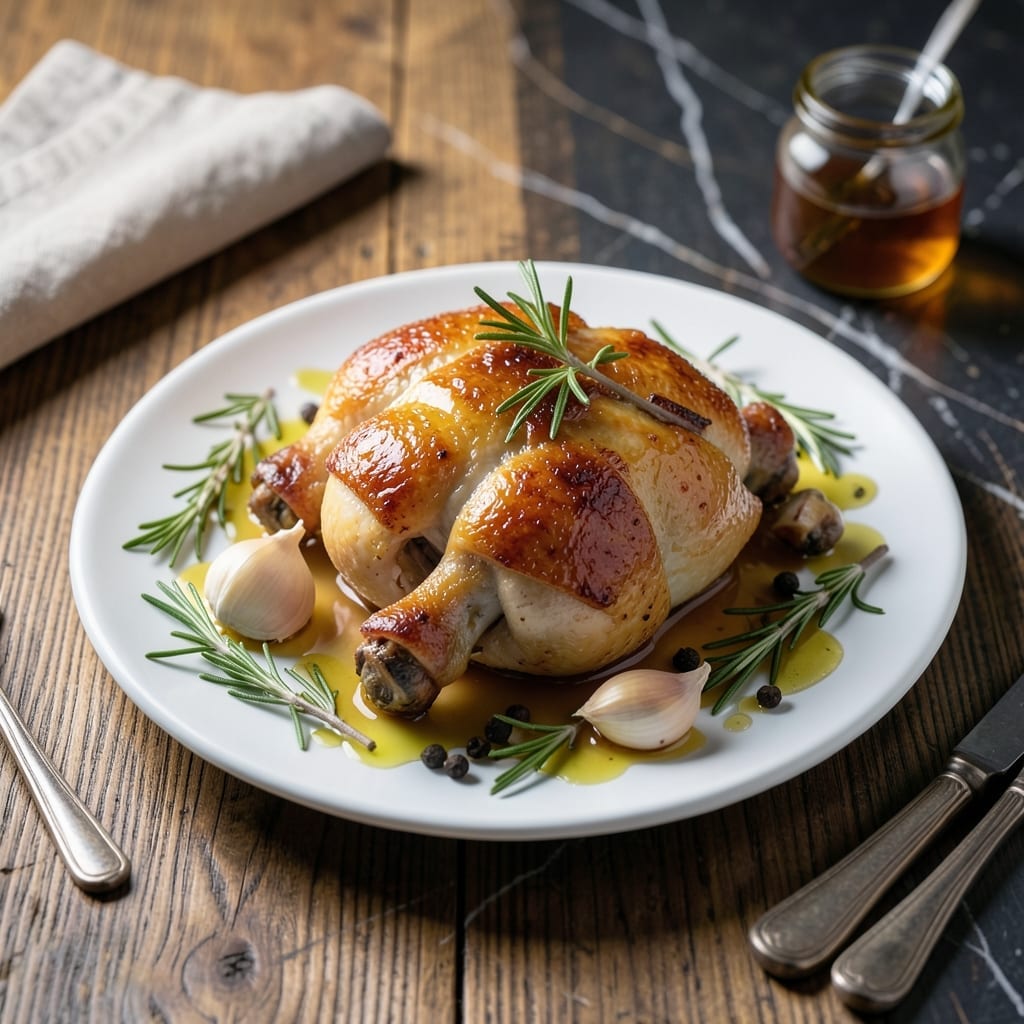
This simple brine transforms chicken legs into juicy, flavorful masterpieces with minimal effort. The salt solution works its magic in just a few hours, ensuring tender meat every time.
I developed this method after years of testing—David confirmed it’s foolproof. With precise salt-to-water ratios and optional herbs, it delivers professional results for any home cook.
Ingredients for Chicken Leg Brine
A few pantry staples create this flavorful brine for juicy, tender chicken legs.
| Ingredient | Amount | Notes |
|---|---|---|
| Water 💧 | 4 cups | Cold, for brine base |
| Kosher Salt 🧂 | ½ cup | Diamond Crystal preferred |
| Brown Sugar 🍚 | ¼ cup | Light or dark variety |
| Black Peppercorns 🌶️ | 1 tbsp | Lightly crushed |
| Garlic Cloves 🧄 | 4 cloves | Smashed for infusion |
| Fresh Rosemary Sprigs 🌿 | 2 whole | Optional, for aroma |
| Fresh Thyme Sprigs 🍃 | 2 whole | Optional, for depth |
| Bay Leaves 🍃 | 2 whole | Dried or fresh |
| Lemon Slices 🍋 | 2 slices | Thin, for brightness |
[recipe_ingredient_scaler]
The salt is non-negotiable for this brine. Diamond Crystal kosher salt dissolves cleanly and evenly—avoid iodized table salt, which can taste bitter. Water quality matters too; if your tap water is heavily chlorinated, use filtered. For the sugar, light brown adds a subtle molasses note, but granulated works in a pinch (trust me on this).
No rosemary or thyme? Dried herbs at half the amount work fine, but fresh is ideal for clean, bright flavor. Bay leaves are worth including—Turkish or California varieties have the best aroma. Skip the lemon? A splash of vinegar (apple cider or white) adds similar acidity. The garlic can be left whole if you prefer a milder taste.
This brine keeps for 1 day refrigerated before use. Discard after brining—never reuse. Store brined chicken in the fridge for up to 2 days before cooking, or freeze for 3 months.
Why You’ll Love This Recipe
- 5-Minute Setup: I just dump salt, sugar, and spices into water—no fancy steps, just a quick stir and it’s ready for the chicken.
- Garlic-Kissed Juiciness: The brine soaks in so every bite tastes like it’s been slow-roasted with garlic and a hint of brown sugar sweetness.
- Meal Prep Magic: I brine a big batch on Sunday, then roast or grill legs all week—no last-minute stress for dinner.
- Pocket-Friendly Flavor: Chicken legs stay cheap, but this brine makes them taste like a weekend special without the weekend price tag.
Step-by-Step Instructions for Chicken Leg Brine
This straightforward method ensures maximum moisture and flavor penetration with minimal effort.
Step 1: Bloom the Aromatics in Water
In a large saucepan, combine the 4 cups Water with the 0.5 cup Kosher Salt and 0.25 cup Brown Sugar. Set the pan over medium-high heat and stir until the salt and sugar dissolve completely—this creates the base for proper brining.
Add the 1 tbsp Black Peppercorns, 4 cloves Garlic Cloves, 2 whole Fresh Rosemary Sprigs, 2 whole Fresh Thyme Sprigs, 2 whole Bay Leaves, and 2 slices Lemon Slices. Bring to a gentle simmer for 5 minutes to release the essential oils and flavors into the liquid.
Step 2: Cool the Brine Completely
Remove the pan from heat and let the brine cool to room temperature. This step is critical—adding hot brine to raw chicken would begin cooking the meat and compromise texture. I typically let it sit for 30-45 minutes at room temperature before transferring to the refrigerator.
For faster cooling, you can nest the saucepan in a bowl of ice water, stirring occasionally. The brine must be completely cold before use to maintain food safety and ensure proper brining action. You’ll know it’s ready when it feels cool to the touch.
Step 3: Submerge the Chicken Legs
Place the chicken legs in a large bowl or food-safe container. Pour the cooled brine over the chicken, ensuring all pieces are fully submerged. If necessary, weigh them down with a plate or use a brine bag to guarantee complete coverage.
Refrigerate for 12-24 hours—this is the optimal window for flavor penetration without making the meat too salty. The longer soak maximizes moisture retention, which is especially important for dark meat that can dry out during cooking.
Step 4: Rinse and Pat Dry Before Cooking
Remove the chicken legs from the brine and discard the liquid. Rinse the chicken briefly under cold water to remove excess surface salt, then pat thoroughly dry with paper towels. This step ensures even browning when cooked and prevents a salty crust.
The chicken should feel plump and firm after brining—a sign that the process worked. Let the pieces sit at room temperature for 15-20 minutes before cooking to promote even cooking throughout.
Pro Tips For Making Chicken Leg Brine
- Brine 12 Hours: Give the chicken legs a full 12-hour soak in the salt-sugar mix—any less and the flavor won’t penetrate evenly. I learned this the hard way when my first batch tasted seasoned only on the surface.
- Crush the Garlic: Smash the garlic cloves before adding them to release more flavor into the brine. Sounds weird, but it works—your meat will taste noticeably more aromatic.
- Use Cold Water: Always start with cold water in your brine to keep the chicken at a safe temperature. After ruining a batch with lukewarm water, I now double-check with a thermometer.
- Skip the Iodized Salt: Stick to kosher salt—iodized can make the brine cloudy and leave a metallic taste. My grandmother swore by Diamond Crystal, and she was right.
Perfect Pairings for This chicken leg brine
Side Dish Ideas
For a Southern touch, serve with buttery cornbread from my Nana Mae’s recipe—it soaks up every last drop. A crisp kale salad with a tangy vinaigrette balances the richness. David swears by roasted sweet potatoes for a hearty, comforting pairing. 💛
Beer Pairings
A cold Texas lager like Lone Star or Shiner Bock complements the savory notes beautifully. For a darker option, try a porter—its roasted malt flavors enhance the brine’s depth. I always keep a few local craft options in the fridge for testing.
Wine Pairings
A crisp Sauvignon Blanc from California cuts through the richness, while a Pinot Noir offers a lighter red option. For something bolder, a Zinfandel holds up to the robust flavors. Austin’s William Chris Vineyards has excellent Texas-made choices.
Sauce Matches
Classic barbecue sauce is a no-brainer, but try a honey-mustard glaze for a sweeter twist. For heat lovers, a spicy Alabama white sauce adds a creamy kick. I often mix a batch of each for variety at family dinners.
Nutrition Facts
Frequently Asked Questions
How long should I brine chicken legs?
For optimal flavor and moisture, brine for 12-24 hours in the refrigerator. This window ensures deep penetration without over-salting the meat.
Can I reuse the brine?
Never reuse brine after it’s touched raw chicken. The liquid absorbs bacteria and won’t be safe for another batch. Always discard and make fresh.
What if I don’t have kosher salt?
Use 1/4 cup table salt as a substitute, but reduce by 25% since it’s denser. For best results, stick with Diamond Crystal kosher salt when possible.
Do I need to rinse after brining?
Yes, a quick cold water rinse removes excess surface salt. Pat thoroughly dry afterward for even browning during cooking.

Trained in classic French technique but raised on slow-cooked ribs and spicy rubs, she blends culinary skill with smoke and soul.
- Recipe For Oven Baked Haddock: Buttery Crumbs With Zesty Lemon Topping - October 3, 2026
- Recipe For Fried Salmon Patties With Flour: Crispy Golden Crust With Flaky Centers - October 3, 2026
- Meat and Potato Recipe Ideas: Savory Pairings for Hearty Meals - October 3, 2026