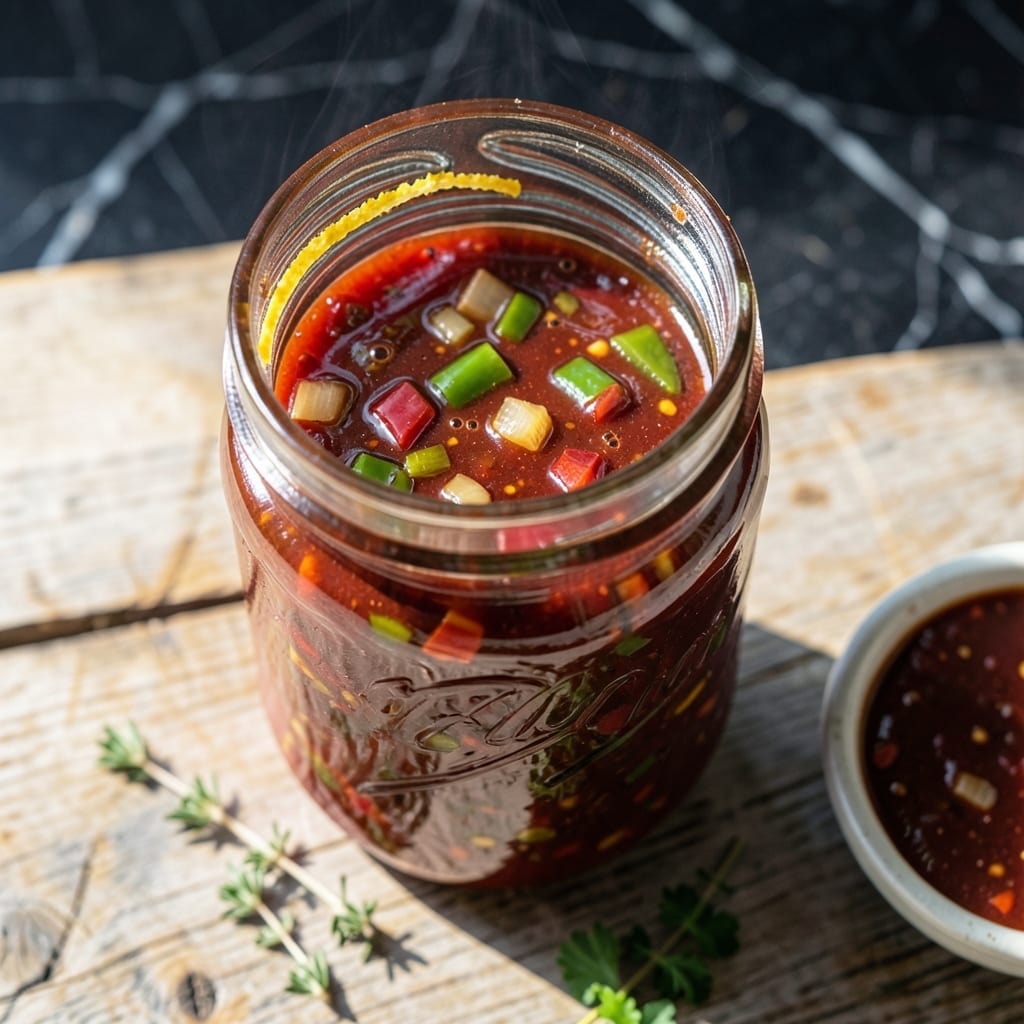
There’s something deeply satisfying about preserving summer’s bounty in jars of homemade chili sauce. This recipe transforms ripe garden tomatoes and peppers into a versatile condiment that brightens any dish.
With a balanced blend of sweetness, tang, and subtle heat, this sauce elevates meats, sandwiches, and appetizers. The canning process ensures you’ll enjoy summer flavors long after the season ends.
Ingredients for Chili Sauce Recipe for Canning
Ten simple ingredients turn summer tomatoes into a tangy, sweet, spiced sauce perfect for canning.
| Ingredient | Amount | Notes |
|---|---|---|
| Ripe Tomatoes 🍅 | 12 lb | Peeled, cored, and chopped |
| Red Bell Peppers 🌶️ | 3 whole | Stems and seeds removed, chopped |
| Onions 🧅 | 2 whole | Yellow or white, finely diced |
| Granulated Sugar 🍚 | 1 ½ cups | Adjust to taste for sweetness |
| Apple Cider Vinegar 💧 | 2 cups | 5% acidity for canning safety |
| Tomato Paste 🍅 | ½ cup | For thickness and depth |
| Garlic Cloves 🧄 | 6 cloves | Minced for robust flavor |
| Pickling Salt 🧂 | 1 tbsp | Non-iodized for canning |
| Ground Cinnamon 🌿 | 1 tsp | For warm spice undertones |
| Ground Cloves 🌿 | ½ tsp | Adds depth and complexity |
[recipe_ingredient_scaler]
The tomatoes are everything here. Use ripe, in-season heirlooms from your garden or farmers market—underripe ones won’t have the sweetness or depth. If you’re buying in bulk, local U-pick farms often sell seconds (slightly bruised but perfect for sauces) at a discount. For the peppers, red bells give the classic chili sauce color, but a mix of red and green adds complexity.
No heirloom tomatoes? Roma tomatoes are meatier with less water, so you’ll cook it down faster. Swap apple cider vinegar for white vinegar if that’s what’s in the pantry—just keep the acidity level at 5%. Short on time? Pre-minced garlic from a jar works (1.5 tbsp = 6 cloves), though fresh tastes brighter. Want more heat? Add a finely diced jalapeño or pinch of cayenne.
Sauce keeps beautifully in sterilized jars—12-18 months in a cool, dark place. Once opened, refrigerate and use within 2 weeks. Pro tip: freeze extras in ice cube trays for quick portions later (don’t refreeze after thawing).
Why You’ll Love This Recipe
- One Pot Wonder: I just dump everything in a big pot—the tomatoes, peppers, onions—and let it simmer while I do other things.
- Tangy Sweet Kick: The apple cider vinegar and sugar balance so well, it’s that sweet-spicy combo I crave on burgers and dogs.
- Pantry Stocker: Honestly, I can this in batches and have homemade sauce ready for gifts or last-minute dinners all year.
- Zero Waste: Between us, this uses up all those ripe tomatoes and peppers from the garden that would otherwise go bad.
Step-by-Step Instructions for Chili Sauce for Canning
This method ensures safe preservation and bold flavor in every jar you process.
Step 1: Prepare and Chop the Vegetables
Start by peeling, coring, and chopping all 12 lb ripe tomatoes. I recommend quartering them for easier processing. Next, remove stems and seeds from the 3 whole red bell peppers before chopping them into ½-inch pieces. Finely dice the 2 whole onions—yellow or white work equally well.
This prep step is crucial for even cooking and consistent texture. The tomatoes will break down significantly during cooking, so don’t worry about perfect uniformity. Just ensure all pieces are roughly the same size for balanced cooking.
Step 2: Cook Down the Vegetable Base
In a large, heavy-bottomed pot, combine the chopped tomatoes, red bell peppers, and onions. Add the 0.5 cup tomato paste and 6 cloves garlic cloves (minced) to the pot. Cook over medium-high heat, stirring frequently, until the mixture begins to simmer.
Reduce heat to medium-low and let it cook for 30-45 minutes, stirring occasionally, until the vegetables have softened and released their juices. You’ll notice the tomatoes breaking down and the mixture thickening slightly—this is exactly what you want.
Step 3: Season and Simmer to Perfection
Stir in the 1.5 cups granulated sugar, 2 cups apple cider vinegar, 1 tbsp pickling salt, 1 tsp ground cinnamon, and 0.5 tsp ground cloves. The vinegar ensures proper acidity for safe canning, while the spices add that classic chili sauce depth.
Bring the mixture to a gentle boil, then reduce heat to maintain a steady simmer. Cook for another 1-1.5 hours, stirring occasionally, until the sauce thickens to your desired consistency. It should coat the back of a spoon but still be pourable.
Taste and adjust the sweetness if needed—the sugar can be increased slightly, but remember the flavor will concentrate slightly during canning.
Step 4: Process for Safe Canning
Ladle the hot chili sauce into sterilized canning jars, leaving ½-inch headspace. Remove any air bubbles with a non-metallic utensil, then wipe the rims clean. Apply lids and rings, then process in a water bath canner for 20 minutes (adjust for altitude if needed).
The jars should seal as they cool—you’ll hear that satisfying pop. Let them cool completely undisturbed for 12-24 hours before checking seals. Any jars that didn’t seal should be refrigerated and used within 1 week.
Pro Tips For Making Chili Sauce Recipe For Canning
- Simmer Low and Long: Cook the sauce at a gentle simmer for at least 45 minutes—rushing it with high heat leaves the flavors raw and thin. I learned this the hard way after my first batch tasted like vinegary tomato water.
- Peel the Tomatoes: Skip the skin by blanching tomatoes in boiling water for 30 seconds, then shocking in ice water. Sounds tedious, but it prevents chewy bits in your finished sauce.
- Balance the Vinegar: Taste before canning and adjust the apple cider vinegar—too much makes it harsh, too little and the sauce won’t preserve properly. My grandmother swore by a 1:4 vinegar-to-tomato ratio.
- Char the Peppers: Roast the red bell peppers under the broiler for 10 minutes until blackened for deeper, smokier flavor. I was skeptical until I tried it—now I won’t make chili sauce any other way.
Best Sauces and Condiments for chili sauce recipe for canning
Spicy Options
If you love heat, consider adding a kick to your chili sauce recipe for canning with bold flavors. Sriracha or Tabasco are great store-bought choices to blend in for extra spice. For a homemade touch, fermented hot sauces like homemade habanero sauce can elevate your canned chili sauce with depth and complexity. 🔥
Store-bought options are convenient, but making your own spicy condiment allows you to control the heat level and ingredients. Try mixing in smoked paprika or cayenne for a DIY twist!
Sweet and Tangy
Balance the heat with sweet and tangy sauces. Ketchup or BBQ sauce from the store can add a familiar sweetness, while a homemade mango-habanero sauce brings a fruity, tangy punch. These pair wonderfully with the natural acidity of canned chili sauce.
Umami-Rich Additions
For depth, umami-packed sauces like Worcestershire or soy sauce work wonders. A splash of fish sauce can also enhance the savory notes in your recipe. Homemade versions, such as a reduced mushroom-soy blend, offer a gourmet touch without preservatives. 🌡️
Nutrition Facts

Trained in classic French technique but raised on slow-cooked ribs and spicy rubs, she blends culinary skill with smoke and soul.
- Recipe for Boneless Pork Chops in Cast Iron Skillet: Sear and Baste to Juicy Perfection - October 3, 2026
- Recipe for Boneless Cross Rib Roast: Slow-Roasted Beef with Herb Crust - October 3, 2026
- Hamburgers in Sauce Recipe Crock Pot: Slow-Cooked Savory Delight - October 3, 2026