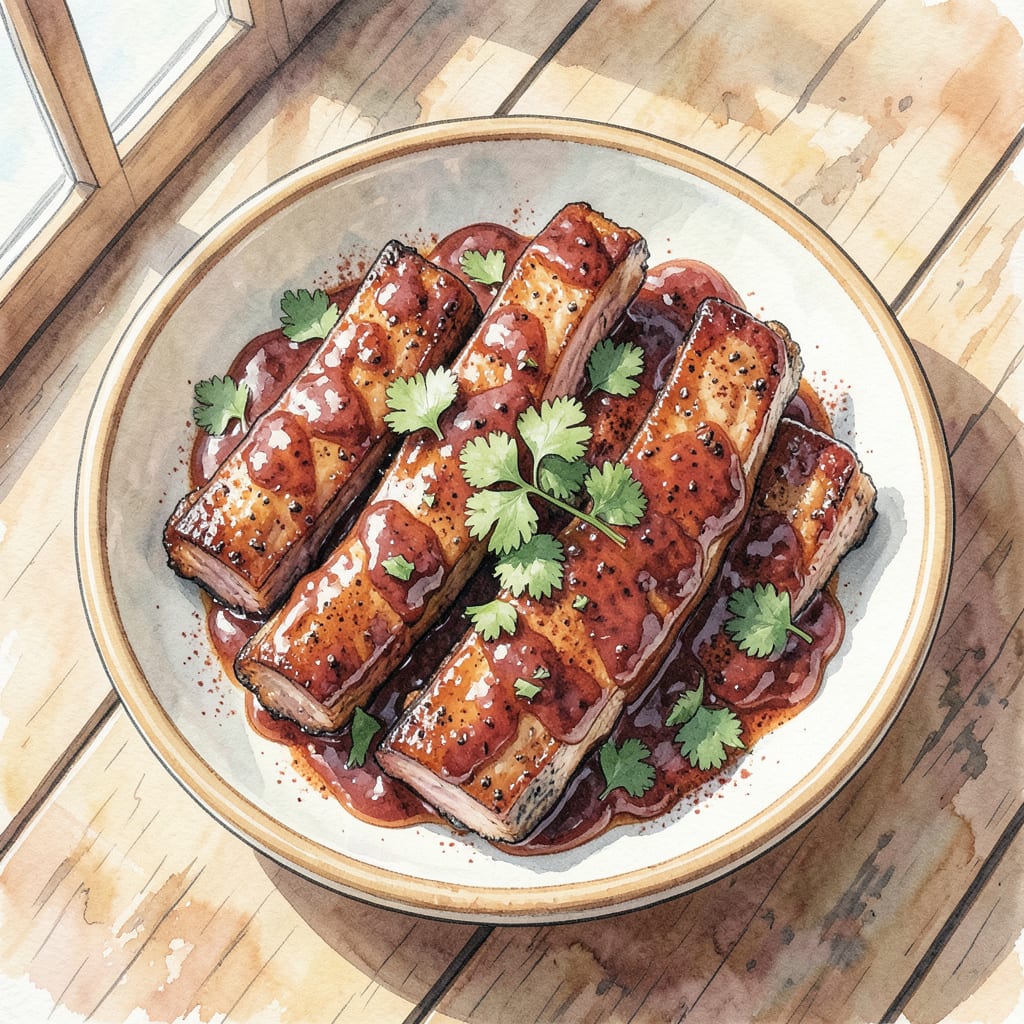
As a pitmaster, I’ve perfected the art of tender baby back ribs. This Chili’s-inspired BBQ recipe delivers fall-off-the-bone perfection every time. With a blend of spices, slow cooking, and careful temperature control, you’ll achieve tender, juicy ribs that rival any restaurant.
The secret lies in the combination of a dry rub, slow cooking at 225°F, and a tangy BBQ sauce finish. This method ensures the ribs are not only tender but also packed with flavor. Let’s get started on this mouth-watering recipe!
Ingredients for Chili’s Baby Back Ribs Bbq
Tender baby back ribs start with quality ingredients and precise technique.
| Ingredient | Amount | Notes |
|---|---|---|
| Baby Back Ribs 🥩 | 2 lb | Membrane removed for better flavor |
| Brown Sugar 🍮 | ¼ cup | Packed for best results |
| Smoked Paprika 🌶️ | 2 tbsp | For smoky flavor |
| Chili Powder 🌶️ | 1 tbsp | Mild or spicy variety |
| Garlic Powder 🧄 | 1 tbsp | Not garlic salt |
| Onion Powder 🧅 | 1 tbsp | For depth of flavor |
| Salt 🧂 | 1 tbsp | Kosher or sea salt |
| Black Pepper 🌶️ | 1 tsp | Freshly ground preferred |
| Cayenne Pepper 🔥 | ½ tsp | Optional for heat |
| BBQ Sauce 🍯 | 1 cup | Tangy variety preferred |
| Apple Cider Vinegar 🍎 | ¼ cup | For tanginess |
| Worcestershire Sauce 💧 | 2 tbsp | For umami flavor |
For the best results, choose high-quality ribs from local butcher shops or reputable grocery stores. Look for ribs with good meat coverage and minimal membrane. The dry rub is where the magic happens—Penzeys has excellent spice blends that work perfectly for this recipe.
No smoked paprika? Regular paprika works, but you’ll lose that smoky depth. For an extra kick, increase cayenne to 1 tsp. If you prefer a sweeter rub, add 1 tbsp brown sugar to the mix. For the BBQ sauce, Kansas City-style or Memphis-style work best.
These ribs freeze beautifully before cooking. Wrap tightly in foil and freeze for up to 3 months. Thaw completely before cooking. Leftovers keep in the fridge for 4-5 days. Reheat with a little extra BBQ sauce to keep them moist.
Step-by-Step Instructions for Chili’s Baby Back Ribs BBQ
Follow these precise steps to achieve fall-off-the-bone tender ribs that rival Chili’s signature dish.
Step 1: Prepare the Ribs and Dry Rub
Start by removing the membrane from the back of the 2 lb Baby Back Ribs to allow better flavor penetration. I find it easiest to grab the membrane with a paper towel and peel it off in one piece. Next, mix together the dry rub ingredients: 0.25 cup Brown Sugar, 2 tbsp Smoked Paprika, 1 tbsp Chili Powder, 1 tbsp Garlic Powder, 1 tbsp Onion Powder, 1 tbsp Salt, 1 tsp Black Pepper, and 0.5 tsp Cayenne Pepper. Ensure the mixture is evenly distributed by whisking it thoroughly.
Apply the dry rub generously to both sides of the ribs, making sure to coat them evenly. I like to use my hands to massage the rub into the meat, ensuring it adheres well. Let the ribs sit at room temperature for 30 minutes to allow the seasonings to penetrate the surface.
Step 2: Slow Cook the Ribs to Tender Perfection
Preheat your oven to 275°F. Wrap the ribs tightly in foil, creating a sealed packet to trap moisture. Place the ribs on a baking sheet and cook for 2.5 hours. The low and slow cooking method will break down the connective tissues, resulting in tender meat.
After 2.5 hours, remove the ribs from the oven and carefully unwrap the foil. The meat should be tender and starting to pull away from the bones. If it’s not quite there, rewrap and cook for an additional 30 minutes.
Step 3: Finish with BBQ Sauce Glaze
Increase your oven temperature to 375°F. In a small bowl, mix together 1 cup BBQ Sauce, 0.25 cup Apple Cider Vinegar, and 2 tbsp Worcestershire Sauce. Brush this glaze evenly over both sides of the ribs, ensuring they’re fully coated.
Return the ribs to the baking sheet and bake uncovered for 15-20 minutes, or until the sauce is caramelized and sticky. Watch closely during this time, as the sauce can burn quickly. The finished ribs should have a glossy, sticky glaze and meat that’s tender enough to pull apart easily.
Step 4: Rest and Serve
Remove the ribs from the oven and let them rest for 10 minutes before cutting. This resting period allows the juices to redistribute, ensuring the meat stays moist and tender. Cut the ribs into individual portions and serve immediately.
The final product should be tender, flavorful, and visually appealing, with a rich BBQ sauce glaze. Serve with additional BBQ sauce on the side for those who prefer extra sauciness.
Storing and Reheating Leftovers
Refrigerator Storage Tips
After cooking, let your ribs cool for no more than 2 hours before refrigerating. Store them in an airtight container or wrap tightly in plastic wrap or aluminum foil. They’ll keep in the refrigerator for up to 4 days. ❄️
Freezer Storage Guidelines
For longer storage, ribs freeze beautifully. Wrap them tightly in heavy-duty aluminum foil or place in a freezer-safe bag, removing as much air as possible. Label with the date and contents. They’ll keep for up to 3 months in the freezer.
Reheating Techniques
The best way to reheat ribs is in the oven. Preheat to 250°F, wrap the ribs in foil with a splash of BBQ sauce, and heat for 20-25 minutes until warmed through. For a crispy finish, remove the foil and broil for 2-3 minutes. Watch closely to avoid burning. 🔥
Microwave Reheating
For quick reheating, use the microwave. Place ribs on a microwave-safe plate, cover with a damp paper towel, and heat on 50% power for 2-3 minutes. Check and continue in 30-second intervals until hot. Be careful as the meat can get tough if overheated.
Maintaining Moisture
To keep ribs moist during reheating, add a little extra BBQ sauce or apple cider vinegar. This helps maintain the tender texture and enhances the flavor. I like to brush on a thin layer before reheating for the best results.

Trained in classic French technique but raised on slow-cooked ribs and spicy rubs, she blends culinary skill with smoke and soul.
- Recipe for Boneless Pork Chops in Cast Iron Skillet: Sear and Baste to Juicy Perfection - October 3, 2026
- Recipe for Boneless Cross Rib Roast: Slow-Roasted Beef with Herb Crust - October 3, 2026
- Hamburgers in Sauce Recipe Crock Pot: Slow-Cooked Savory Delight - October 3, 2026