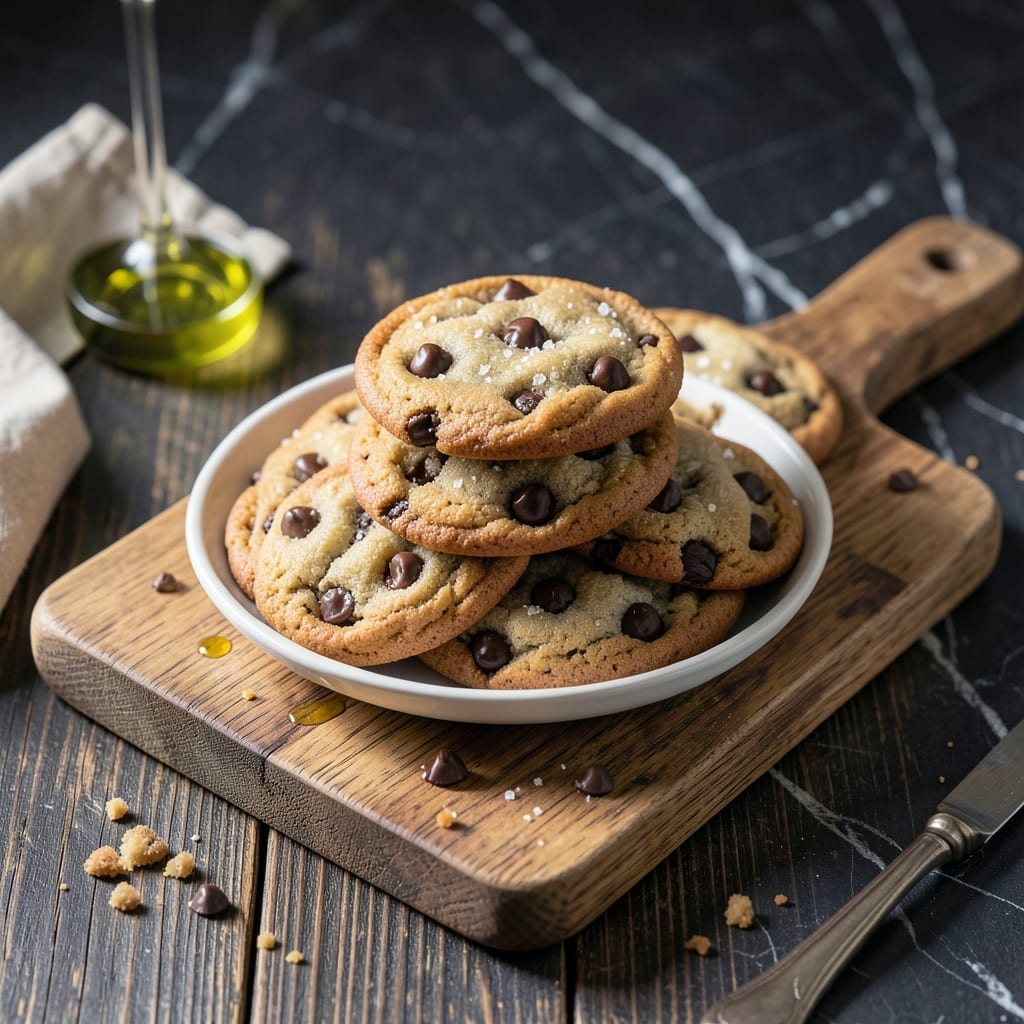
This recipe proves you don’t need baking soda for soft, chewy cookies. A simple swap delivers the same texture and rise.
With basic ingredients and one easy technique, you’ll get perfect results every time—no special tools required.
Ingredients for Chocolate Chip Cookie Recipe Without Baking Soda
Basic pantry staples create these soft, chewy cookies with one clever substitution.
| Ingredient | Amount | Notes |
|---|---|---|
| All-Purpose Flour 🌾 | 2 ¼ cups | Spooned and leveled properly |
| Unsalted Butter 🧈 | 1 cup | Room temperature, softened |
| Granulated Sugar 🍚 | ¾ cup | Fine white granulated |
| Light Brown Sugar 🟤 | ¾ cup | Packed firmly into cup |
| Large Eggs 🥚 | 2 whole | Room temperature preferred |
| Pure Vanilla Extract 🌿 | 2 tsp | Real vanilla, not imitation |
| Baking Powder 🧂 | 1 tsp | Replaces baking soda here |
| Salt 🧂 | ½ tsp | Fine sea salt preferred |
| Semi-Sweet Chocolate Chips 🍫 | 2 cups | High-quality for best melt |
| Chopped Walnuts 🌰 | 1 cup | Optional for texture |
| Cornstarch 🌾 | 1 tbsp | For extra softness |
[recipe_ingredient_scaler]
The butter is critical here. Use high-fat European-style (like Plugrá or Kerrygold) for superior texture and flavor. Room temperature means soft but not greasy—press your finger in and it should leave a slight indent. The flour should be all-purpose, not bread flour, which has too much protein. For best results, weigh your flour: 2.25 cups equals about 270g.
No baking soda? Baking powder at triple the amount works perfectly here. For chocolate, Ghirardelli or Guittard chips have the best melt. If adding nuts, toast them first for depth. The cornstarch is the secret to that bakery-style softness—don’t skip it. Brown sugar can be light or dark, but dark adds more molasses flavor (and slightly more moisture).
Dough keeps 3 days wrapped tight in the fridge, or freeze scooped portions for 3 months. Baked cookies stay fresh 5 days in an airtight container. For longer storage, freeze baked cookies between layers of parchment paper.
Why You’ll Love This Recipe
- No Fuss Mixing: I don’t even need to dig out the baking soda—just cream butter and sugars, add eggs, then stir in flour.
- Rich Caramel Notes: The brown sugar does all the work here, giving that deep, buttery toffee flavor without any extra steps.
- Weeknight Hero: Honestly, I’ve made these on a Tuesday just because, and they’re gone by Wednesday.
- Stays Soft: Leftovers? They keep that fresh-baked texture for days in an airtight container.
Step-by-Step Instructions for Chocolate Chip Cookies Without Baking Soda
Here’s the method. Straightforward, tested, works every time.
Step 1: Cream Butter and Sugars to Perfection
In a stand mixer fitted with the paddle attachment, beat the 1 cup Unsalted Butter with the 0.75 cup Granulated Sugar and 0.75 cup Light Brown Sugar on medium speed for 3-4 minutes. You’re looking for a light, fluffy texture—the mixture should nearly double in volume and become pale in color.
This creaming process incorporates air into the dough, which creates those beautiful crackly tops and helps the cookies spread properly. Don’t rush this step—under-creamed butter leads to dense, cakey cookies instead of chewy ones.
Step 2: Incorporate Eggs and Vanilla
Add the 2 whole Large Eggs one at a time, mixing on low speed for 30 seconds after each addition until fully incorporated. Then add the 2 tsp Pure Vanilla Extract and mix for another 10 seconds.
The mixture might look slightly curdled after adding the eggs, but don’t worry. Once you add the dry ingredients, everything will come together into a smooth dough. I always use pure vanilla extract, never imitation—the flavor difference is noticeable in simple recipes like this.
Step 3: Combine Dry Ingredients and Create the Dough
In a separate bowl, whisk together the 2.25 cups All-Purpose Flour, 1 tsp Baking Powder, 0.5 tsp Salt, and 1 tbsp Cornstarch. The cornstarch is key here—it replaces the tenderizing effect that baking soda would typically provide.
Add the dry ingredients to the wet mixture and mix on low speed for 30-45 seconds until just combined—you should still see a few flour streaks. Over-mixing develops gluten and makes cookies tough. Remove the bowl from the mixer and fold in the 2 cups Semi-Sweet Chocolate Chips and 1 cup Chopped Walnuts by hand using a silicone spatula.
Step 4: Chill the Dough
Cover the bowl with plastic wrap and refrigerate for at least 30 minutes (I prefer 1 hour or even overnight). Chilling solidifies the butter, which prevents the cookies from spreading too thin in the oven. It also allows the flour to fully hydrate, creating better texture.
Cold dough means the cookies hold their shape better when they hit the hot oven, resulting in thicker cookies with crispy edges and gooey centers. This step makes a significant difference in the final result.
Step 5: Bake to Golden Perfection
Preheat your oven to 350°F and line two baking sheets with parchment paper. Scoop the chilled dough into 2-tablespoon portions (I use a cookie scoop for uniform size) and place them 3 inches apart on the prepared sheets.
Bake for 11-13 minutes until the edges are golden brown but the centers still look slightly underdone. They’ll continue cooking on the hot pan after you remove them from the oven. Let them cool on the baking sheet for 5 minutes before transferring to a wire rack. Enjoy them warm for the ultimate experience.
Pro Tips For Making Chocolate Chip Cookie Recipe Without Baking Soda
- Chill the Dough: After mixing, refrigerate the dough for at least 1 hour—this prevents spreading since there’s no baking soda to help with structure. I learned this the hard way after my first batch turned into flat, greasy puddles.
- Cream Butter Thoroughly: Beat the unsalted butter with both sugars until it’s pale and fluffy, about 3-4 minutes. Skipping this step leaves cookies dense and greasy instead of light and tender.
- Measure Flour Right: Spoon the all-purpose flour into your measuring cup and level it off—don’t scoop directly from the bag. Packed flour makes cookies tough, and without baking soda, texture is everything.
- Use Room-Temp Eggs: Pull your large eggs out 30 minutes before baking so they incorporate evenly. Cold eggs can cause the butter to clump, and that means uneven texture in every bite.
Make-Ahead Tips for Leftovers
Dough Prep Ahead
Mix your dough as directed, then cover the bowl tightly with plastic wrap. It stays fresh in the fridge for up to 3 days. The flavors deepen as it rests, making your cookies taste even richer. I often make dough the night before for same-day baking.
Portion and Freeze
Use a cookie scoop to portion your dough into 2-tablespoon balls and place them on a parchment-lined tray. Freeze for 1 hour, then transfer to a freezer bag. These keep for 3 months and bake straight from frozen—just add 1-2 minutes to the baking time. 💡
Baked Cookie Storage
Once completely cooled, store baked cookies in an airtight container with parchment between layers. They’ll stay soft and fresh for up to 5 days. For longer storage, freeze baked cookies in a single layer first, then stack with parchment.
Reviving Stale Cookies
If your cookies lose their softness, place them in a sealed container with a slice of bread overnight. The bread’s moisture revives the cookies beautifully. Alternatively, warm them in a 300°F oven for 5 minutes to restore that fresh-baked feel. ✨
Baking from Frozen
No need to thaw frozen dough balls—just place them on your baking sheet and add 1-2 extra minutes to the bake time. I recommend 350°F for 13-15 minutes for frozen dough. The results are just as delicious as fresh dough.
Make-Ahead Flavor Boost
For extra depth, let your portioned dough rest in the fridge for 24 hours before baking. This allows the flour to hydrate fully and the flavors to meld. You’ll notice a more complex, bakery-style taste in every bite.
Nutrition Facts
Frequently Asked Questions
Why use baking powder instead of baking soda?
Baking powder contains both an acid and a base, so it activates with liquid and heat. It provides the lift needed without the metallic taste that can occur when baking soda isn’t balanced with acid.
Can I skip the cornstarch?
You can, but the texture will be less tender. Cornstarch softens the protein in flour, creating a more delicate crumb. For best results, keep it in the recipe.
How do I know when they’re done?
Look for golden brown edges with slightly soft centers. They’ll continue cooking on the baking sheet for 5 minutes after removal. Overbaking makes them hard.
Can I use salted butter?
Yes, but reduce the added salt to 1/4 tsp. Salted butter already contains salt, so adjusting prevents over-salting. Always taste your dough first.

Trained in classic French technique but raised on slow-cooked ribs and spicy rubs, she blends culinary skill with smoke and soul.
- Recipe for Boneless Pork Chops in Cast Iron Skillet: Sear and Baste to Juicy Perfection - October 3, 2026
- Recipe for Boneless Cross Rib Roast: Slow-Roasted Beef with Herb Crust - October 3, 2026
- Hamburgers in Sauce Recipe Crock Pot: Slow-Cooked Savory Delight - October 3, 2026