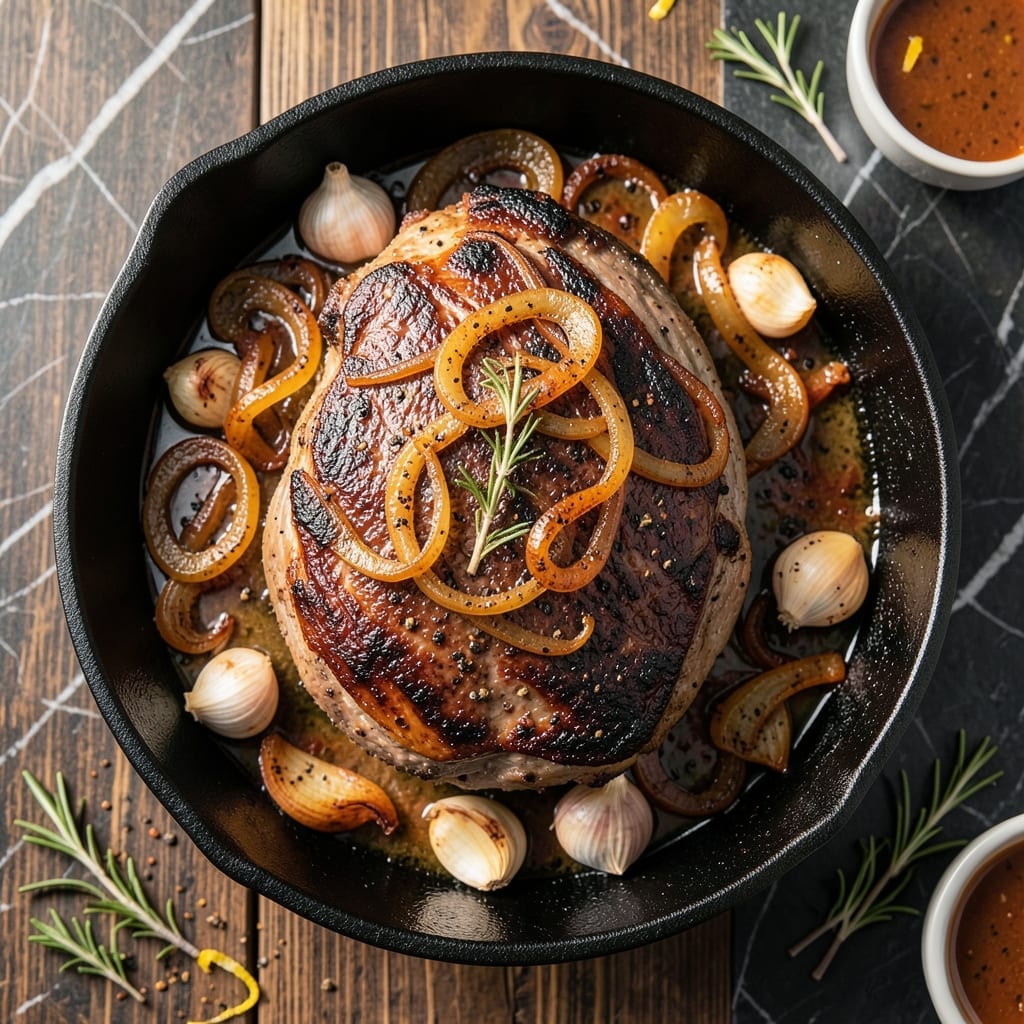
This grill method transforms chuck roast into a smoky, tender masterpiece with a bold herb crust. My years of pitmaster experience confirm this approach delivers depth without complexity.
The slow heat coaxes out rich beef flavors while the rub creates a perfect bark. You’ll achieve restaurant-quality results with basic equipment and patience.
Ingredients for Chuck Pot Roast Grill
Basic equipment, bold flavors. The chuck roast gets a smoky, herb-crusted transformation.
| Ingredient | Amount | Notes |
|---|---|---|
| Chuck Roast 🥩 | 3 lb | Well-marbled for tenderness |
| Kosher Salt 🧂 | 1 ½ tbsp | Diamond Crystal preferred |
| Coarse Black Pepper 🌶️ | 1 tbsp | Freshly cracked for bark |
| Garlic Powder 🧄 | 1 tbsp | Not garlic salt |
| Onion Powder 🧅 | 1 tbsp | Granulated for even coating |
| Dried Rosemary 🍃 | 1 tbsp | Crushed to release oils |
| Dried Thyme 🌿 | 1 tbsp | Rubbed between fingers |
| Smoked Paprika 🌶️ | 1 tbsp | For deep smoky flavor |
| Olive Oil 🫒 | ¼ cup | For binding rub |
| Beef Broth 🥩 | 1 cup | Low-sodium preferred |
| Red Wine Vinegar 🍷 | 2 tbsp | For tangy balance |
| Yellow Onion 🧅 | 1 whole | Large, quartered |
| Carrots 🥕 | 3 whole | Cut into chunks |
| Celery Stalks 🥬 | 3 whole | Cut into chunks |
[recipe_ingredient_scaler]
The chuck roast is non-negotiable here—look for heavy marbling at Costco or your butcher. That fat renders down, keeping the meat juicy during the long cook. I grab Certified Angus Beef when I can find it (worth the splurge). The rub ingredients? Bulk bins at Whole Foods let you get exactly what you need without buying full jars of spices you’ll use once.
No smoked paprika? Regular paprika plus a pinch of liquid smoke gets you close. Fresh rosemary works too—double the amount since dried is more concentrated. Out of beef broth? Water with a bouillon cube in a pinch. The vinegar isn’t just for flavor—it helps tenderize the meat as it cooks (don’t skip it).
Leftovers taste even better the next day. Store in the fridge for up to 5 days or freeze for 3 months. Reheat gently in a pot with a splash of broth to keep it moist.
Why You’ll Love This Recipe
- Set It and Forget: I rub the chuck with salt, pepper, garlic and onion powders, then let the grill do the work while I pour a second cup of coffee.
- Smoky Depth: The dry rub forms a crust that locks in juices, and the grill adds that char-kissed flavor you just can’t fake indoors.
- Feeds the Crew: One 4-pound roast and a handful of pantry spices turns into sandwiches, tacos, or rice bowls for the whole week.
- Budget Hero: Chuck is cheap, the seasonings are already in my cabinet, and the leftovers taste even better the next day.
Step-by-Step Instructions for Chuck Pot Roast Grill
Here’s the method I use for achieving that perfect smoky char with herb depth.
Step 1: Create the Herb Rub and Coat the Roast
In a small bowl, combine the 1.5 tbsp Kosher Salt, 1 tbsp Coarse Black Pepper, 1 tbsp Garlic Powder, 1 tbsp Onion Powder, 1 tbsp Dried Rosemary, 1 tbsp Dried Thyme, and 1 tbsp Smoked Paprika. Crush the rosemary and thyme between your fingers to release their oils as you combine them.
Pat the 3 lb Chuck Roast dry with paper towels to ensure the rub adheres properly. Drizzle the 0.25 cup Olive Oil over the roast, then massage the herb rub into every surface, pressing firmly so it forms a thick, even crust. This step builds the flavor foundation and helps create a beautiful bark on the grill.
Step 2: Sear on the Grill for Smoky Char
Preheat your grill to medium-high heat (about 400°F). Place the roast directly on the grates and sear undisturbed for 4-5 minutes per side. You’ll know it’s ready to flip when the meat releases easily and has developed a deep, dark brown crust.
Move the roast to a cooler part of the grill (or reduce heat to medium-low) and add the 1 whole Yellow Onion (quartered), 3 whole Carrots (cut into chunks), and 3 whole Celery Stalks (cut into chunks) around it. This indirect heat allows the roast to cook through without burning the exterior.
Step 3: Add Liquids and Slow-Cook to Tenderness
In a small bowl, mix the 1 cup Beef Broth and 2 tbsp Red Wine Vinegar. Carefully pour this mixture into a disposable aluminum pan beneath the roast, or directly onto the grill grates near the vegetables. The liquid will create steam, keeping the roast moist as it cooks.
Close the grill lid and let the chuck roast cook for 2 to 2.5 hours, maintaining a temperature around 300°F. Check occasionally to ensure the liquid hasn’t evaporated—add a splash of water if needed. The roast is done when an instant-read thermometer inserted into the thickest part reads 195-200°F and the meat shreds easily with a fork.
Step 4: Rest and Serve
Transfer the roast to a cutting board, tent loosely with foil, and let it rest for 15-20 minutes. This rest allows the juices to redistribute, ensuring every bite is tender and flavorful. Meanwhile, transfer the vegetables to a serving platter.
Slice the roast against the grain into thick pieces or shred it with forks. Serve with the grilled vegetables and a ladle of the cooking liquid spooned over the top. The result should be a deeply flavored, smoky, and fork-tender chuck roast with a rich herb crust.
Pro Tips For Making Chuck Pot Roast Grill
- Season Overnight: Rub the chuck roast with kosher salt, coarse black pepper, garlic powder, and onion powder the night before grilling. This gives the spices time to penetrate deeply—I learned this the hard way after my first few roasts tasted bland on the inside.
- Start Hot, Finish Low: Sear the chuck roast over high heat to lock in juices, then move it to a cooler part of the grill to finish slow and even. After burning the outside of my first attempt, I finally figured out that patience wins every time.
- Skip Cold Meat: Let the roast sit at room temperature for 30-45 minutes before grilling. My grandmother swore by this, and she was right: it cooks more evenly and avoids that dreaded gray band just under the surface.
- Rest Before Slicing: Tent the roast with foil and let it rest for 15-20 minutes after grilling. Sounds weird, but it works—every slice stays juicy instead of bleeding out all over the cutting board.
Storing and Reheating This Dish
Refrigerator Storage
Let your chuck roast cool for no more than 2 hours before transferring to airtight containers. I use glass Pyrex with snap-on lids for easy reheating. Store at 40°F or below for up to 4 days. The flavors deepen overnight as the herbs meld. ❄️
Freezer Storage
This dish freezes beautifully for up to 3 months without quality loss. I recommend quart-sized freezer bags—they stack efficiently and thaw faster. Leave 1 inch of headspace for expansion and squeeze out excess air to prevent freezer burn.
Stovetop Reheating
My preferred method for maintaining texture. Add the roast and juices to a heavy pot with ¼ cup beef broth. Heat over medium-low heat for 10-15 minutes, stirring occasionally. The added liquid prevents drying out. 🔥
Oven Reheating
Preheat oven to 300°F. Place the roast in a baking dish with ½ cup cooking liquid, cover with foil, and heat for 20-25 minutes. This gentle method works well for larger portions.
Microwave Option
For quick meals, microwave individual portions covered with a damp paper towel. Use 70% power for 2-3 minutes, stir, then continue in 1-minute intervals until reaching 165°F. Add a splash of broth if needed.
Nutrition Facts
Frequently Asked Questions
Can I use a different cut of beef for this method?
Stick with chuck for best results—its marbling stays juicy during the long cook. Brisket works too but needs 3-4 hours. Avoid lean cuts like sirloin as they’ll dry out.
What if I don’t have a grill?
Use your oven! Sear in a Dutch oven on the stovetop, then cook at 300°F for 2.5-3 hours. Cover for the first 2 hours, then uncover to develop a crust.
How do I know when it’s done?
Insert a meat thermometer into the thickest part—it should read 195-200°F. The meat will pull apart easily with forks when fully tender.
Can I make this ahead of time?
The flavors improve overnight. Store in the fridge for up to 4 days or freeze for 3 months. Reheat gently with extra broth.

Trained in classic French technique but raised on slow-cooked ribs and spicy rubs, she blends culinary skill with smoke and soul.
- Recipe for Boneless Pork Chops in Cast Iron Skillet: Sear and Baste to Juicy Perfection - October 3, 2026
- Recipe for Boneless Cross Rib Roast: Slow-Roasted Beef with Herb Crust - October 3, 2026
- Hamburgers in Sauce Recipe Crock Pot: Slow-Cooked Savory Delight - October 3, 2026