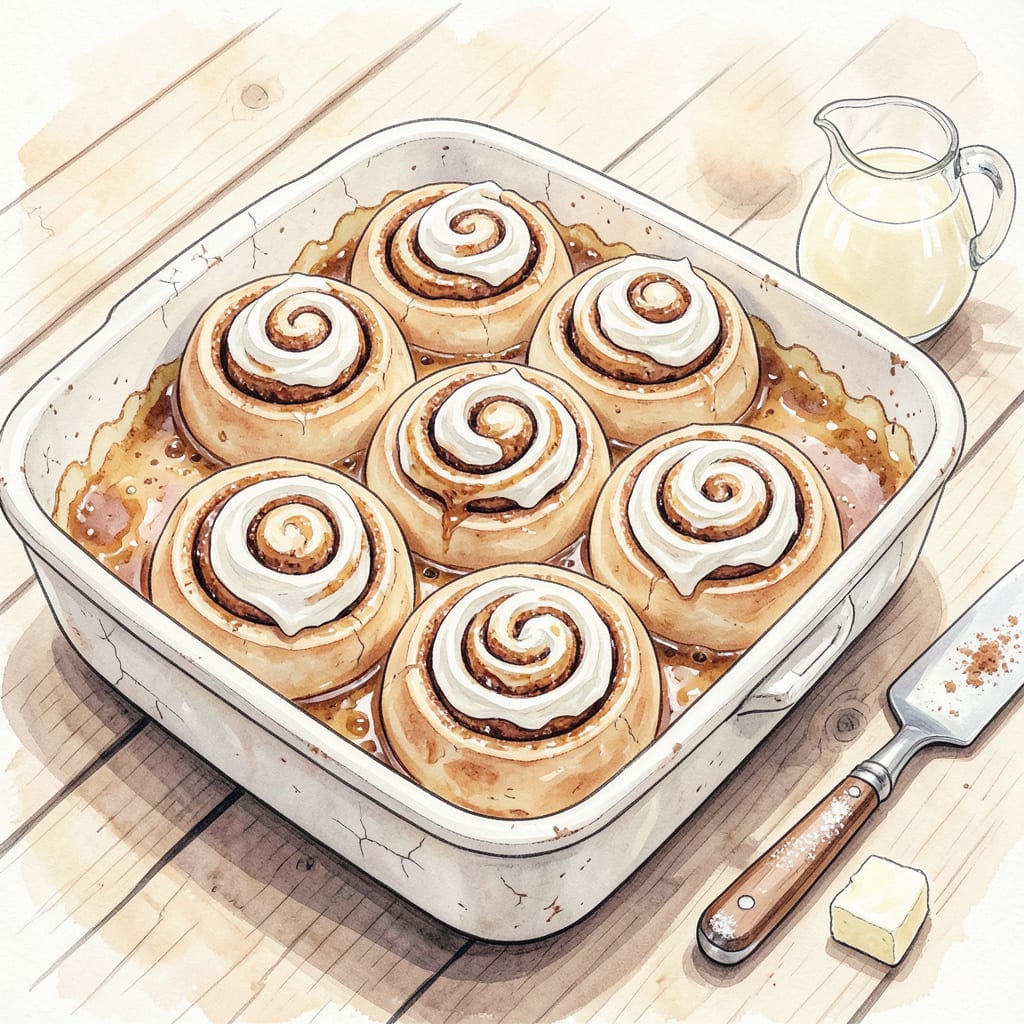
There’s something deeply satisfying about pulling a tray of perfectly golden cinnamon rolls from the oven, their sweet aroma filling the kitchen with warmth. Paula Deen’s version elevates this classic breakfast treat with her signature Southern touch—extra butter, rich cream cheese icing, and a filling that’s generously spiced with cinnamon.
This recipe delivers on its promise of gooey, buttery perfection through careful attention to detail. The dough rises to pillowy softness, the filling caramelizes just enough during baking, and the cream cheese icing adds that final layer of indulgence. Whether for a weekend brunch or holiday morning, these rolls are worth every minute of preparation.
Ingredients for Cinnamon Roll Recipe Paula Deen
These carefully selected ingredients create Paula Deen’s signature gooey, buttery cinnamon rolls with pillowy dough and rich cream cheese icing.
| Ingredient | Amount | Notes |
|---|---|---|
| Whole Milk 🥛 | 1 cup | Warm to 110°F for activation |
| Granulated Sugar 🍚 | ¼ cup | Divided for dough and filling |
| Active Dry Yeast 🍞 | 2 ¼ tsp | One standard packet |
| All-Purpose Flour 🌾 | 4 cups | Plus extra for dusting |
| Unsalted Butter 🧈 | ½ cup | Softened for dough |
| Large Eggs 🥚 | 2 whole | Room temperature |
| Salt 🧂 | 1 tsp | Fine sea salt preferred |
| Ground Cinnamon 🌿 | ¼ cup | Freshly opened for potency |
| Light Brown Sugar 🍚 | ¾ cup | Packed for filling |
| Cream Cheese 🧀 | 8 oz | Full-fat, softened |
| Powdered Sugar 🍚 | 2 cups | Sifted for icing |
| Vanilla Extract 💧 | 1 tsp | Pure extract recommended |
| Heavy Cream 🥛 | 2 tbsp | For icing consistency |
[recipe_ingredient_scaler]
The quality of butter and cream cheese determines the final texture. Plugra European-style butter yields superior flavor, while Philadelphia cream cheese provides optimal consistency. For yeast activation, use a reliable brand like Red Star—check expiration dates. The cinnamon should be freshly opened (preferably Vietnamese cassia for intensity), as stale spice loses potency. All-purpose flour with 10-12% protein content (like King Arthur) ensures proper dough structure without toughness.
Substitutions require careful balance. Bread flour can replace all-purpose at 1:1 ratio for chewier rolls. For dairy-free versions, Miyoko’s vegan butter and Kite Hill cream cheese perform well, though texture may vary slightly. Brown sugar alternatives like coconut sugar alter caramelization—adjust baking time by 2-3 minutes. The vanilla extract can be substituted with vanilla bean paste (use half the quantity) for visible specks and intensified flavor.
Store yeast in the refrigerator (6 months) or freezer (1 year) in an airtight container. Cream cheese and butter freeze well for 3 months—thaw overnight in the refrigerator. Prepared dough can be refrigerated overnight (slow rise) or frozen after shaping (2 months). Always bring refrigerated ingredients to room temperature before mixing to prevent dough seizing. The cinnamon filling can be pre-mixed and stored at room temperature for 1 week in a sealed container.
Why You’ll Love This Recipe
- No Stand Mixer Needed: I’ve made these with nothing but a wooden spoon and a little elbow grease—honestly, the dough comes together smoother than my last store-bought tube. The warm whole milk and melted butter do most of the work, so even if you’re kneading by hand, it’s surprisingly forgiving.
- That Brown Sugar Swirl: Here’s what sold me—the filling isn’t just cinnamon and sugar, it’s *buttery* cinnamon sugar, thanks to the unsalted butter you fold in. When it bakes, the edges get caramelized and crisp while the center stays pillowy soft. Dangerously addictive with a glass of cold milk.
- Breakfast or Dessert? Yes.: I’ve served these fresh out of the oven for weekend brunch (with scrambled eggs to balance the sweetness) and reheated them for a midnight snack. They’re just as good cold the next day—if they last that long. My kid packs the leftovers in her lunchbox, and her friends now request them by name.
- Pantry Staples Only: No last-minute grocery runs here. If you’ve got flour, sugar, butter, and milk, you’re 90% there. I’ve swapped in instant yeast when I was out of active dry, and they still turned out fluffy. Between us, this recipe has saved me when unexpected guests showed up and I needed something impressive, fast.
Step-by-Step Instructions for Gooey Cinnamon Rolls
Follow this professional method to achieve Paula Deen’s signature buttery, layered cinnamon rolls with perfect texture.
Step 1: Activate the Yeast and Prepare the Dough Base
Begin by warming the 1 cup whole milk to 110°F—this is critical for proper yeast activation. I use an instant-read thermometer for precision, as temperatures above 120°F will kill the yeast. Stir in the 0.25 cup granulated sugar and 2.25 tsp active dry yeast, then let the mixture sit for 5-7 minutes until foamy and fragrant.
In a stand mixer fitted with the dough hook, combine 4 cups all-purpose flour and 1 tsp salt. Create a well in the center and add the yeast mixture, 2 whole large eggs, and 0.5 cup unsalted butter (softened but not melted). Mix on low speed until the dough comes together, then increase to medium and knead for 6-8 minutes until smooth and elastic.
Step 2: Create the Cinnamon-Sugar Filling
While the dough rises, prepare the filling by combining the 0.75 cup light brown sugar (packed firmly) and 0.25 cup ground cinnamon. I recommend using freshly opened cinnamon for maximum potency. The brown sugar should be packed to ensure proper sweetness distribution throughout the rolls.
Roll the risen dough into a 16×12-inch rectangle on a lightly floured surface, maintaining an even thickness of about ¼ inch. Spread the cinnamon-sugar mixture evenly across the dough, leaving a ½-inch border along the edges. This prevents filling from spilling out during rolling and baking.
Step 3: Roll, Cut, and Proof the Rolls
Starting from the long side, tightly roll the dough into a log, applying even pressure to create uniform layers. Use a sharp chef’s knife or unflavored dental floss to cut 12 equal pieces, each about 1½ inches thick. Place the rolls in a greased 9×13-inch baking pan, leaving slight space between them for expansion.
Cover the pan with a clean kitchen towel and let the rolls proof in a warm, draft-free environment for 45-60 minutes. They should nearly double in size and feel pillowy to the touch. Proper proofing is essential for that signature light, airy texture Paula Deen’s rolls are known for.
Step 4: Bake to Golden Perfection
Preheat your oven to 350°F while the rolls finish proofing. Bake for 25-30 minutes until the tops are deep golden brown and the internal temperature reaches 190°F. Rotate the pan halfway through baking to ensure even browning.
The rolls should spring back slightly when pressed and have developed a caramelized crust. Avoid overbaking, as this will dry out the interior. The edges should be crisp while the center remains soft and gooey—a hallmark of well-made cinnamon rolls.
Step 5: Prepare and Apply the Cream Cheese Icing
While the rolls bake, beat the 8 oz cream cheese (fully softened) with the 2 cups powdered sugar, 1 tsp vanilla extract, and 2 tbsp heavy cream until completely smooth. The icing should be thick but pourable—adjust consistency with additional powdered sugar or cream as needed.
Spread the icing over the warm (not hot) rolls immediately after baking. The residual heat will slightly melt the icing, allowing it to seep into the layers. Let the rolls cool for 15 minutes before serving to allow the icing to set slightly while maintaining that coveted gooey texture.
Common Mistakes When Making Perfect Results
Overproofing the Dough
One of the most common mistakes I see is letting the dough rise too long. The rolls should nearly double in size during proofing, but if they puff up excessively, they’ll collapse in the oven. I check mine after 45 minutes—they should spring back slowly when pressed. A warm kitchen can speed up proofing, so keep an eye on them! 🌡️
Incorrect Yeast Activation
If your milk is too hot (above 120°F), it’ll kill the yeast, leaving you with dense rolls. I always use an instant-read thermometer to hit that 110°F sweet spot. Also, check your yeast’s expiration date—old yeast won’t foam properly, no matter how perfect your liquid temperature is.
Uneven Rolling Thickness
When rolling out your dough, aim for a consistent ¼-inch thickness. Thicker spots won’t cook evenly, while thin areas might burn. I use a rolling pin with thickness guides or measure with rulers until I develop the muscle memory. This ensures every bite has that perfect balance of dough and filling.
Skipping the Border
Always leave that ½-inch border when spreading your cinnamon-sugar filling. Without it, the filling oozes out during baking, creating a messy pan and unevenly filled rolls. I use a small offset spatula to keep the filling precisely within the borders—it’s worth the extra minute of care.
Overbaking the Rolls
These should be deep golden brown, not dark brown. Overbaking dries out the interior, ruining that gooey texture we all love. I pull mine when they reach 190°F internally and the edges just start to crisp. The residual heat will finish the cooking while they cool.
Rushing the Icing
Applying icing to piping hot rolls makes it slide right off. Let them cool for at least 15 minutes first. The icing should melt slightly from the warmth but still hold its shape. I often make the icing while the rolls bake so it’s ready at the perfect temperature when they come out. 💡
Nutrition Facts

Trained in classic French technique but raised on slow-cooked ribs and spicy rubs, she blends culinary skill with smoke and soul.
- Recipe for Boneless Pork Chops in Cast Iron Skillet: Sear and Baste to Juicy Perfection - October 3, 2026
- Recipe for Boneless Cross Rib Roast: Slow-Roasted Beef with Herb Crust - October 3, 2026
- Hamburgers in Sauce Recipe Crock Pot: Slow-Cooked Savory Delight - October 3, 2026