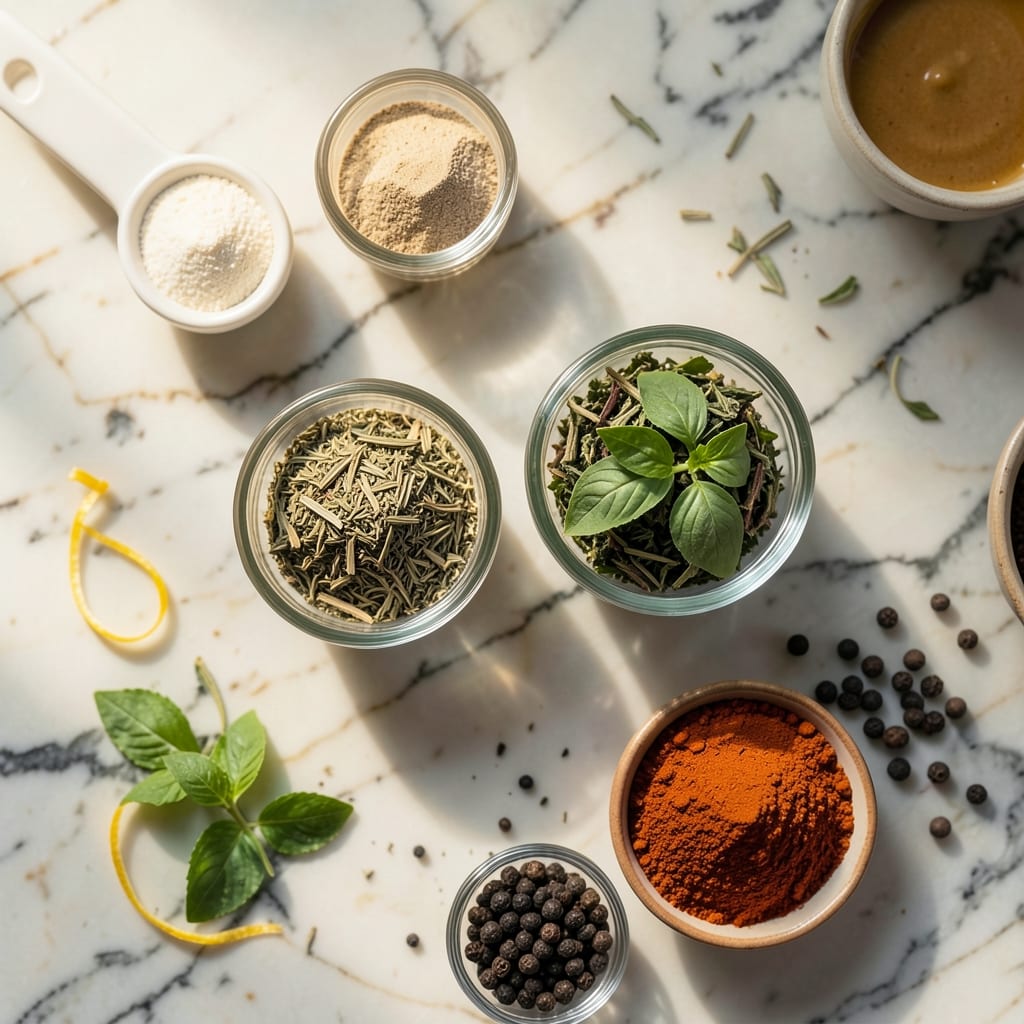
Achieving restaurant-style chicken tenders at home starts with the right technique and quality ingredients. This method delivers the same juicy, tender results you love from Cracker Barrel without the restaurant price.
Proper marinating and precise grilling temperatures ensure every bite stays moist and flavorful. The secret is in the balance of simplicity and attention to detail that transforms basic chicken into something special.
Ingredients for Cracker Barrel Grilled Chicken Tenders
Quality chicken plus a well-seasoned marinade creates restaurant-style results at home.
| Ingredient | Amount | Notes |
|---|---|---|
| Boneless Skinless Chicken Breasts 🍗 | 1 ½ lb | Cut into 1-inch strips |
| Buttermilk 🥛 | 1 cup | Full-fat for best tenderness |
| Olive Oil 🫒 | 2 tbsp | Divided for marinade and grilling |
| Garlic Powder 🧄 | 1 tsp | Not garlic salt |
| Onion Powder 🧅 | 1 tsp | Freshly ground preferred |
| Paprika 🌶️ | 1 tsp | Sweet or smoked variety |
| Ground Black Pepper 🌶️ | ½ tsp | Freshly ground for best flavor |
| Kosher Salt 🧂 | 1 tsp | Diamond Crystal preferred |
| Dried Thyme 🌿 | ½ tsp | Crushed between fingers |
| Dried Oregano 🍃 | ½ tsp | Mexican oregano if available |
| Worcestershire Sauce 💧 | 1 tbsp | Anchovy-free version optional |
| Lemon Juice 🍋 | 1 tbsp | Freshly squeezed preferred |
| Hot Sauce 🔥 | ½ tsp | Such as Frank’s RedHot |
[recipe_ingredient_scaler]
The chicken quality is non-negotiable for restaurant-style texture. Air-chilled boneless skinless chicken breasts from Whole Foods or Costco yield the juiciest tenders—avoid enhanced or pre-brined products which can turn rubbery. For the buttermilk, full-fat provides the acidity and fat needed to tenderize without drying out the meat. The paprika should be fresh and vibrant—old spices lose their potency quickly.
No buttermilk? Whole milk with 1 tbsp vinegar or lemon juice works in a pinch. Out of fresh garlic? Granulated garlic at half the amount substitutes well. For a smokehouse flavor, swap regular paprika for smoked paprika. The Worcestershire can be omitted, but it adds depth—coconut aminos offer a similar umami boost for those avoiding anchovies. Always taste your marinade before adding the chicken.
Marinate the chicken for at least 4 hours (overnight is ideal) in the refrigerator. Cooked tenders keep well for 3-4 days in an airtight container—reheat gently in a skillet or oven to maintain moisture. The marinade itself is only safe for 24 hours if storing with raw chicken.
Why You’ll Love This Recipe
- One Pan Magic: I toss the chicken in buttermilk, grill it up, and call it dinner—minimal mess, maximum flavor.
- Garlic-Buttermilk Punch: That buttermilk soak keeps the tenders juicy while the garlic powder gives them a cozy, savory kick.
- Weeknight Hero: I’ve served these to picky kids and hungry friends—everyone cleans their plate.
- Budget Stretch: Boneless chicken breasts go far here, and leftovers make killer salads the next day.
Step-by-Step Instructions for Grilled Chicken Tenders
This method guarantees tender, juicy results with a perfect char every time.
Step 1: Marinate the Chicken for Maximum Tenderness
Cut the 1.5 lb Boneless Skinless Chicken Breasts into 1-inch strips. In a large bowl, whisk together the 1 cup Buttermilk, 1 tbsp Olive Oil, 1 tbsp Worcestershire Sauce, 1 tbsp Lemon Juice, 0.5 tsp Hot Sauce, 1 tsp Garlic Powder, 1 tsp Onion Powder, 1 tsp Paprika, 0.5 tsp Ground Black Pepper, 1 tsp Kosher Salt, 0.5 tsp Dried Thyme, and 0.5 tsp Dried Oregano.
Add the chicken strips to the marinade, ensuring they are fully coated. Cover and refrigerate for at least 4 hours, or overnight for optimal flavor penetration and tenderness. This buttermilk base tenderizes the meat while the spices infuse it with depth.
Step 2: Preheat and Prepare the Grill
Preheat your grill to medium-high heat (about 400°F). Clean the grates thoroughly with a grill brush to prevent sticking. Lightly oil the grates with the remaining 1 tbsp Olive Oil using a paper towel and tongs.
This high heat ensures a proper sear on the chicken while cooking it through evenly. If using a gas grill, preheat with the lid closed for 10-15 minutes to reach the desired temperature. For charcoal, spread the coals evenly for consistent heat distribution.
Step 3: Grill the Chicken Tenders to Perfection
Remove the chicken from the marinade, shaking off any excess. Place the strips on the grill, leaving space between each piece to allow for even cooking. Grill for 4-5 minutes per side, or until the internal temperature reaches 165°F.
Resist the urge to move the tenders too soon. They should release easily from the grates when ready to flip. Look for distinct grill marks and a slight char on the edges for that authentic restaurant-style appearance.
Step 4: Rest and Serve Immediately
Transfer the grilled chicken tenders to a clean plate and let them rest for 5 minutes. This brief rest allows the juices to redistribute throughout the meat, ensuring maximum tenderness and flavor in every bite.
Serve immediately while hot. The chicken should have a golden-brown exterior with a juicy, flavorful interior. Pair with your favorite dipping sauces or sides to complete the meal. This technique delivers consistently tender, restaurant-quality results at home.
Pro Tips For Making Cracker Barrel Grilled Chicken Tenders
- Pound the Breasts: Use a rolling pin or meat mallet to even out the thickness of your chicken breasts to ½ inch—this guarantees they cook through at the same rate without dry edges or raw centers.
- Marinate Overnight: Soak the tenders in buttermilk with garlic and onion powder for at least 8 hours; I learned this the hard way after serving tough chicken to dinner guests.
- High Heat First: Start on a screaming-hot grill or pan for 2 minutes per side to get those char marks, then move to medium to finish cooking through.
- Rest Before Serving: Let the tenders rest under foil for 5 minutes after grilling—this keeps the juices inside where they belong, not on your cutting board.
Common Mistakes When Making This Recipe
Over-Marinating the Chicken
While marinating is key for tenderness, leaving the chicken in the buttermilk mixture for more than 24 hours can actually break down the proteins too much. This results in mushy tenders that fall apart on the grill. I learned this the hard way at a local BBQ competition. 🔥
Skipping the Grill Prep
Clean, well-oiled grates prevent sticking and ensure those beautiful grill marks. I always use tongs and a paper towel dipped in olive oil to coat the grates just before adding the chicken. This simple step makes flipping effortless.
Grilling Too Soon
Patience is key—if your grill isn’t fully preheated to 400°F, the chicken will stick and cook unevenly. I wait until my Weber grill thermometer hits the mark. A properly heated grill sears the outside while keeping the inside juicy.
Moving the Tenders Too Much
Let the chicken cook undisturbed for 4-5 minutes per side. Flipping too early tears the meat and prevents proper charring. The tenders will release naturally when ready—trust the process.
Ignoring Internal Temperature
Guessing doneness leads to dry or undercooked chicken. I use a ThermoWorks instant-read thermometer to check for 165°F. This ensures perfect results every time, just like at Cracker Barrel.
Skipping the Rest
Letting the tenders rest for 5 minutes after grilling allows juices to redistribute. Cutting too soon sends all that flavor onto the cutting board instead of into your meal. This small wait makes a big difference. 💡
Nutrition Facts

Trained in classic French technique but raised on slow-cooked ribs and spicy rubs, she blends culinary skill with smoke and soul.
- Recipe for Boneless Pork Chops in Cast Iron Skillet: Sear and Baste to Juicy Perfection - October 3, 2026
- Recipe for Boneless Cross Rib Roast: Slow-Roasted Beef with Herb Crust - October 3, 2026
- Hamburgers in Sauce Recipe Crock Pot: Slow-Cooked Savory Delight - October 3, 2026