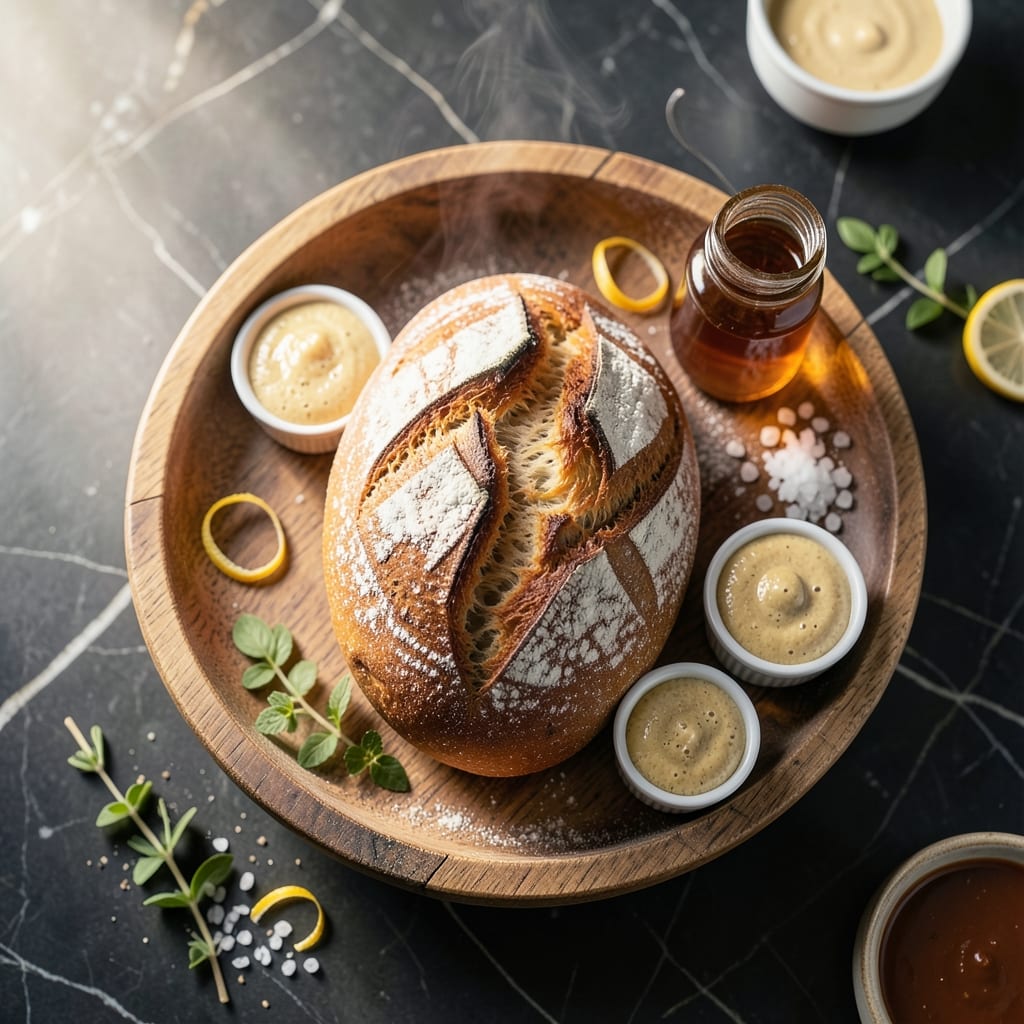
There’s something special about a loaf of sourdough with that perfect balance of tangy flavor and rustic crust. I’ve refined this recipe to deliver the same homestyle quality you’d find at your favorite country kitchen.
The process is straightforward but precise, with a slow fermentation that develops deep, complex flavors. A long proofing time ensures a light, airy crumb while maintaining that signature chewy texture sourdough lovers crave.
What emerges from the oven is a golden-brown loaf with a crust that crackles with every slice. The interior stays soft and slightly tangy, exactly like the version that made Cracker Barrel famous.
No specialty equipment needed—just patience and a few basic ingredients. Here’s how to bake this classic at home.
Ingredients for Cracker Barrel Sourdough Bread
Basic ingredients transform into that tangy, crusty loaf you know and love.
| Ingredient | Amount | Notes |
|---|---|---|
| Active Sourdough Starter 🍞 | 1 cup | Fed and bubbly, at peak activity |
| Bread Flour 🌾 | 4 cups | High protein content preferred |
| Whole Wheat Flour 🌾 | ½ cup | For depth of flavor |
| Lukewarm Water 💧 | 1 ¾ cups | About 85-90°F |
| Kosher Salt 🧂 | 2 tsp | Diamond Crystal preferred |
| Honey 🍯 | 1 tbsp | Optional for slight sweetness |
| Olive Oil 🫒 | 2 tbsp | For bowl and dough greasing |
| Cornmeal 🌽 | ¼ cup | For dusting proofing basket |
| All-Purpose Flour 🌾 | ¼ cup | For dusting work surface |
[recipe_ingredient_scaler]
The sourdough starter is everything here. If you don’t have one, King Arthur’s mail-order starter is foolproof, or beg some from a baking friend (we’re a generous bunch). Bread flour with 12-14% protein gives the best structure—King Arthur or Bob’s Red Mill are my go-tos. Whole wheat adds complexity, but white whole wheat works too (milder flavor, same nutrition).
No sourdough starter? Commercial yeast at 1/4 tsp gets you a similar crumb, though you’ll miss the tang. Swap honey for sugar or maple syrup if you prefer. The cornmeal can be fine or coarse, but skip the pre-mixed pizza dough—it’s got additives that mess with fermentation. Lukewarm water means it should feel like a baby’s bath—warm but not hot.
Store your starter in the fridge between bakes—feed it once a week to keep it alive. Extra dough can be shaped and frozen for up to 3 months. Always bring ingredients to room temp before mixing (cold water shocks the yeast).
Why You’ll Love This Recipe
- Minimal Kneading: I love that this recipe lets the sourdough starter do most of the work—just mix, fold, and let it rise.
- Tangy Perfection: The active starter gives it that signature Cracker Barrel tang, with a crisp crust and soft, chewy center.
- Endless Uses: It’s my go-to for sandwiches, toast, or even as a side with soup—honestly, it disappears fast.
- Budget Stretch: Five simple ingredients, and it makes two loaves. Between us, it’s way cheaper than store-bought artisanal bread.
Step-by-Step Instructions for Tangy Homemade Sourdough Bread
This method delivers that signature rustic crust and complex tang with minimal hands-on time.
Step 1: Mix and Autolyse the Dough
In a large mixing bowl, whisk together the 1 cup Active Sourdough Starter, 1.75 cups Lukewarm Water, and 1 tbsp Honey until fully dissolved. The water should feel just warm to the touch, about 85-90°F—too hot will kill your starter.
Add the 4 cups Bread Flour and 0.5 cup Whole Wheat Flour, mixing with a wooden spoon until no dry bits remain. The dough will be shaggy and rough. Cover and let rest for 30-45 minutes—this autolyse period hydrates the flour and kickstarts gluten development.
Step 2: Incorporate Salt and Begin Bulk Fermentation
After the autolyse, sprinkle the 2 tsp Kosher Salt evenly over the dough. Dip your hands in water to prevent sticking, then dimple the salt into the dough with your fingers, folding and pressing until fully incorporated. The dough will tighten slightly as the salt strengthens the gluten network.
Transfer the dough to a lightly greased bowl using 1 tbsp Olive Oil. Cover and begin bulk fermentation at room temperature, about 70-75°F. I perform a series of stretch-and-folds every 30 minutes for the first 2 hours—wet your hands, grab one side of the dough, stretch it upward, and fold it over itself, rotating the bowl as you go.
Step 3: Shape and Final Proof
After 4-5 hours of bulk fermentation (the dough should be about 50-75% larger with visible bubbles), turn it out onto a surface dusted with 0.25 cup All-Purpose Flour. Shape into a tight boule by pulling the edges toward the center and rolling it against the counter to create surface tension.
Place the dough seam-side up in a banneton or bowl lined with a towel heavily dusted with 0.25 cup Cornmeal. This prevents sticking and adds texture to the crust. Cover and proof in the refrigerator for 12-16 hours—cold proofing enhances flavor development and makes scoring easier.
Step 4: Bake to Rustic Perfection
Preheat your oven to 475°F with a Dutch oven inside for 1 hour. Turn the proofed dough onto parchment paper, score the top with a razor in a ½-inch deep pattern, then transfer to the hot Dutch oven. The parchment prevents sticking and allows for easy transfer.
Bake covered for 20 minutes, then uncover and bake for another 20-25 minutes until the crust is deep golden brown and the internal temperature reaches 205-210°F. The loaf should sound hollow when tapped on the bottom. Cool completely on a wire rack for at least 2 hours before slicing—this prevents a gummy crumb.
Pro Tips For Making Cracker Barrel Sourdough Bread
- Feed Starter Early: Give your sourdough starter at least 8-12 hours after feeding before using it—sounds like overkill, but underfed starter is the #1 reason this bread turns out dense. I learned this the hard way after three sad loaves.
- Use Bread Flour: Skip the all-purpose and stick with high-protein bread flour for that chewy, open crumb Cracker Barrel is known for. The gluten structure actually changes the outcome.
- Watch the Water Temp: Lukewarm means 90-100°F—any hotter and you’ll kill your starter’s good bacteria. I burned my first two batches testing this.
- Salt Last: Add the kosher salt after the autolyse phase (about 30 minutes in) to avoid slowing down fermentation. Sounds weird, but it works.
Make-Ahead Tips for This Dish
Prep the Dough Ahead
Mix your dough the night before and let it do its first rise at room temp for 2-3 hours. Then pop it in the fridge for an overnight cold proof. This slow fermentation develops that signature tangy depth and makes morning baking a breeze. 💡
Shape Before Storage
After bulk fermentation, shape your loaf and place it in a floured banneton or bowl. Cover tightly with plastic wrap to prevent drying. Cold proofing in the fridge for 12-16 hours enhances flavor while keeping the dough manageable.
Freeze for Later
Shaped dough can be frozen for up to 1 month. Wrap tightly in plastic, then foil, to prevent freezer burn. Thaw overnight in the fridge before baking as usual. The results will be just as delicious as fresh dough.
Pre-Bake Prep
Before baking, let your cold-proofed dough sit at room temp for 30-60 minutes. This takes the chill off and improves oven spring. Score just before baking for that professional bakery look.
Store Baked Loaves
Once cooled completely, store in a paper bag at room temp for up to 3 days. For longer storage, slice and freeze in an airtight container for up to 3 months. Toast slices to revive that fresh-baked taste. ❄️
Revive Stale Bread
If your loaf loses its freshness, wrap it in foil and warm in a 350°F oven for 10-15 minutes. For crusty results, add a splash of water to the oven or use a damp towel during reheating.
Nutrition Facts
Frequently Asked Questions
Do I need a Dutch oven to bake this?
A Dutch oven creates the best steam environment for a crispy crust, but you can use a baking stone or heavy oven-safe pot with a lid. Place a pan of water on the lower rack for steam if needed.
Why is my sourdough dense instead of airy?
Underproofing or insufficient gluten development are common causes. Ensure you complete the full 4-5 hour bulk fermentation and perform stretch-and-folds every 30 minutes for the first 2 hours.
Can I use all-purpose flour instead of bread flour?
Yes, but expect a slightly less chewy texture. Bread flour’s higher protein content creates better structure. For best results, replace no more than 50% of the bread flour with all-purpose.
How do I know when my starter is ready?
Your starter should double in size within 4-8 hours of feeding and have lots of bubbles. The float test works: drop a spoonful in water—if it floats, it’s ready to use.

Trained in classic French technique but raised on slow-cooked ribs and spicy rubs, she blends culinary skill with smoke and soul.
- Recipe for Boneless Pork Chops in Cast Iron Skillet: Sear and Baste to Juicy Perfection - October 3, 2026
- Recipe for Boneless Cross Rib Roast: Slow-Roasted Beef with Herb Crust - October 3, 2026
- Hamburgers in Sauce Recipe Crock Pot: Slow-Cooked Savory Delight - October 3, 2026