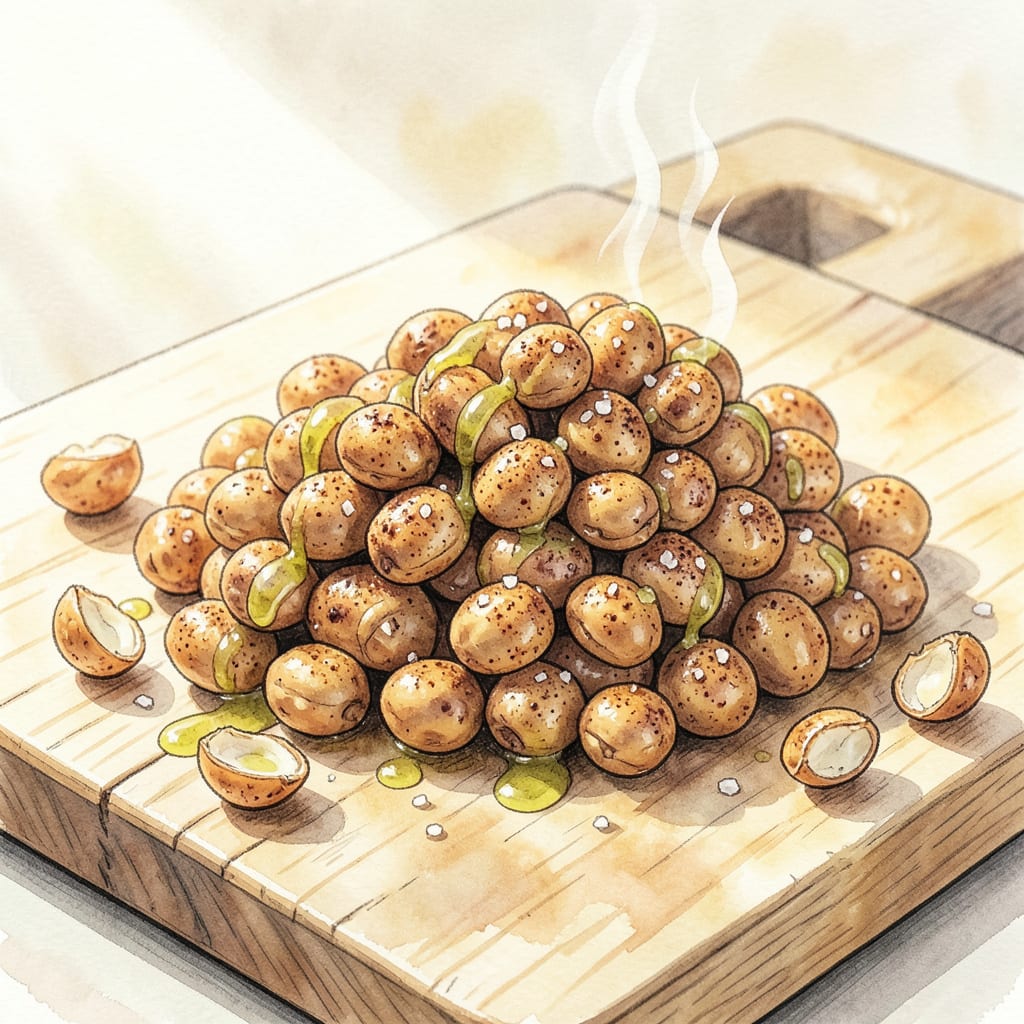
Achieving perfectly crispy beans at home requires just one simple technique: thorough drying and high-heat roasting. This method transforms ordinary chickpeas into a satisfying snack with a shatteringly crisp exterior and tender center. The oven does most of the work, creating an even golden-brown finish without deep-frying.
The result is a healthy, protein-packed alternative to traditional chips or crackers. These beans maintain their crunch for days when stored properly, making them ideal for meal prep or last-minute entertaining. With endless seasoning possibilities, you can tailor the flavor to any craving—from smoky paprika to zesty lemon-pepper.
Ingredients for Crispy Beans
These pantry staples and carefully selected spices transform humble chickpeas into a shatteringly crisp, protein-rich snack.
| Ingredient | Amount | Notes |
|---|---|---|
| Dried Chickpeas 🌱 | 2 cups | Or 3 (15-oz) cans, drained and rinsed |
| Extra-Virgin Olive Oil 🫒 | 2 tbsp | Cold-pressed for optimal flavor |
| Sea Salt 🧂 | 1 tsp | Fine grain for even distribution |
| Smoked Paprika 🌶️ | 1 ½ tsp | Spanish variety preferred for depth |
| Garlic Powder 🧄 | 1 tsp | Freshly ground for potency |
| Onion Powder 🧅 | 1 tsp | Balances savory profile |
| Ground Cumin 🌿 | ½ tsp | Toasted for enhanced aroma |
| Cayenne Pepper 🔥 | ¼ tsp | Adjust for heat preference |
| Freshly Ground Black Pepper 🌶️ | ½ tsp | Coarse grind recommended |
| Lemon Zest 🍋 | 1 tsp | Organic lemons preferred |
| Baking Powder 🧂 | ½ tsp | Ensures extra crispiness |
[recipe_ingredient_scaler]
Optimal quality begins with **dried chickpeas**—soak overnight for uniform texture. Goya or Rancho Gordo brands yield superior results. The olive oil must be **extra-virgin, cold-pressed** for proper heat tolerance; California Olive Ranch is a reliable choice. Sea salt should be **fine grain** (like Maldon) to adhere evenly during roasting. The baking powder is critical—Rumford (aluminum-free) prevents metallic aftertaste.
For smoked paprika, **Spanish pimentón** (sweet or hot) from La Boîte delivers authentic depth. Substitute regular paprika in a pinch, but reduce quantity by 25%. Garlic and onion powders should be **freshly opened**—old spices lose volatility. No cayenne? Use **chipotle powder at half strength** for smoky heat. Lemon zest can be replaced with **citric acid (1/8 tsp)**, though fresh provides brighter notes. Always verify canned chickpeas are **low-sodium** if substituting.
Store dried chickpeas in airtight containers for up to 12 months. Roasted beans maintain crispness for 5 days in paper bags (plastic traps moisture). Spice blends keep 6 months in cool, dark conditions. For meal prep, portion into **silica gel packets** to preserve texture. Re-crisp in a 300°F oven for 5 minutes if humidity softens them.
Why You’ll Love This Recipe
- One Pan Magic: So easy. I mean, genuinely throw-it-together-while-the-kids-do-homework easy. Just toss drained chickpeas with olive oil and spices, spread on a sheet pan, and let the oven do the work. One pan, one spatula, done.
- That Crunch, Though: Here’s what sold me—the contrast. Warm, creamy centers with edges so crispy they shatter. The smoked paprika and garlic powder? They don’t just season; they *cling* to every bite like they’re meant to be there.
- Snack or Side Hustle: Honestly, I make these weekly. Toss them on salads for crunch, serve as a bar snack with drinks, or stash in containers for when hunger strikes. They’re my secret weapon for last-minute guests or solo Netflix nights (yes, even on a Tuesday).
- Budget-Friendly Stash: A pound of dried chickpeas costs pennies and turns into *four* batches of these. I’ll be real: I double the recipe every time because they vanish fast—but leftovers keep for days in a jar. No waste, all flavor.
Step-by-Step Instructions for Oven-Baked Crispy Beans
This method transforms simple ingredients into perfectly crunchy, flavorful snacks with ideal texture every time.
Step 1: Prepare and Dry the Chickpeas
Begin by thoroughly draining and rinsing the chickpeas. Spread them evenly on a clean kitchen towel and pat completely dry. This step is critical—any residual moisture will prevent proper crisping during baking. For best results, allow the dried chickpeas to air-dry for an additional 10 minutes after patting.
Transfer the dried chickpeas to a large mixing bowl. The drier the chickpeas, the crispier your final result will be. This preparation ensures the spices adhere properly and the baking powder can work effectively to create that desirable crunch.
Step 2: Create the Spice Mixture and Coat Evenly
In a small bowl, combine the 1 tsp sea salt, 1.5 tsp smoked paprika, 1 tsp garlic powder, 1 tsp onion powder, 0.5 tsp ground cumin, 0.25 tsp cayenne pepper, 0.5 tsp freshly ground black pepper, 1 tsp lemon zest, and 0.5 tsp baking powder. Whisk thoroughly to distribute all spices evenly.
Drizzle the 2 tbsp extra-virgin olive oil over the dried chickpeas and toss to coat completely. Sprinkle the spice mixture over the oiled chickpeas and toss vigorously until every chickpea is uniformly coated. The baking powder in this mixture is what creates those delightful crispy edges during baking.
Step 3: Arrange and Bake for Optimal Crispiness
Preheat your oven to 400°F and line a large baking sheet with parchment paper. Spread the seasoned chickpeas in a single layer on the prepared sheet, ensuring they don’t touch or overlap. This spacing allows hot air to circulate around each chickpea, promoting even crisping.
Bake for 25-30 minutes, shaking the pan gently halfway through the cooking time. The chickpeas are done when they’re deep golden brown and completely crisp when tested. Watch carefully during the last 5 minutes of baking, as they can go from perfectly crisp to overdone quickly.
Step 4: Cool and Store for Maximum Crunch
Remove the chickpeas from the oven and let them cool completely on the baking sheet. They’ll continue to crisp up as they cool. Transfer to a wire rack if you need to use the baking sheet for another batch. The cooling process is essential—it allows the chickpeas to reach their maximum crispiness.
Once completely cooled, store in an airtight container at room temperature for up to 5 days. If they lose some crispness over time, you can refresh them by baking at 350°F for 5-7 minutes. The lemon zest in the seasoning blend adds a bright note that balances the smoky, spicy flavors beautifully.
Common Mistakes When Making Perfect Results
Skipping the Drying
I can’t stress this enough—wet chickpeas are the enemy of crispiness. Even a little moisture creates steam in the oven, leaving you with soft, chewy beans instead of that satisfying crunch. I learned this the hard way during my first batch when I rushed the process. Always pat them completely dry with a towel, then let them air-dry for 10 minutes before seasoning. 💡
Overcrowding the Pan
When you pile chickpeas onto the baking sheet, they steam instead of roast. Spread them in a single layer with space between each one—this lets hot air circulate evenly. I use two baking sheets if needed rather than crowding. Remember, they’ll shrink slightly during baking, so start with ample space.
Uneven Seasoning Distribution
The secret to flavor in every bite is thorough coating. Don’t just sprinkle spices—toss the chickpeas vigorously in the bowl until you see no bare spots. I like to use my hands (clean, of course!) to ensure every chickpea gets equal attention. The baking powder needs to contact each piece to create those crispy edges.
Baking at Wrong Temperature
A 400°F oven is non-negotiable for proper crisping. Lower temps create chewy results, while higher risks burning before they crisp. I’ve experimented with 375°F and 425°F—both failed to deliver that perfect shatter. Stick to 400°F and watch closely after 20 minutes.
Opening Oven Too Soon
Resist the urge to check before 15 minutes in. Every time you open that oven door, you lose 25°F of heat and disrupt the cooking process. I set a timer and only shake the pan once at the halfway mark. Trust the process—your patience will be rewarded with perfectly crisp beans.
Storing While Warm
This mistake turns crispy beans soggy faster than you can say “snack time.” Let them cool completely on the baking sheet before transferring to containers. I spread mine on a wire rack to speed up cooling. Any trapped heat creates condensation, which is the nemesis of crunch. Store in paper bags for best texture retention. ❄️
Nutrition Facts

Trained in classic French technique but raised on slow-cooked ribs and spicy rubs, she blends culinary skill with smoke and soul.
- Recipe for Boneless Pork Chops in Cast Iron Skillet: Sear and Baste to Juicy Perfection - October 3, 2026
- Recipe for Boneless Cross Rib Roast: Slow-Roasted Beef with Herb Crust - October 3, 2026
- Hamburgers in Sauce Recipe Crock Pot: Slow-Cooked Savory Delight - October 3, 2026