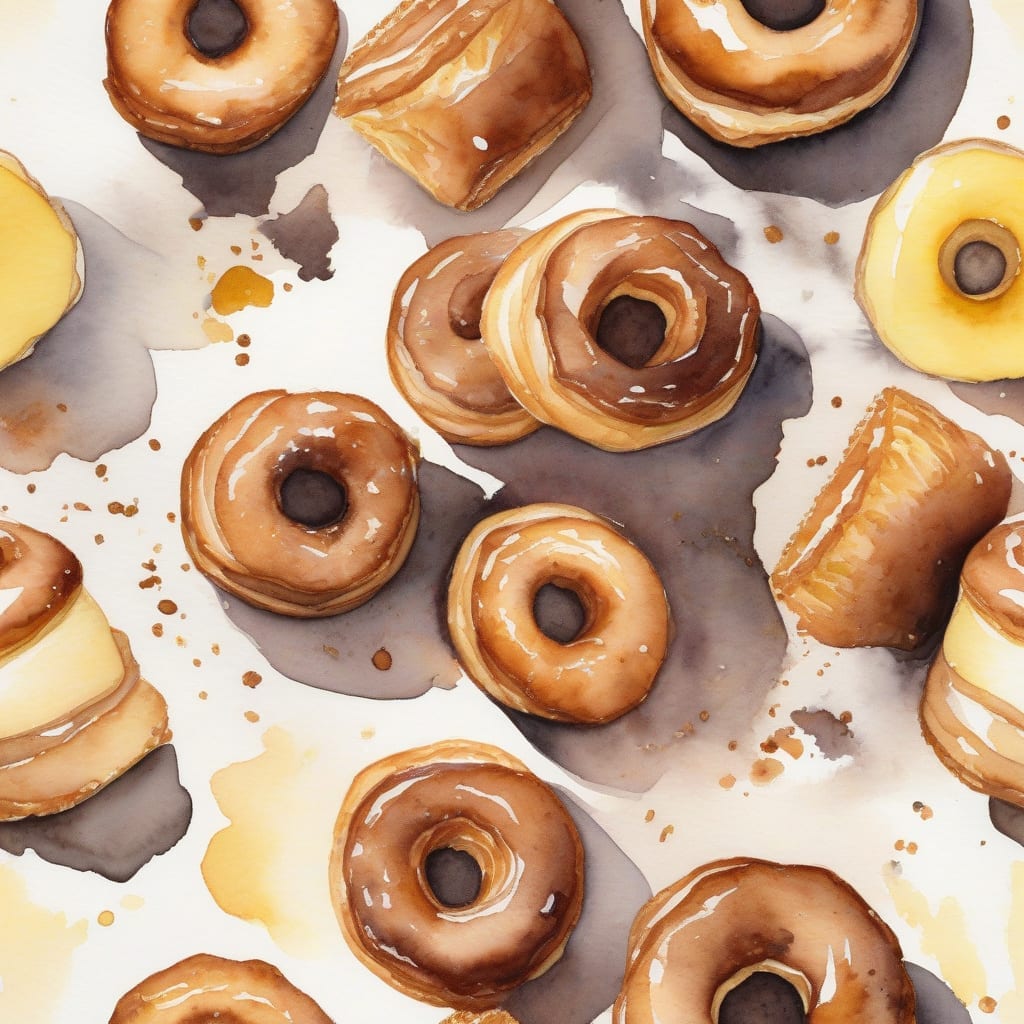
Imagine biting into a flaky pastry with a creamy filling that takes your taste buds on an unforgettable journey. This delightful creation is what I’m excited to share with you today. Making these pastries from scratch may seem daunting, but trust me, the results are worth every effort.
What makes this dish special is the combination of layers that create the signature flaky texture. With simple ingredients and a straightforward approach, you’ll master the art of pastry-making in no time. Each step, from preparing the dough to frying, is essential for achieving that perfect cronut.
By the end, you’ll have beautifully golden pastries filled with rich cream that are perfect for impressing friends or treating yourself. Let’s dive into the process and bring this delicious creation to life!
Ingredients for Cronut recipe dominique ansel
Gather these simple ingredients to create flaky pastries with creamy filling that delight.
| Ingredient | Amount | Notes |
|---|---|---|
| All-Purpose Flour 🌾 | 4 cups | Sifted for smooth texture |
| Unsalted Butter 🧈 | 1 ½ lbs | Chilled, cut into cubes |
| Granulated Sugar 🍬 | ½ cup | For dough and glaze |
| Active Dry Yeast 🍞 | 2 ¼ tsp | Ensure freshness for rising |
| Whole Milk 🥛 | 1 ½ cups | Warm for yeast activation |
| Eggs 🥚 | 2 whole | Room temperature preferred |
| Salt 🧂 | 1 tsp | Kosher salt recommended |
| Vanilla Extract 🍦 | 1 tbsp | Pure extract for flavor |
| Vegetable Oil 🌿 | 2 cups | For frying, high smoke point |
| Pastry Cream 🍮 | 2 cups | Homemade or store-bought |
[recipe_ingredient_scaler]
You can find all these ingredients at your local grocery store. For the best quality butter, choose European-style varieties like Kerrygold for its higher fat content, which adds richness to the pastries. Whole milk should be fresh, and using organic eggs enhances flavor and quality. Look for active dry yeast with a recent expiration date to ensure proper rising.
If you don't have whole milk, you can substitute with 2% milk or a dairy-free alternative like almond milk, though it may affect creaminess. For the pastry cream, homemade offers superior flavor, but a high-quality store-bought option can save time. You can also flavor the cream with lemon zest or coffee for a twist.
Store any leftover pastries in an airtight container at room temperature for up to 2 days; they are best enjoyed fresh. If freezing, wrap them tightly in plastic wrap and aluminum foil to prevent freezer burn—thaw at room temperature when ready to eat. Prepare the pastry cream in advance and refrigerate it for up to 3 days.
Step-by-Step Instructions for Making Cronuts
Let me guide you through the intricate process of creating these delicious, flaky pastries with a creamy filling.
👨🍳 Step 1: Prepare the Dough
Start by warming the 1.5 cups whole milk until it’s just lukewarm—this helps activate the 2.25 tsp active dry yeast. In a bowl, combine the warm milk with the yeast and let it sit for about 5 minutes until it’s foamy. Meanwhile, in a large mixing bowl, whisk together the 4 cups all-purpose flour, 0.5 cup granulated sugar, and 1 tsp salt.
Once the yeast is ready, add it to the flour mixture along with the 2 whole eggs and 1 tbsp vanilla extract. Mix until it forms a rough dough. This initial mix is crucial as it lays the foundation for your flaky layers.
🔥 Step 2: Incorporate the Butter
Now comes the fun part! Take the chilled, cubed 1.5 lbs unsalted butter and pound it out between two sheets of parchment paper until it’s about ½-inch thick. This method ensures the butter stays cold while you work with it. Once prepared, roll your dough into a rectangle about ½ inch thick, then place the butter in the center.
Fold the dough over the butter, sealing it in completely. Roll it out again into a rectangle and fold it into thirds like a letter. This folding technique creates those beautiful layers. I recommend repeating this folding process twice more, chilling the dough in between if needed to keep everything cold and manageable.
🥘 Step 3: Cut and Proof the Cronuts
After your final fold and chill, roll the dough out to about ¾ inch thick. Use a round cutter to cut out circles and a smaller cutter to make holes in the center. Place them on a baking sheet lined with parchment paper, ensuring they have enough space to rise. Cover them with a clean kitchen towel and let them proof at room temperature for about 1 hour, or until they have doubled in size.
This step is essential for achieving that light, airy texture. If your kitchen is cool, you may want to find a warmer spot or turn on your oven briefly to create a warm environment without cooking the dough.
🔥 Step 4: Fry and Fill with Cream
In a heavy-bottomed pot, heat 2 cups vegetable oil over medium heat until it reaches **350°F**. Carefully place the proofed cronuts into the hot oil, frying them for about 2-3 minutes per side, or until they are golden brown. Use a slotted spoon to remove them and let them drain on paper towels.
Once cooled slightly, fill each cronut with 2 cups pastry cream. You can use a piping bag fitted with a small nozzle to inject the cream into each cronut. This creamy filling is what makes these pastries truly indulgent.
🍩 Step 5: Glaze and Serve
If you like, you can make a simple glaze using remaining granulated sugar mixed with water until it reaches a pourable consistency. Dip each cronut into the glaze while still warm for added sweetness. Serve them immediately for the best experience; the contrast of flaky pastry and creamy filling will surely delight everyone!
Your cronuts are now ready to be enjoyed! With each bite, you’ll appreciate the layers of flaky pastry complemented by rich cream.
Elevate Your Cronut Game with These Essential Tips
Creating the perfect cronut is all about mastering technique and attention to detail. First, I always ensure my butter is chilled—this keeps it from melting into the dough during rolling. I recommend using Kerrygold unsalted butter for its rich flavor and higher fat content. It makes a significant difference in texture! 🧈
Another crucial aspect is the frying temperature. I heat my vegetable oil to exactly 350°F. Using a kitchen thermometer like the ThermoWorks Thermapen helps me maintain that perfect frying temp, ensuring a crispy exterior without greasy residue. If the oil is too hot, the cronuts will burn on the outside while remaining raw inside! 🔥
When it comes to proofing, patience is key. I let my shaped cronuts rise until they’re doubled in size, which usually takes about 1 hour. This step is essential for achieving that light and airy texture. If you’re in a cool kitchen, consider placing them in a slightly warmed oven (turned off) to encourage rising. 🌟
Lastly, don’t skip the glaze! A simple mix of 1 cup powdered sugar with a few tablespoons of water creates a delightful finish. Dip the cronuts while they’re still warm for the glaze to adhere perfectly. Trust me, this final touch enhances both flavor and presentation! 💫
Nutrition Facts
400kcal

Trained in classic French technique but raised on slow-cooked ribs and spicy rubs, she blends culinary skill with smoke and soul.
- Recipe for Boneless Pork Chops in Cast Iron Skillet: Sear and Baste to Juicy Perfection - October 3, 2026
- Recipe for Boneless Cross Rib Roast: Slow-Roasted Beef with Herb Crust - October 3, 2026
- Hamburgers in Sauce Recipe Crock Pot: Slow-Cooked Savory Delight - October 3, 2026