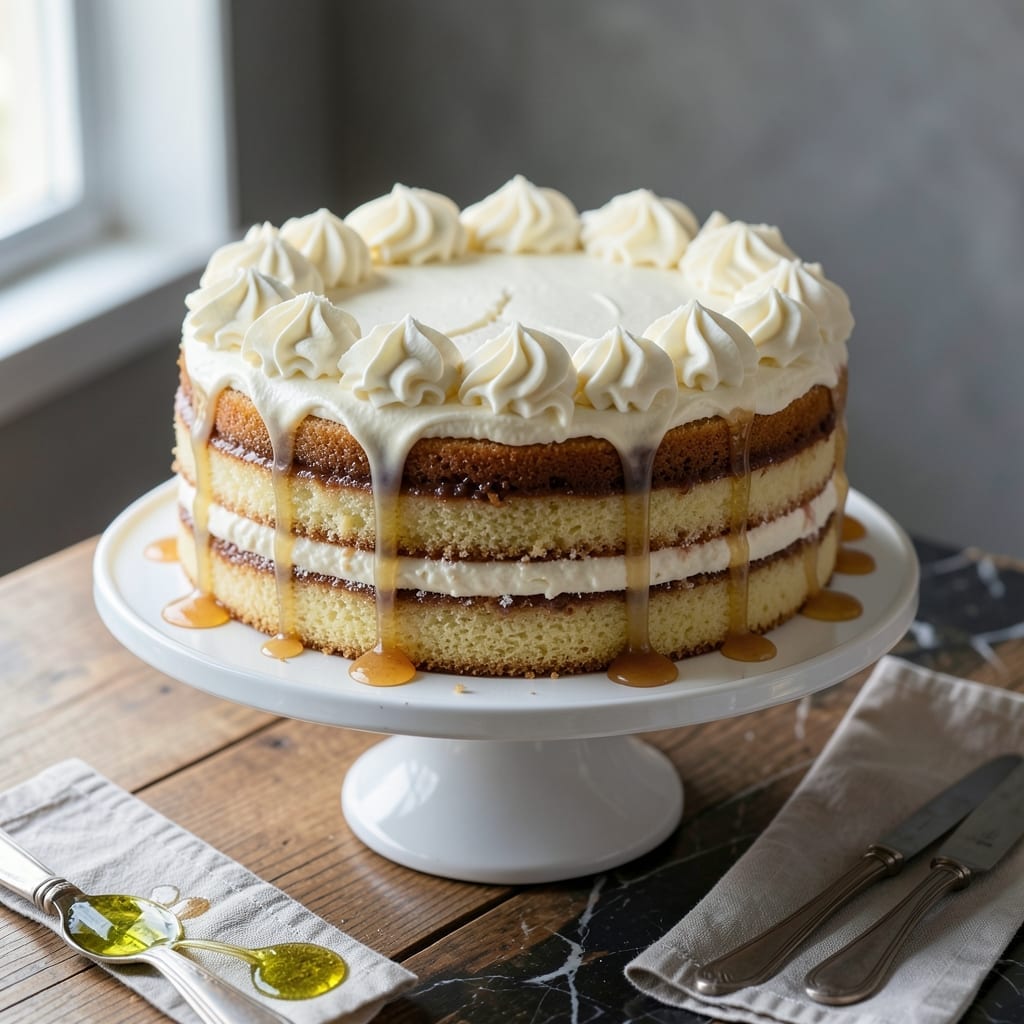
This decorator frosting delivers professional piping results with a stable consistency that holds its shape for hours.
Using a simple buttercream base with the right ratio of fat to sugar creates smooth, workable swirls perfect for cakes and cupcakes.
Ingredients for Decorator Frosting Recipe for Cakes
Eight ingredients create this stable buttercream base for professional piping results on cakes.
| Ingredient | Amount | Notes |
|---|---|---|
| Unsalted Butter 🧈 | 1 cup | Room temperature, high-fat content preferred |
| Vegetable Shortening 🫒 | 1 cup | For stability in warm temperatures |
| Powdered Sugar 🍚 | 8 cups | Sifted for smooth texture |
| Whole Milk 🥛 | ¼ cup | Or heavy cream for richness |
| Vanilla Extract 🌿 | 2 tsp | Pure vanilla, not imitation |
| Almond Extract 🌰 | ½ tsp | Optional for depth of flavor |
| Salt 🧂 | ½ tsp | Fine grain for even distribution |
| Clear Vanilla Extract 💧 | 1 tsp | Maintains pure white color |
[recipe_ingredient_scaler]
Professional bakers swear by the butter-shortening combo for stability. Land O’Lakes unsalted butter has the right fat content, and Crisco all-vegetable shortening is the gold standard for holding shape. The powdered sugar must be ultra-fine—Domino or C&H brands are reliable. Room temperature is critical; cold butter creates lumps, melted butter ruins the structure. Invest in a kitchen scale for precise measurements.
No vanilla extract? Vanilla bean paste at one-to-one ratio adds speckles but maintains flavor. For dairy-free, unsweetened almond milk works as a substitute. The salt might seem negligible, but fine sea salt enhances all flavors. Skip the almond extract if you dislike the flavor—it’s purely optional. For pure white frosting, clear imitation vanilla replaces regular vanilla without adding color.
Store in an airtight container at room temperature for up to 3 days. Refrigerated, it lasts 2 weeks—just rewhip before using. Freeze for 3 months in sealed containers. Avoid plastic wrap directly on the surface as it can absorb odors.
Why You’ll Love This Recipe
- No-Fuss Mixing: I just dump everything in one bowl—no separating eggs or creaming for hours. Honestly, the stand mixer does all the work.
- Buttery Sweetness: The combo of unsalted butter and vanilla extract gives it that rich, bakery-quality taste without being cloying.
- Pipes Like a Dream: This holds its shape for roses, borders, you name it. My daughter’s birthday cakes look like they’re from a pro.
- Stays Fresh: Leftovers keep in the fridge for a week, and it re-whips perfectly. I always make extra for last-minute cupcakes.
Step-by-Step Instructions for Decorator Frosting
Master the technique for smooth, pipeable frosting that holds its shape under professional scrutiny.
Step 1: Cream the Fats to Optimal Consistency
In a stand mixer fitted with the paddle attachment, beat the 1 cup Unsalted Butter and 1 cup Vegetable Shortening on medium speed for 3-4 minutes. The mixture should become pale and noticeably lighter in texture.
This extended creaming incorporates air, creating a stable base that won’t collapse when piped. The shortening provides temperature stability, while the butter contributes flavor. Stop mixing when the combination appears fluffy and leaves distinct ribbons when the paddle is lifted.
Step 2: Gradually Incorporate the Confectioners’ Sugar
With the mixer on low speed, add the 8 cups Powdered Sugar one cup at a time, allowing each addition to fully incorporate before adding more. This prevents a sugar dust cloud and ensures even distribution.
After all sugar is added, increase to medium speed and beat for an additional 2 minutes. The mixture will appear dry and crumbly at first. Scrape the bowl periodically with a silicone spatula to maintain consistent texture throughout the batch.
Step 3: Emulsify with Liquid and Flavor Components
Add the 0.25 cup Whole Milk, 2 tsp Vanilla Extract, 1 tsp Clear Vanilla Extract, 0.5 tsp Almond Extract, and 0.5 tsp Salt. Begin mixing on low speed to prevent splattering, then increase to medium-high for 3-4 minutes.
The frosting will transform from crumbly to smooth and glossy. Watch for the mixture to pull away from the bowl sides and develop a satiny sheen. The clear vanilla maintains the pure white color essential for professional decorating, while the almond extract adds subtle depth.
Step 4: Test and Adjust for Piping Consistency
Stop the mixer and test the frosting consistency. It should hold a soft peak when a spoon is lifted, with the tip curling slightly. If too stiff, add additional milk 1 tablespoon at a time; if too thin, add more powdered sugar ¼ cup at a time.
Beat for 30 seconds after each adjustment. For intricate piping work, aim for a consistency that maintains defined edges when squeezed from a piping bag. The ideal texture should feel like thick, smooth toothpaste that spreads effortlessly but holds its shape.
Pro Tips For Making Decorator Frosting Recipe For Cakes
- Soften the Butter: Let the unsalted butter sit at room temperature for 30-40 minutes—it should dent when pressed but not be greasy. I learned this the hard way after my frosting turned soupy from butter that was too soft.
- Sift the Sugar: Always sift the powdered sugar first, even if it seems fine. My grandmother swore by this, and it prevents those annoying little lumps that ruin smooth piping.
- Skip the Cold Milk: Use whole milk at room temperature to prevent the frosting from seizing up. After ruining a batch with cold milk straight from the fridge, I now set it out with the butter.
- Beat Longer: Beat the butter and shortening together for a full 3-4 minutes before adding sugar—this builds air for a lighter texture. Sounds tedious, but it actually changes the outcome.
Pro Cooking Tips for Perfect Results
💡 Consistency is Key
For a smooth, pipeable decorator frosting, aim for a thick but pliable texture. If it’s too runny, chill it for 10-15 minutes before using. If it’s too stiff, add a teaspoon of milk or cream at a time until it reaches the perfect consistency.
Test by piping a small swirl—if it holds its shape without sagging, it’s ready!
✨ Temperature Matters
Always use room-temperature butter (around 68-70°F) for a fluffy base. Cold butter leads to lumps, while overly soft butter can make frosting greasy. Similarly, ensure your mixing bowl and tools are clean and dry to avoid curdling.
If working in a warm kitchen, briefly chill the bowl between mixing stages to maintain stability.
🎯 Flavor Balance
Enhance your frosting with pure vanilla extract or a pinch of salt to deepen flavors. For chocolate frosting, use high-quality cocoa powder and a touch of espresso powder to intensify the taste without bitterness.
Avoid over-sweetening—let the butter and sugar blend harmoniously for a professional finish.
🌡️ Piping Perfection
Fill your piping bag only halfway to prevent air pockets and messy spills. Use a coupler for easy tip changes, and twist the top of the bag tightly to maintain pressure control.
Practice on parchment paper first to adjust pressure and speed for even, precise designs.
Nutrition Facts

Trained in classic French technique but raised on slow-cooked ribs and spicy rubs, she blends culinary skill with smoke and soul.
- Recipe for Boneless Pork Chops in Cast Iron Skillet: Sear and Baste to Juicy Perfection - October 3, 2026
- Recipe for Boneless Cross Rib Roast: Slow-Roasted Beef with Herb Crust - October 3, 2026
- Hamburgers in Sauce Recipe Crock Pot: Slow-Cooked Savory Delight - October 3, 2026