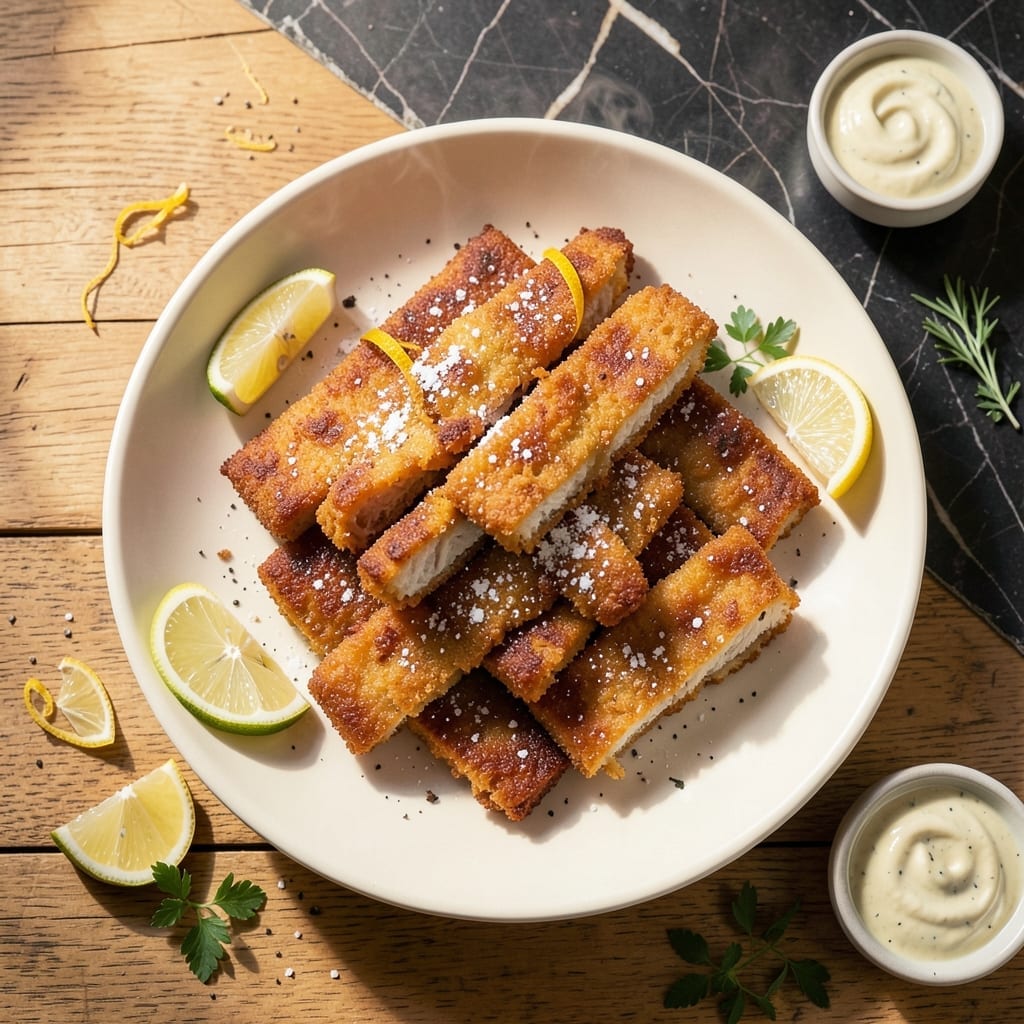
This recipe delivers flaky halibut with a perfectly crisp exterior every time. The key is maintaining precise oil temperature and using a light, seasoned batter that doesn’t overpower the fish’s natural sweetness.
With just a few simple ingredients and proper technique, you’ll achieve golden, crunchy results that stay tender inside. The method works for both small batches and larger gatherings.
Ingredients for Deep Fried Halibut
Fresh halibut and a light, seasoned batter create that perfect crispy outside, flaky inside result.
| Ingredient | Amount | Notes |
|---|---|---|
| Halibut Fillets 🐟 | 1 ½ lb | Skinless, cut into 1-inch strips |
| All-Purpose Flour 🌾 | 1 ½ cups | For dredging and batter |
| Cornstarch 🌽 | ½ cup | For extra crispiness |
| Baking Powder 🧂 | 1 tsp | Helps batter puff up |
| Salt 🧂 | 1 ½ tsp | Divided for seasoning |
| Black Pepper 🌶️ | ½ tsp | Freshly ground preferred |
| Garlic Powder 🧄 | 1 tsp | For savory depth |
| Paprika 🌶️ | 1 tsp | Sweet or smoked variety |
| Cold Beer 🍺 | 1 cup | Light lager or pilsner |
| Vegetable Oil 🫒 | 6 cups | For deep frying |
| Lemon Wedges 🍋 | 4 slices | For serving |
| Fresh Parsley 🌿 | ¼ cup | Chopped, for garnish |
[recipe_ingredient_scaler]
The halibut is non-negotiable for texture and flavor—wild-caught from Whole Foods or Costco is ideal. Look for firm, translucent fillets with no fishy odor (the good stuff smells like the ocean, not a bait shop). Fresh is best, but previously frozen works if thawed properly in the fridge overnight. The beer in the batter? Light lager adds effervescence for lift without overpowering the fish’s natural sweetness.
No beer? Seltzer water or club soda gives similar airiness. Swap cornstarch for arrowroot powder at 1:1 ratio if that’s your pantry staple. The paprika can be omitted, but it adds a subtle color and flavor—smoked paprika deepens the profile. If halibut’s too pricey, cod or haddock work well (adjust cooking time slightly as they’re thinner).
Fry in batches to avoid crowding—keeps the oil temp steady and the crust crisp. Leftovers? Best eaten fresh, but you can reheat in a 400°F oven for 8-10 minutes to revive some crunch. Never microwave—it’ll turn soggy. Fresh parsley wilts fast, so prep it last.
Why You’ll Love This Recipe
- 20-Minute Meal: I can get this from flour dust to golden crisp in under 20 minutes—no fancy skills needed.
- Crispy Outside, Tender Inside: The cornstarch and baking powder combo gives that shatter-crisp crust while the halibut stays flaky and juicy.
- Crowd-Pleasing Dinner: Between us, this is my go-to when company drops by unannounced. Always disappears first.
- Budget-Friendly Luxury: Halibut feels fancy, but the flour and cornstarch keep it affordable. Leftovers? Rare, but still great the next day.
Step-by-Step Instructions for Deep Fried Halibut
Master the technique for achieving a perfectly crisp exterior with tender, flaky centers every time.
Step 1: Prepare the Halibut and Create the Battering Station
Pat the 1.5 lb Halibut Fillets completely dry with paper towels—this is critical for the batter to adhere properly. Cut them into 1-inch strips as specified. I always work with cold, dry fish to prevent the coating from slipping off during frying.
Set up your battering station with three shallow dishes. In the first, combine the 1.5 cups All-Purpose Flour with 0.5 cup Cornstarch, 1 tsp Baking Powder, 1.5 tsp Salt, 0.5 tsp Black Pepper, 1 tsp Garlic Powder, and 1 tsp Paprika. This dry mix creates the foundation for your ultra-crispy crust.
Step 2: Create the Beer Batter and Coat the Fish
In a separate bowl, whisk the 1 cup Cold Beer until slightly frothy. The carbonation in cold beer makes the batter light and airy, which translates to a crispier coating. Gradually whisk in about ½ cup of your prepared flour mixture until just smooth—small lumps are fine and will dissolve during frying.
Dredge each halibut strip in the remaining flour mixture, pressing gently to adhere. Shake off any excess, then dip into the beer batter, allowing any excess to drip off. For maximum crispiness, dredge in the flour mixture once more. This double-dipping technique creates that restaurant-quality crunch.
Step 3: Heat the Oil and Fry to Golden Perfection
In a deep, heavy-bottomed pot or Dutch oven, heat the 6 cups Vegetable Oil to 350-375°F. Use a deep-fry thermometer for accuracy—oil temperature is everything in deep frying. The oil is ready when a small piece of batter sizzles immediately and floats to the surface.
Working in batches to avoid crowding (which lowers oil temperature), carefully lower 3-4 pieces of battered halibut into the hot oil. Fry for 3-4 minutes until golden brown and crispy, turning occasionally with tongs. The fish is done when it floats and the coating is uniformly golden. Don’t rush this—proper cooking time ensures the centers are flaky, not raw.
Step 4: Drain and Serve Immediately
Using a slotted spoon or spider, transfer the fried halibut to a wire rack set over a baking sheet or a paper towel-lined plate. The wire rack method prevents the bottoms from getting soggy by allowing air circulation. Let drain for 1-2 minutes—just long enough for the oil to stop actively dripping.
Garnish with the 0.25 cup Fresh Parsley and serve immediately with 4 slices Lemon Wedges on the side. The contrast of the crispy exterior with the tender, flaky halibut inside is best experienced right out of the fryer. The lemon wedges add that perfect bright acidity to cut through the richness of the fried coating.
Pro Tips For Making Deep Fried Halibut
- Heat the Oil First: I learned this the hard way—always get your oil to 350°F before adding the halibut. Cold oil makes the batter absorb too much grease and turn soggy.
- Pat Fish Dry: Sounds tedious, but drying the halibut fillets with paper towels guarantees the batter sticks properly. Skip this and you’ll end up with patchy, falling-off coating.
- Skip the Overcrowding: Resist the urge to fry all pieces at once. Too many fillets drop the oil temp fast, leading to uneven cooking and greasy results.
- Add Baking Powder: A teaspoon of baking powder in your flour-cornstarch mix makes the coating lighter and crispier—my grandmother swore by this, and she was right.
Flavor Customization for deep fried halibut
Spicy Cajun Kick
Add 1 tbsp Cajun seasoning and ½ tsp cayenne pepper to your dry flour mix for a bold Louisiana-inspired twist. The heat complements halibut’s sweetness beautifully. I discovered this combo working at that Asheville farm-to-table spot—it became an instant staff favorite.
Herb-Infused Crisp
Mix 1 tbsp dried dill or 1 tbsp chopped fresh thyme into your flour mixture. The herbs add a bright, aromatic note that shines through the crispy coating. Fresh herbs work too, but reduce to 2 tsp to avoid moisture issues. 🌿
Citrus Zest Boost
Add 1 tbsp lemon or lime zest to your dry ingredients for a vibrant citrus lift. The zest’s oils release during frying, creating a subtle but noticeable brightness. Pair with extra lemon wedges for serving.
Beer Swap Variety
Try amber ale instead of light beer for a deeper, maltier batter flavor. The caramel notes add complexity. For a lighter approach, wheat beer creates an extra-airy coating. I always grab local brews from Austin farmers markets.
Spice Blend Twist
Replace paprika with 1 tsp curry powder and add ½ tsp ground coriander for an Indian-inspired version. The warm spices create an intriguing contrast with the cool halibut. Biscuit gives this version two paws up! 💛
Nutrition Facts
Frequently Asked Questions
What’s the ideal oil temperature for frying?
Maintain 350-375°F for perfect results. Use a thermometer—oil that’s too cool makes greasy fish, while too hot burns the outside before the inside cooks.
Can I substitute another fish?
Yes! Try cod or haddock but reduce frying time to 2-3 minutes since they’re thinner. Avoid oily fish like salmon—they don’t crisp as well.
How do I keep the batter from falling off?
Pat fish completely dry first, then chill battered pieces for 10 minutes before frying. This helps the coating adhere better.
What’s the best way to reheat leftovers?
Avoid the microwave! Use a 400°F oven for 8-10 minutes to restore some crispiness. They won’t be as good fresh, but this method works best.

Trained in classic French technique but raised on slow-cooked ribs and spicy rubs, she blends culinary skill with smoke and soul.
- Recipe for Boneless Pork Chops in Cast Iron Skillet: Sear and Baste to Juicy Perfection - October 3, 2026
- Recipe for Boneless Cross Rib Roast: Slow-Roasted Beef with Herb Crust - October 3, 2026
- Hamburgers in Sauce Recipe Crock Pot: Slow-Cooked Savory Delight - October 3, 2026