Looking for a diabetic-friendly snack that actually tastes good? Diabetic protein bars offer a simple way to keep blood sugar stable while satisfying those mid-day munchies without hidden sugars or carbs. These bars pack protein, healthy fats, and fiber into a convenient treat that’s easy to make at home.
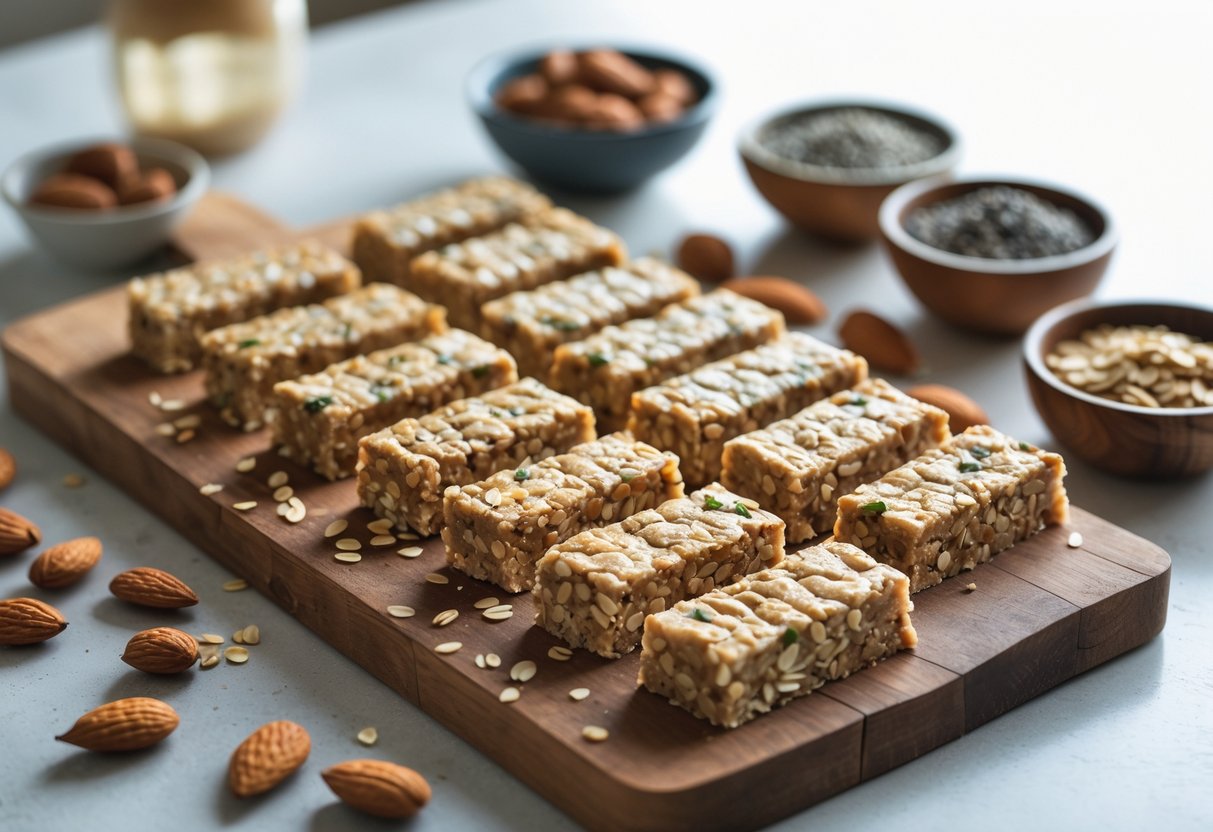
Whipping up these bars is straightforward and budget-friendly, with just a handful of wholesome ingredients coming together in minutes. Whether someone uses peanut butter or swaps in almond or sunflower seed butter, the result is a tasty bar that can replace store-bought snacks loaded with unnecessary extras. Plus, they store well in the fridge, making meal prep a breeze.
It’s a lifesaver for anyone managing diabetes who doesn’t want to miss out on delicious, grab-and-go snacks. With a little creativity, these bars can be customized with different protein powders and nut butters, keeping things fresh and fun. It’s like having your cake—and eating it too—without the sugar crash! 🍫🥜
Ingredients List & Step-By-Step Instructions For Diabetic Protein Bars Recipe
This recipe sticks to six main ingredients that balance protein, fiber, and healthy fats without spiking blood sugar. The process is straightforward: gather ingredients, mix, shape, and chill.
Step 1: Prepare The Ingredients
Start by collecting everything you need for eight bars:
| Ingredient | Quantity | Notes |
|---|---|---|
| Natural Peanut Butter (no salt or sugar) | 1 cup | Or any nut/seed butter you like 🥜 |
| Coconut Flour | ½ cup | Helps absorb moisture and bind |
| Vanilla Protein Powder (low-carb) | ¼ cup | Chocolate or other flavors work too |
| Stevia Powder | 1 teaspoon | Adjust sweetness to taste |
| Sugar-Free Syrup | ¼ cup + 2 tablespoons | Keeps bars moist and binds ingredients |
| Chopped Peanuts | ¼ cup | For crunch and topping |
Next, line a small loaf pan with parchment paper to avoid sticking. Measuring everything upfront makes the process smooth and stress-free.
Step 2: Mix And Shape The Protein Bars
Combine the peanut butter and sugar-free syrup in a microwave-safe bowl. Heat for 1-2 minutes, stirring every 15 seconds until creamy. This makes mixing easier and encourages even texture.
Add the coconut flour, protein powder, and stevia. Stir well until all ingredients form a dough. If it feels too wet, sprinkle in extra coconut flour a tablespoon at a time. Too dry? A little syrup can soften it back up 🍯.
Once ready, firmly press the dough into the lined loaf pan. This is where those bars get their shape. Top with chopped peanuts and gently press them in—you want crunch that stays put!
Step 3: Set And Serve
Pop the pan in the fridge for at least one hour. This chilling step firms up the bars, so they cut cleanly without crumbling.
After chilling, slice into eight bars. Keep them refrigerated, especially on warm days, as peanut butter softens at room temperature. These bars are perfect chilled—grab-and-go snacks that keep blood sugar steady and cravings satisfied 😋🍴.

Trained in classic French technique but raised on slow-cooked ribs and spicy rubs, she blends culinary skill with smoke and soul.
- Recipe for Boneless Pork Chops in Cast Iron Skillet: Sear and Baste to Juicy Perfection - October 3, 2026
- Recipe for Boneless Cross Rib Roast: Slow-Roasted Beef with Herb Crust - October 3, 2026
- Hamburgers in Sauce Recipe Crock Pot: Slow-Cooked Savory Delight - October 3, 2026