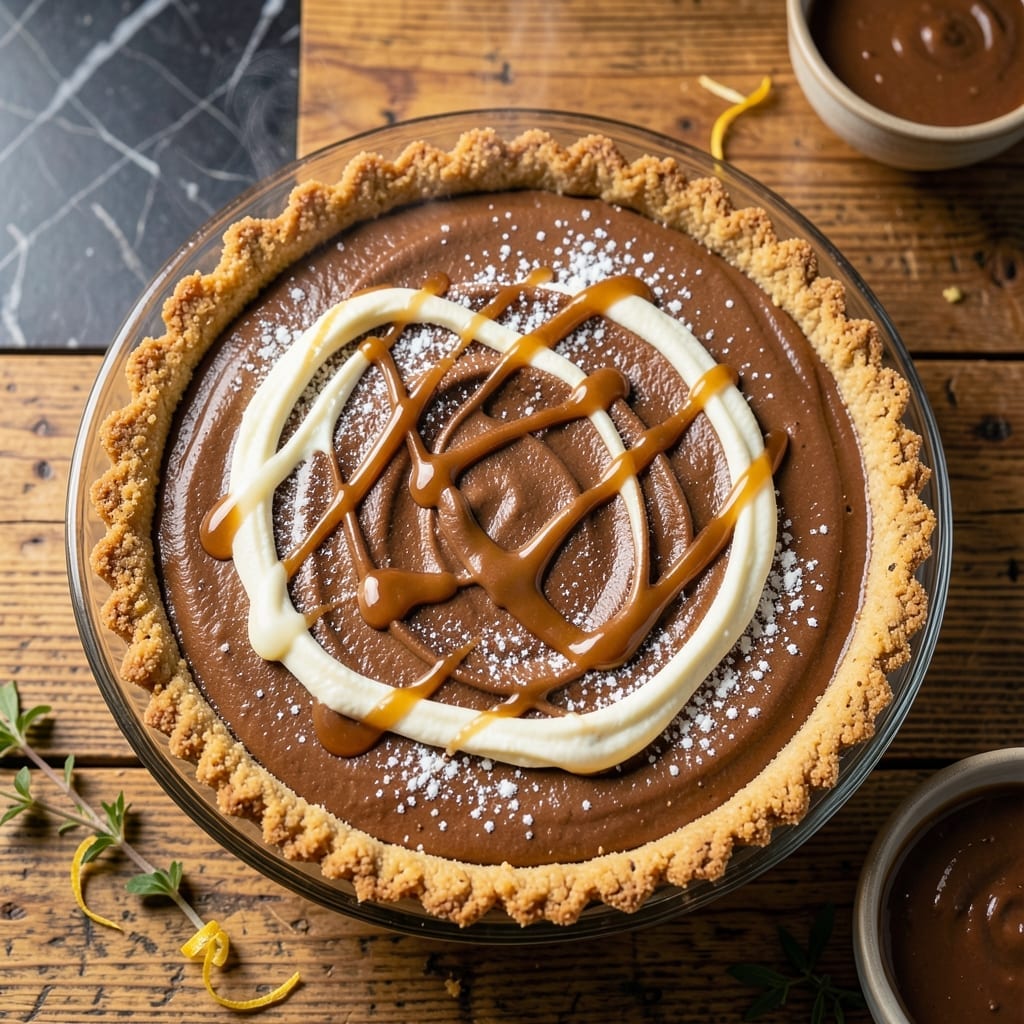
This no-bake pie delivers creamy peanut butter perfection with a crumbly base and silky filling. I developed this after years of testing to capture that signature Dinosaur BBQ flavor.
With just a few ingredients and no oven required, you’ll have a rich, velvety dessert that sets beautifully in the fridge. The contrast between the buttery crust and smooth filling is irresistible.
Ingredients for Dinosaur Bbq Peanut Butter Pie
Rich peanut butter, buttery crust, and velvety filling come together effortlessly for this no-bake stunner.
| Ingredient | Amount | Notes |
|---|---|---|
| Creamy Peanut Butter 🥜 | 1 ½ cups | Smooth, unsweetened preferred |
| Graham Cracker Crumbs 🍪 | 2 cups | Fine crumbs for base |
| Unsalted Butter 🧈 | ½ cup | Melted for crust binding |
| Powdered Sugar 🍚 | 1 ½ cups | Sifted for smooth texture |
| Heavy Cream 🥛 | 1 ½ cups | Cold, for whipping |
| Cream Cheese 🧀 | 8 oz | Room temperature, softened |
| Vanilla Extract 🌿 | 2 tsp | Pure extract for best flavor |
| Granulated Sugar 🍚 | ½ cup | Fine white sugar |
| Salt 🧂 | ½ tsp | Fine sea salt preferred |
| Chopped Peanuts 🥜 | ½ cup | For garnish and texture |
| Semi-Sweet Chocolate Chips 🍫 | ½ cup | Optional for topping |
[recipe_ingredient_scaler]
The peanut butter is everything here. Jif or Skippy work perfectly—just make sure it’s the creamy kind. For the graham cracker crumbs, Honey Maid is my go-to, but any brand works (even the store generic). The butter needs to be unsalted so you control the salt level—Land O’Lakes never lets me down. If you’re making your own crumbs, pulse the crackers in a food processor until they’re fine like sand.
No graham crackers? Vanilla wafers or digestive biscuits make a great swap—just adjust sugar down a touch. Fresh out of heavy cream? Coconut cream (the canned kind) works in a pinch. For extra decadence, swap the chocolate chips for chopped Reese’s Peanut Butter Cups. The cream cheese must be full-fat—Philadelphia is the gold standard. No substitutions on that one.
This pie keeps beautifully. Cover with plastic wrap and refrigerate for up to 5 days. Freeze for 2 months if you need to make it ahead. Let it sit at room temp for 10 minutes before slicing—clean cuts every time. The crust softens as it sits, but the flavor just gets better.
Why You’ll Love This Recipe
- No-Bake Joy: I just mix, chill, and serve—no oven, no stress, just a graham cracker crust and peanut butter filling coming together effortlessly.
- Crowd Pleaser: Honestly, it’s my go-to for potlucks and family dinners—everyone from kids to grandparents asks for seconds.
Step-by-Step Instructions for Peanut Butter Pie
This no-bake method delivers a creamy, dreamy pie with minimal effort and maximum flavor.
Step 1: Create the Graham Cracker Crust Base
In a medium bowl, combine the 2 cups Graham Cracker Crumbs with the 0.5 cup Unsalted Butter melted. Stir until the crumbs are evenly moistened and resemble wet sand. This ensures every bite of crust has that rich buttery flavor.
Press the mixture firmly into a 9-inch pie dish, working it up the sides as well. I use the bottom of a measuring cup to compact it tightly—this prevents crumbly edges when slicing. Chill in the refrigerator for 15 minutes to set while you prepare the filling.
Step 2: Whip the Cream Cheese Base for the Filling
In a large mixing bowl, beat the 8 oz Cream Cheese (room temperature) with the 1.5 cups Powdered Sugar and 0.5 cup Granulated Sugar on medium-high speed until completely smooth. This takes about 2-3 minutes—don’t rush it, as lumps will ruin the texture.
Add the 1.5 cups Creamy Peanut Butter and 2 tsp Vanilla Extract, then beat for another 1-2 minutes until fully incorporated. The mixture should be thick, pale, and fluffy. Scrape down the bowl as needed to ensure even mixing.
Step 3: Fold in the Whipped Cream for Lightness
In a separate chilled bowl, whip the 1.5 cups Heavy Cream (cold) with the 0.5 tsp Salt until stiff peaks form. This usually takes 3-4 minutes on high speed. Watch for the cream to hold its shape when the whisk is lifted—this is your visual cue it’s ready.
Gently fold the whipped cream into the peanut butter mixture using a spatula. Work in 3 additions, folding just until combined to maintain as much air as possible. This step is what makes the filling light yet rich. Avoid overmixing, or the filling may deflate.
Step 4: Assemble and Chill the Pie
Spoon the filling into the prepared crust, smoothing the top with the back of a spoon or offset spatula. Tap the dish gently on the counter to remove any air pockets. The filling should mound slightly in the center—it’ll settle as it chills.
Refrigerate uncovered for at least 4 hours (or overnight) to allow the pie to set completely. This waiting period is crucial for clean slices. Once set, garnish with the 0.5 cup Chopped Peanuts and 0.5 cup Semi-Sweet Chocolate Chips if desired.
Pro Tips For Making Dinosaur Bbq Peanut Butter Pie
- Chill the Crust: Press the graham cracker crumb and butter mixture into the pie dish and refrigerate for at least 30 minutes—I learned this the hard way after my first crust turned into a crumbly mess.
- Soften the Peanut Butter: Microwave the creamy peanut butter for 20-30 seconds before mixing; it blends smoother into the filling and prevents those stubborn lumps I used to fight with.
- Whip Cream First: Beat the heavy cream until stiff peaks form before folding it into the peanut butter mixture—this keeps the filling light and prevents a dense, greasy texture.
- Use Room-Temp Butter: Let the unsalted butter sit out for 30 minutes before mixing with the crumbs; cold butter makes the crust tough, and melted butter makes it soggy.
Essential Equipment for Perfect Results
Mixing Bowls
A good set of stainless steel mixing bowls in different sizes is essential. I swear by my Winco set—they’re durable, nest for storage, and won’t stain from peanut butter. You’ll need at least a large bowl for the filling and a medium bowl for the crust. 💪
Electric Mixer
An electric mixer saves time and ensures smooth, lump-free filling. I use my KitchenAid stand mixer with the whisk attachment for the cream cheese base and whipped cream. A hand mixer works too, but expect to put in a bit more effort.
Pie Dish
A 9-inch glass pie dish is ideal for even chilling and easy serving. I love my Pyrex dish—it’s sturdy, transparent so I can see the crust, and handles temperature changes well. Avoid metal pans, as they can react with acidic ingredients.
Rubber Spatula
A high-heat silicone spatula is perfect for folding the whipped cream into the peanut butter mixture. The OXO Good Grips model is my go-to—its flexible head scrapes every last bit from the bowl. This ensures no delicious filling goes to waste.
Measuring Cups
Accurate measurements are key for the perfect texture. I use stainless steel measuring cups for dry ingredients like graham cracker crumbs and powdered sugar. For liquids like melted butter and heavy cream, a glass measuring cup with a spout is indispensable. 🥄
Chilling Tools
Since this is a no-bake pie, proper chilling is critical. A spacious refrigerator with even cooling is a must. I also keep a large, flat tray in my fridge to hold the pie dish steady while it sets. Patience here is rewarded with clean, perfect slices.
Nutrition Facts

Trained in classic French technique but raised on slow-cooked ribs and spicy rubs, she blends culinary skill with smoke and soul.
- Recipe for Boneless Pork Chops in Cast Iron Skillet: Sear and Baste to Juicy Perfection - October 3, 2026
- Recipe for Boneless Cross Rib Roast: Slow-Roasted Beef with Herb Crust - October 3, 2026
- Hamburgers in Sauce Recipe Crock Pot: Slow-Cooked Savory Delight - October 3, 2026