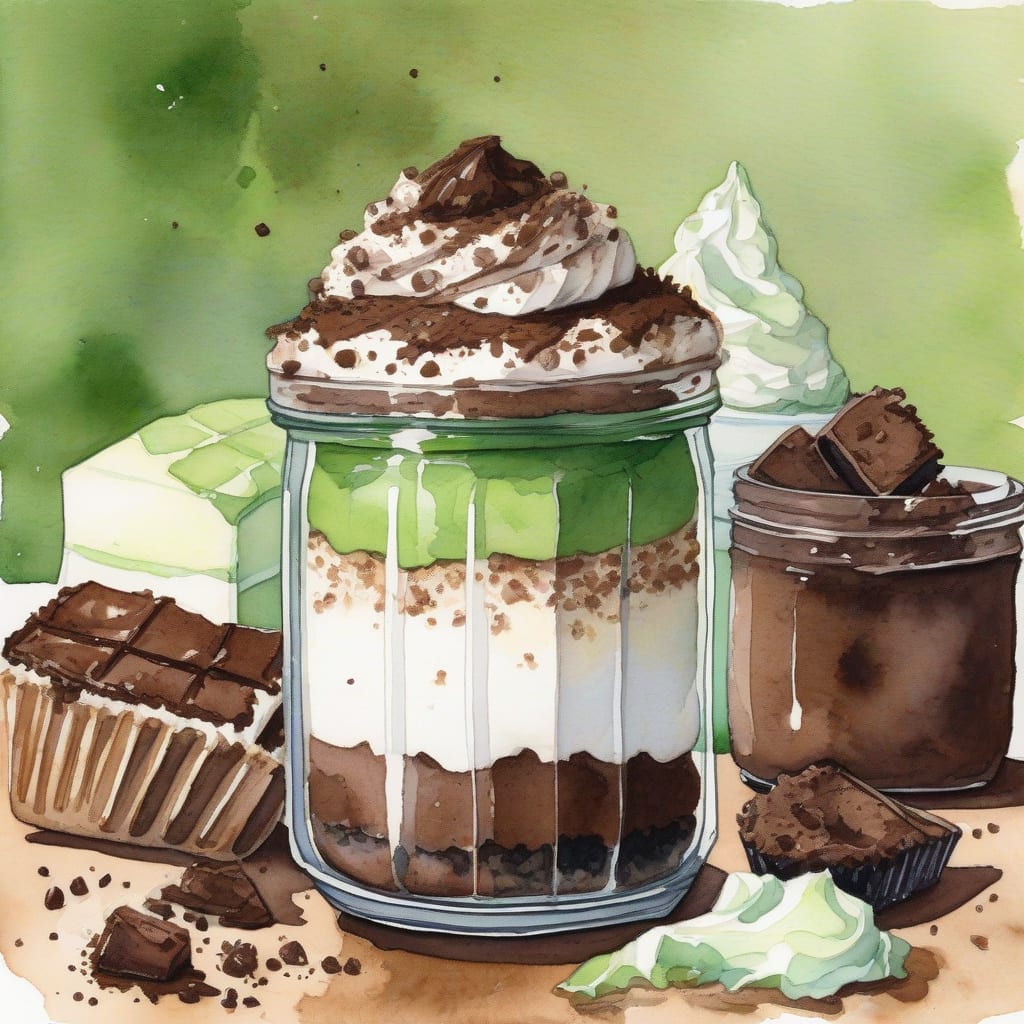
Imagine a dessert that brings out the child in all of us—a layered treat that’s as fun to make as it is to eat. This delightful creation transforms simple ingredients into a whimsical dirt cup cake that’s perfect for gatherings and celebrations.
What makes this dessert special is its playful presentation and rich flavors. With layers of moist cake, creamy frosting, and crunchy cookie crumbles, it’s a feast for both the eyes and the palate. Plus, it’s easy to prepare, making it ideal for bakers of all skill levels.
By the end, you’ll have a stunning layered cake that looks like a work of art, with a combination of textures and tastes that everyone will love. Get ready to impress your friends and family—let’s dive into the recipe!
Ingredients for Dirt cup cake
Gather these fun ingredients to create a delightful layered dessert that everyone will love.
| Ingredient | Amount | Notes |
|---|---|---|
| All-Purpose Flour 🌾 | 1 ½ cups | For cake base |
| Granulated Sugar 🍬 | 1 cup | Adds sweetness |
| Baking Powder 🧁 | 1 tbsp | Leavening agent |
| Salt 🧂 | ½ tsp | Enhances flavor |
| Unsweetened Cocoa Powder 🍫 | ½ cup | For chocolate flavor |
| Large Eggs 🥚 | 2 whole | Room temperature |
| Whole Milk 🥛 | ½ cup | Adds moisture |
| Vegetable Oil 🫒 | ½ cup | Keeps cake moist |
| Vanilla Extract 🍦 | 1 tsp | For flavor depth |
| Chocolate Sandwich Cookies 🍪 | 15 pieces | Crushed for topping |
| Whipped Cream 🍦 | 2 cups | For layering and topping |
| Chocolate Sprinkles 🍫 | ¼ cup | For decoration |
[recipe_ingredient_scaler]
You can find all of these ingredients at your local grocery store, such as Walmart or Kroger. For the best results, opt for high-quality cocoa powder, like Ghirardelli or Hershey's, and fresh eggs from a trusted source. Look for cookies that are crunchy and flavorful for the best topping experience. Whole milk contributes to a richer cake, so choose whole over low-fat alternatives.
If you don't have whole milk, almond milk or buttermilk can work as substitutes. For a gluten-free version, try using a gluten-free all-purpose flour blend. If you're short on eggs, you can use a flax egg (1 tbsp ground flaxseed mixed with 3 tbsp water) for each egg. Adjust the sugar level according to your taste preference for a sweeter or less sweet cake.
Store any leftover cake in an airtight container at room temperature for up to 3 days. For longer storage, refrigerate it, where it will last up to a week. You can also freeze individual slices wrapped tightly in plastic wrap and aluminum foil for up to 3 months, allowing you to enjoy this delightful dessert anytime.
Step-by-Step Instructions for Dirt Cup Cake
Let me guide you through creating this fun and delicious layered dessert that everyone will love.
👨🍳 Step 1: Prepare the Cake Batter
First, I preheat my oven to 350°F. In a large mixing bowl, I combine 1.5 cups of all-purpose flour, 1 cup of granulated sugar, 1 tablespoon of baking powder, 0.5 teaspoon of salt, and 0.5 cup of unsweetened cocoa powder. I whisk these dry ingredients until they are well mixed.
Next, I add 2 whole large eggs, 0.5 cup of whole milk, 0.5 cup of vegetable oil, and 1 teaspoon of vanilla extract to the bowl. Using an electric mixer, I beat the mixture on medium speed for about 2 minutes until it becomes smooth and well combined. You’ll want to scrape down the sides of the bowl to ensure everything is mixed evenly.
🔥 Step 2: Bake the Cake
I pour the cake batter into a greased 9-inch round cake pan, spreading it evenly. Then, I place it in the preheated oven and bake for 30-35 minutes. I check for doneness by inserting a toothpick into the center; it should come out clean or with a few crumbs attached.
Once baked, I remove the cake from the oven and let it cool in the pan for about 10 minutes. After that, I transfer it to a wire rack to cool completely. This cooling step is important because it prevents the layers from becoming soggy when assembled.
🥘 Step 3: Assemble the Layers
With the cake completely cooled, I cut it into two equal layers. Now comes the fun part! I take one layer and crumble it into a large bowl. Then, I spread half of my 2 cups of whipped cream over this crumbled layer, smoothing it out with a spatula.
I sprinkle half of the crushed 15 chocolate sandwich cookies on top of the whipped cream layer. Then, I repeat this process with the second layer of cake, whipped cream, and remaining cookie crumbs. This creates a delightful layered effect that looks just like dirt!
🍰 Step 4: Decorate and Chill
To finish off my creation, I top the final layer with the remaining whipped cream, ensuring it’s nicely spread out. I then sprinkle 0.25 cup of chocolate sprinkles over the top for that extra touch of fun.
I cover the dessert with plastic wrap and refrigerate it for at least 2 hours. Chilling allows all those delicious flavors to meld together, making each bite even more enjoyable. Just before serving, I might add a few more cookie pieces on top for decoration!
⏰ Step 5: Serve and Enjoy!
When it’s time to serve, I slice into this delightful dessert and scoop out portions into bowls. The layers look fantastic, and the taste is even better! Each bite combines rich chocolate cake with fluffy whipped cream and crunchy cookie bits.
This dessert is perfect for gatherings or just a fun treat at home. Enjoy your creation with family and friends, and watch as everyone digs in!
Creative Twists for Your Dirt Cup Cake Delight
If you’re looking to elevate your layered dessert, consider adding a peanut butter layer! Simply mix 1 cup of creamy peanut butter with 1 cup of whipped cream and layer it between the cake and whipped cream. The nutty flavor pairs beautifully with chocolate. 🥜
Another fun twist is to incorporate fresh berries. Try adding a layer of mashed strawberries or blueberries mixed with a little sugar for sweetness. This fruity addition adds a refreshing contrast to the rich chocolate and cream. 🍓
For a coffee lover’s delight, mix 2 tablespoons of instant coffee into your whipped cream for a mocha flavor that complements the chocolate cake perfectly. Just adjust the sugar to balance the bitterness. This variation is sure to impress! ☕
You can also swap out the sandwich cookies for different flavors—think Oreo, vanilla wafers, or even gingersnap cookies. Each option brings a unique flavor and texture, making this dessert endlessly customizable.
Finally, consider adding a drizzle of chocolate or caramel sauce on top before serving for an extra indulgent touch. This not only enhances the visual appeal but also adds a burst of flavor in every bite! 🍫
Nutrition Facts
320kcal
[recipe_ingredient_scaler]

Trained in classic French technique but raised on slow-cooked ribs and spicy rubs, she blends culinary skill with smoke and soul.
- Recipe for Boneless Pork Chops in Cast Iron Skillet: Sear and Baste to Juicy Perfection - October 3, 2026
- Recipe for Boneless Cross Rib Roast: Slow-Roasted Beef with Herb Crust - October 3, 2026
- Hamburgers in Sauce Recipe Crock Pot: Slow-Cooked Savory Delight - October 3, 2026