Craving homemade ice cream without the fuss of electric machines? The Donvier ice cream maker offers a simple, hands-on way to craft creamy frozen desserts at home. This Donvier ice cream recipe delivers a rich, custard-based treat that balances fat and sugar perfectly for smooth, scoopable results every time. 🍨
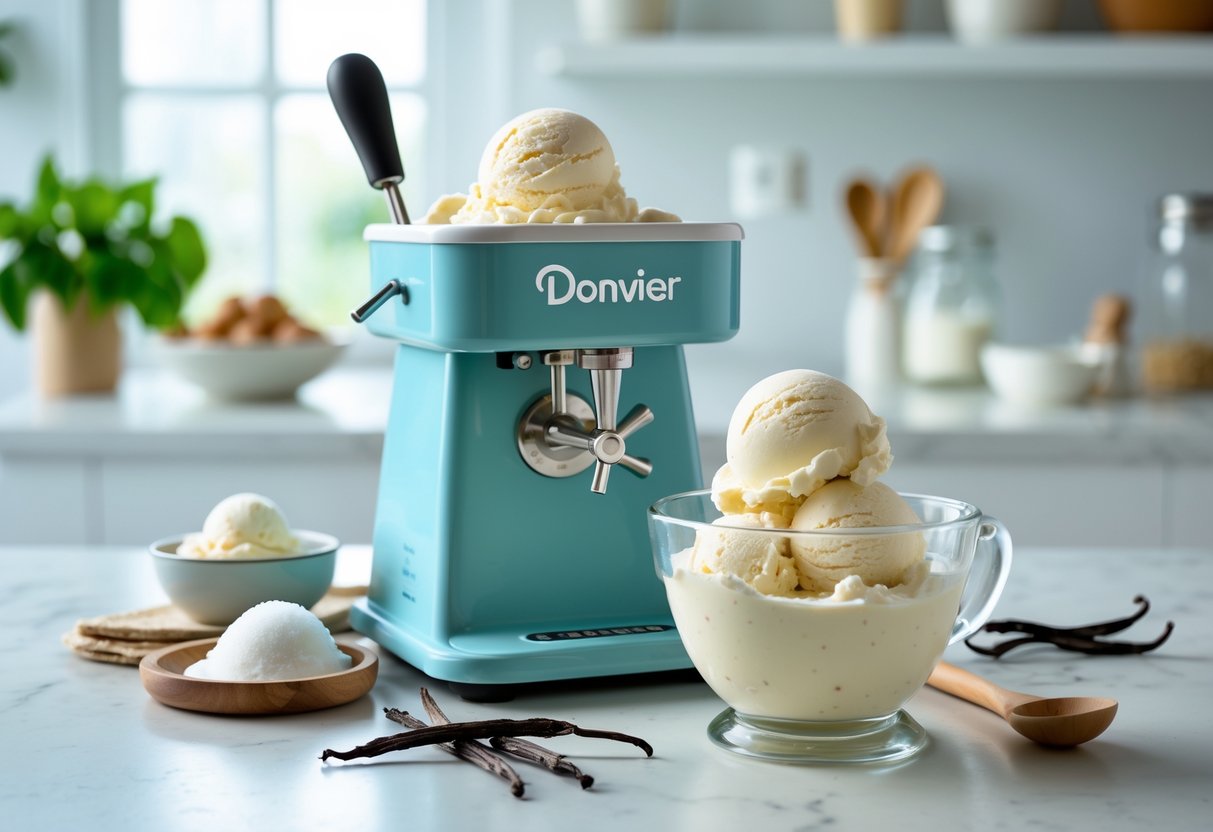
Whether you want classic flavors, a dairy-free sorbet, or indulgent desserts, the Donvier’s manual crank helps control texture while preventing icy crystals. It’s great for anyone mindful of calories or fat but still craving that rewarding scoop of fresh ice cream.
Plus, it’s a small kitchen adventure where patience pays off—think of it as turning your countertops into a tiny ice cream parlor. No plugs needed, just good ice, salt, and a bit of elbow grease for dreamy frozen desserts that beat store-bought anytime. 😋
Ingredients List & Step-By-Step Instructions For Donvier Ice Cream Recipe
Making creamy ice cream starts with gathering the right ingredients and prepping the ice cream maker properly. The process is simple but each step needs care to ensure smooth, rich results that rival any shop-bought treat.
Prepare The Ingredients
First off, chill everything! The Donvier ice cream maker needs a frozen metal cylinder, so pop it in the freezer for at least 12 hours before you start. As for the ice cream base, here’s what you’ll need:
| Ingredient | Quantity |
|---|---|
| Heavy cream | 2 cups |
| Whole milk | 1 cup |
| Granulated sugar | ¾ cup |
| Vanilla extract or vanilla bean | 1 tablespoon extract or 1 vanilla bean |
| Pinch of salt | To taste |
| Optional mix-ins (chocolate chips, chopped nuts, fruit) | About ½ cup |
If making vanilla bean ice cream, split and scrape the bean into the mix. For chocolate or coffee flavors, add cocoa powder or brewed espresso to taste. Chill the combined ice cream base in the fridge for 2-4 hours to let the flavors blend.
Mix And Churn The Ice Cream
Once chilled, it’s time to stir things up. Pour the base into the fully frozen Donvier cylinder—don’t fill past the line to avoid messy overflow while churning. Lock on the paddle, attach the handle, and start turning steadily.
Churn for 20-30 minutes. The trick? Keep a smooth, steady pace. Rushing won’t give that creamy smile-worthy texture. A slow churn lets air in and prevents ice crystals. Feel free to fold in mix-ins like chocolate chips or chopped strawberries about 5 minutes before finishing.
Freeze And Serve
When the ice cream reaches a soft-serve thickness, scoop it out into a freezer-safe container. Seal tightly and freeze for 4-6 hours to firm up.
This last chill turns creamy soft-serve into a delightfully scoopable treat. If you can’t wait, it’s perfectly fine to enjoy right away. Whether classic vanilla, salted caramel, or a fun nutty chocolate chunk combo, this method makes homemade ice cream a breeze! 🍨

Trained in classic French technique but raised on slow-cooked ribs and spicy rubs, she blends culinary skill with smoke and soul.
- Recipe for Boneless Pork Chops in Cast Iron Skillet: Sear and Baste to Juicy Perfection - October 3, 2026
- Recipe for Boneless Cross Rib Roast: Slow-Roasted Beef with Herb Crust - October 3, 2026
- Hamburgers in Sauce Recipe Crock Pot: Slow-Cooked Savory Delight - October 3, 2026