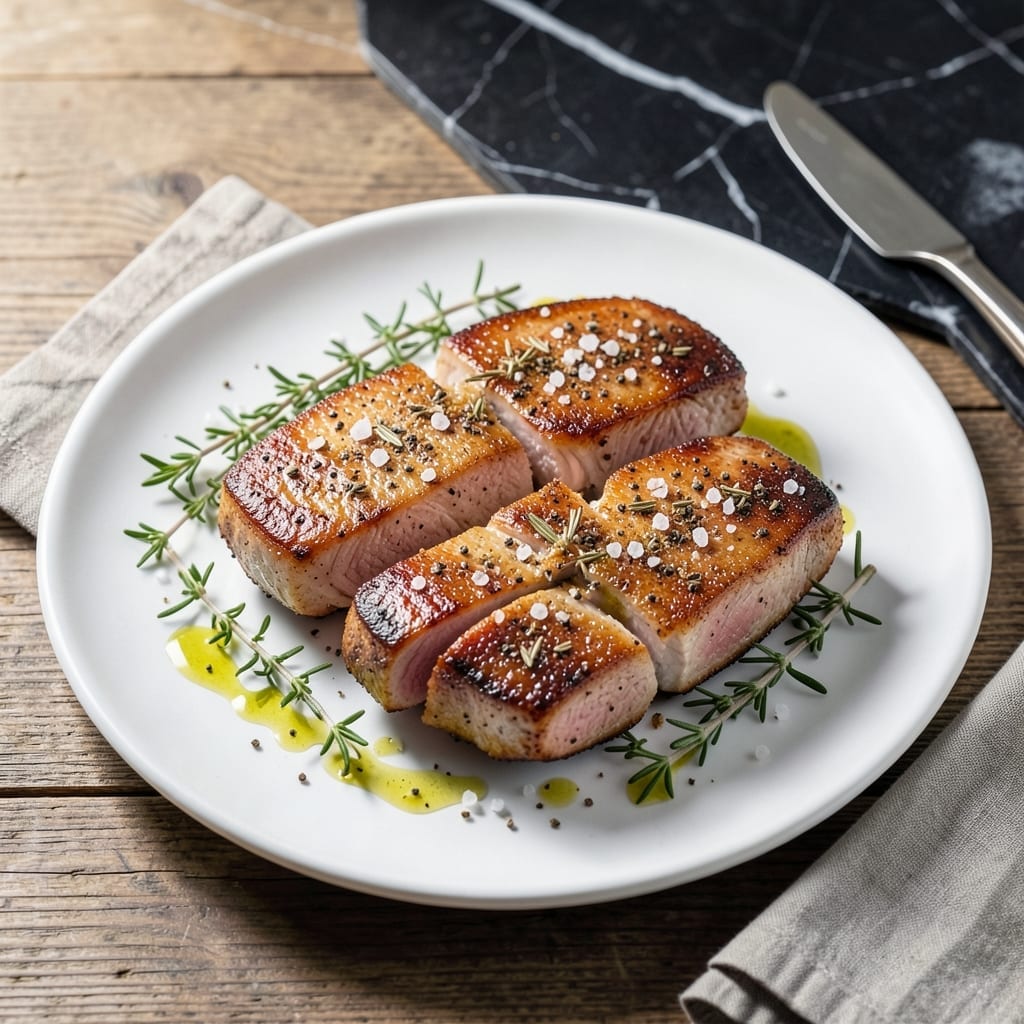
This dry brine technique transforms pork into juicy, flavorful perfection with almost no active effort. The method works by drawing moisture to the surface, where salt dissolves and reabsorbs, seasoning the meat from within.
Unlike wet brines, this approach requires no extra liquids or containers—just a simple salt rub and patience. I’ve tested this on chops, tenderloins, and roasts with consistently impressive results. The meat stays moist throughout cooking, with enhanced natural flavors.
After applying the salt mixture, let the pork rest in the refrigerator for 12 to 24 hours. This waiting period allows the salt to penetrate deeply, ensuring every bite is evenly seasoned and tender.
Cook as usual—roast, grill, or pan-sear—and prepare for pork that retains its moisture and delivers rich, savory taste. The difference is undeniable.
Ingredients for Dry Brine Recipe for Pork
A few pantry staples transform pork into juicy, flavorful perfection with minimal effort.
| Ingredient | Amount | Notes |
|---|---|---|
| Pork Chops 🥩 | 4 whole | Bone-in, 1 to 1.5 inches thick |
| Kosher Salt 🧂 | 1 tbsp | Diamond Crystal preferred for even distribution |
| Coarse Black Pepper 🌶️ | 1 tsp | Freshly ground for best flavor |
| Garlic Powder 🧄 | 1 tsp | Optional for additional flavor depth |
| Dried Thyme 🌿 | ½ tsp | Crushed between fingers to release oils |
| Dried Rosemary 🌿 | ½ tsp | Crushed between fingers to release oils |
| Smoked Paprika 🌶️ | ½ tsp | Adds subtle smoky complexity |
| Brown Sugar 🍚 | 1 tsp | Light or dark, for balance |
| Olive Oil 🫒 | 1 tbsp | For light coating before seasoning |
| Fresh Garlic 🧄 | 2 cloves | Minced, optional for intense flavor |
[recipe_ingredient_scaler]
The salt is the foundation here. Diamond Crystal kosher salt is the professional choice—its flake structure dissolves evenly and penetrates consistently. For pork chops, select bone-in cuts, 1 to 1.5 inches thick; the bone enhances flavor and the thickness prevents drying. Most butcher counters or Whole Foods will have what you need. Avoid pre-ground pepper—freshly ground releases more aromatic oils for better seasoning.
No kosher salt? Sea salt in equal amounts works, but table salt (at half the quantity) is too fine and can over-season. Fresh herbs can replace dried—use three times the amount of fresh thyme or rosemary. For a sweeter profile, maple syrup at one-third the amount can stand in for brown sugar. The olive oil is optional but helps the dry brine adhere evenly to the meat’s surface.
Apply the dry brine up to 24 hours ahead. Refrigerate uncovered on a rack to allow air circulation. Cook within 48 hours for optimal texture and flavor. Leftovers? Rare—this method yields pork so tender it disappears fast.
Why You’ll Love This Recipe
- Five-Minute Prep: I just rub the pork chops with salt, pepper, and garlic powder and let them sit—no fuss, no marinade mess.
- Craves the Crust: That dry brine pulls moisture in then out, leaving the surface ready to sear into a crisp, thyme-kissed crust.
- Freezer to Table: I brine a batch on Sunday, freeze half, and pull out perfect chops for a Tuesday dinner in no time.
- Stretches the Budget: Pork chops brine up juicy and flavorful, so cheaper cuts taste like a steakhouse special.
Step-by-Step Instructions for Dry Brined Pork
This method ensures exceptionally juicy pork chops with minimal hands-on time.
Step 1: Prepare and Season the Pork Chops
Pat the 4 whole Pork Chops completely dry with paper towels. I press firmly to remove all surface moisture—this allows the dry brine to penetrate effectively and ensures even seasoning distribution. Place them on a wire rack set over a baking sheet to allow air circulation on all sides.
In a small bowl, combine 1 tbsp Kosher Salt, 1 tsp Coarse Black Pepper, 1 tsp Garlic Powder, 0.5 tsp Dried Thyme, 0.5 tsp Dried Rosemary, 0.5 tsp Smoked Paprika, and 1 tsp Brown Sugar. I always crush the dried herbs between my fingers to release their essential oils before mixing.
Step 2: Apply the Dry Brine Coating
Rub the spice mixture evenly over every surface of the pork chops, pressing it in gently so it adheres well. Don’t be shy with the seasoning—you want a visible, even coating on all sides. The Kosher Salt will draw moisture to the surface initially, but this moisture will be reabsorbed along with the seasoning, creating exceptionally flavorful meat.
Drizzle 1 tbsp Olive Oil over the seasoned chops and rub it in, ensuring a light, even coating. This step enhances the formation of a beautiful crust when you cook the chops later. The oil also helps the dry brine stick evenly during the resting period.
Step 3: Rest and Refrigerate for Maximum Flavor Penetration
Place the seasoned pork chops on the wire rack and refrigerate uncovered for at least 1 hour, or up to 24 hours for maximum flavor development. I’ve found that 12 hours delivers the best balance of flavor penetration and texture improvement without over-curing the meat.
The uncovered resting allows the surface to dry slightly, which is crucial for developing a good sear later. You’ll notice the meat darkens slightly as it absorbs the seasoning—that’s the dry brine working its magic. The Brown Sugar in the mix will also begin to caramelize during cooking, adding depth of flavor.
Step 4: Optional Garlic Enhancement
For an extra layer of flavor, mince the 2 cloves Fresh Garlic and press it lightly into the surface of the pork chops during the last 30 minutes of the resting period. This prevents the garlic from burning during cooking while still infusing its aromatic qualities into the meat.
The garlic will mellow and sweeten as it rests with the pork, complementing the earthy notes from the Dried Thyme and Dried Rosemary. This step is optional but highly recommended for those who appreciate a more complex flavor profile in their dry-brined pork.
Step 5: Cook to Juicy Perfection
When ready to cook, remove the pork chops from the refrigerator and let them sit at room temperature for 20-30 minutes. This ensures even cooking throughout the meat. The dry brine will have transformed the texture, so you’ll find the chops cook more evenly and retain more moisture than unbrined pork.
Cook using your preferred method—grilling, pan-searing, or baking—until the internal temperature reaches 145°F for medium-rare or 160°F for medium. The dry brine guarantees juicy results regardless of your chosen cooking technique, as the salt has already broken down muscle fibers for optimal tenderness.
Pro Tips For Making Dry Brine Recipe For Pork
- Salt 12 Hours Early: I learned this the hard way—dry brining works best when the salt has time to penetrate deep into the pork, so give it a full 12 hours in the fridge, uncovered.
- Pat the Meat Dry: After brining, dab the chops with paper towels until bone-dry; this guarantees a better sear and keeps the spices from clumping.
- Skip the Wet Marinade: Resist the urge to add oil or liquid to the brine—this is a dry process, and any moisture will dilute the salt’s effect and soften the crust.
- Use Coarse Salt: Fine table salt dissolves too fast and can make the surface mushy, so stick with kosher or flaky salt for even seasoning and texture.
Make-Ahead Tips for Leftovers
Prep Ahead Schedule
Apply the dry brine up to 24 hours before cooking. I prefer starting the morning before I plan to cook, giving the salt 12-16 hours to work its magic. This timeline ensures deep flavor penetration without over-curing the pork. 💡
Storage During Brining
Place the seasoned pork on a wire rack over a baking sheet in the fridge. The rack allows air circulation, which helps the surface dry slightly for a better sear. Cover loosely with plastic wrap if you’re concerned about odors. 📅
Room Temperature Transition
Remove the pork from the fridge 30-60 minutes before cooking. This step ensures even cooking throughout the meat. I set a timer to remind myself—it’s easy to forget when multitasking in the kitchen.
Batch Prep Advantage
Double or triple the dry brine mix and store the extra in an airtight container for up to 3 months. This way, you can season pork spontaneously. Just
Make-Ahead Cooking
Cook the brined pork completely, then slice and store in the fridge for up to 4 days. Reheat gently in a skillet with a splash of water to maintain moisture. The pre-brined meat reheats beautifully without drying out.
Freezing Brined Pork
Freeze the dry-brined pork before cooking for up to 3 months. Thaw overnight in the fridge, then cook as usual. I’ve found the texture remains excellent, though the surface may need a quick pat dry before cooking. ❄️
Nutrition Facts
Frequently Asked Questions
How long should pork dry brine before cooking?
For best results, let it rest in the fridge for 12-24 hours. This gives the salt time to penetrate deeply and transform the texture. You can go as little as 1 hour in a pinch, but the flavor improves with more time.
Can I use table salt instead of kosher salt?
Yes, but use half the amount since table salt is finer and more concentrated. For this recipe, that would be 1.5 tsp instead of 1 tbsp. The texture difference affects how the salt dissolves and distributes.
What if my pork looks dry after brining?
That’s normal! The surface moisture is drawn out initially, then reabsorbed with the seasoning. Pat it dry before cooking for the best sear. The meat will be juicier than unbrined pork once cooked.
Does dry brining work for all pork cuts?
Try it on chops, tenderloin, or roasts. For larger cuts like shoulder, extend the brining time to 24-48 hours to ensure the salt penetrates fully. The method is versatile and foolproof.

Trained in classic French technique but raised on slow-cooked ribs and spicy rubs, she blends culinary skill with smoke and soul.
- Recipe for Boneless Pork Chops in Cast Iron Skillet: Sear and Baste to Juicy Perfection - October 3, 2026
- Recipe for Boneless Cross Rib Roast: Slow-Roasted Beef with Herb Crust - October 3, 2026
- Hamburgers in Sauce Recipe Crock Pot: Slow-Cooked Savory Delight - October 3, 2026