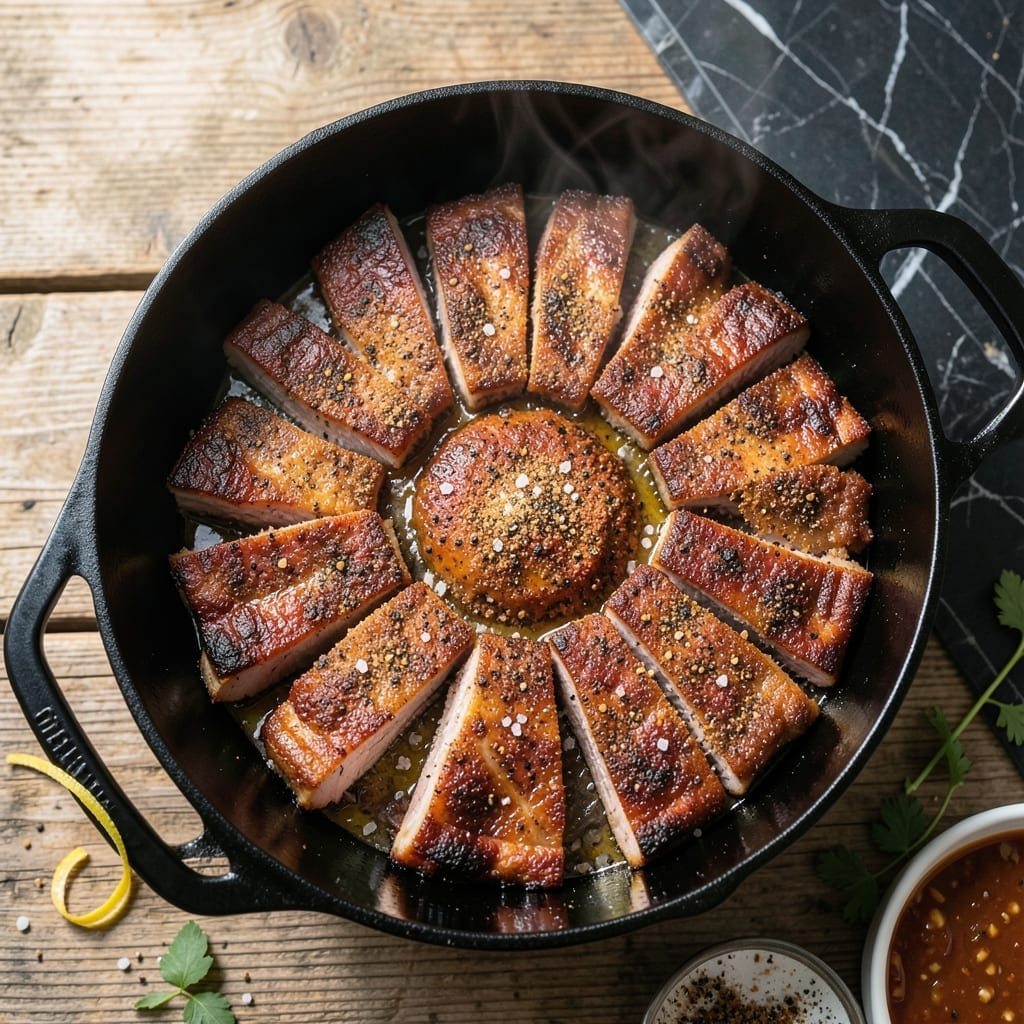
There’s nothing quite like the deep, smoky aroma of ribs slow-cooked to tender perfection in a Dutch oven. I first learned this method while blending my pitmaster roots with French technique, and the results speak for themselves.
This approach locks in moisture while developing rich, caramelized layers of flavor. The Dutch oven’s even heat distribution ensures the meat becomes fall-off-the-bone tender without drying out, even with longer cook times.
You’ll end up with ribs that are infused with smoky depth and a sauce so thick and flavorful, it clings to every bite. It’s a method that respects tradition while delivering restaurant-quality results at home.
Perfect for gatherings or a cozy weekend meal. Here’s how to achieve that ideal balance of tenderness and bold flavor.
Ingredients for Dutch Oven Ribs
Dutch oven ribs require bold spices and a long, slow cook for maximum tenderness.
| Ingredient | Amount | Notes |
|---|---|---|
| Baby Back Pork Ribs 🥩 | 3 lb | Full rack, membrane removed |
| Kosher Salt 🧂 | 2 tbsp | Diamond Crystal preferred |
| Coarse Black Pepper 🌶️ | 1 tbsp | Freshly ground for best flavor |
| Smoked Paprika 🌶️ | 1 tbsp | Sweet or hot variety |
| Garlic Powder 🧄 | 1 tbsp | Not garlic salt |
| Onion Powder 🧅 | 1 tbsp | Fresh ground preferred |
| Brown Sugar 🥜 | ½ cup | Light or dark variety |
| Apple Cider Vinegar 🍏 | ¼ cup | For tangy balance |
| Tomato Paste 🍅 | ¼ cup | Double-concentrated preferred |
| Worcestershire Sauce 🍶 | 2 tbsp | Anchovy-free if preferred |
| Liquid Smoke 🔥 | 1 tsp | Hickory flavor recommended |
| Chicken Stock 🍲 | 1 ½ cups | Low-sodium preferred |
| Olive Oil 🫒 | 2 tbsp | For searing ribs |
| Yellow Onion 🧅 | 1 whole | Medium size, finely diced |
| Fresh Garlic Cloves 🧄 | 4 cloves | Minced for sauce |
[recipe_ingredient_scaler]
Optimal quality requires selecting baby back ribs with good marbling—avoid pre-trimmed racks as they dry out faster. Costco offers consistent quality at bulk pricing, while Whole Foods provides organic options. The membrane on the bone side must be removed for seasoning penetration. Professional kitchens use Diamond Crystal kosher salt for its clean flavor and even distribution.
No liquid smoke? Increase smoked paprika to 2 tbsp for similar depth. Vegetable stock can replace chicken stock without flavor loss. For a sweeter profile, maple syrup at half the amount substitutes for brown sugar. If avoiding vinegar, lemon juice provides comparable acidity. Standard practice is to adjust sweetness and acidity to personal preference after initial tasting.
The ribs benefit from overnight dry rubbing for maximum flavor development. Cooked ribs keep in the refrigerator for 4 days or freeze for 3 months. Reheat gently in the Dutch oven with additional stock to maintain moisture. Sauce thickens upon cooling and reheats beautifully with a splash of liquid.
Why You’ll Love This Recipe
- One Pot Magic: I just season, sear, and braise—no smoker, no fuss. The dutch oven does all the work while I set the table.
- Smoky Depth: That smoked paprika and garlic powder rub? It turns tender baby backs into fall-off-the-bone flavor bombs.
- Crowd Pleaser: I’ve served these at Sunday dinner and casual weeknight meals—always disappears first.
- Leftovers Win: Honestly, they taste even better the next day. I make extra for sandwiches or tacos later.
Step-by-Step Instructions for Dutch Oven Ribs
This method delivers fall-off-the-bone ribs with deep smoky flavor using your Dutch oven.
Step 1: Season the Ribs Generously
Pat the 3 lb Baby Back Pork Ribs dry with paper towels to ensure the dry rub adheres properly. In a small bowl, combine the 2 tbsp Kosher Salt, 1 tbsp Coarse Black Pepper, 1 tbsp Smoked Paprika, 1 tbsp Garlic Powder, and 1 tbsp Onion Powder.
Rub this mixture evenly over all surfaces of the ribs, pressing it into the meat. Then sprinkle the 0.5 cup Brown Sugar over both sides, patting it gently so it sticks. This creates a flavorful bark during cooking. Let the seasoned ribs sit at room temperature for 30 minutes while you prepare the remaining ingredients.
Step 2: Sear and Deglaze the Dutch Oven
Heat the 2 tbsp Olive Oil in your Dutch oven over medium-high heat. When the oil shimmers, add the ribs in batches if necessary to avoid crowding. Sear for 3-4 minutes per side until deeply browned. You want to see a rich crust forming – that’s the Maillard reaction working.
Remove the ribs and set aside. In the same pot, add the finely diced 1 whole Yellow Onion and cook for 4-5 minutes until softened and just beginning to caramelize. Add the minced 4 cloves Fresh Garlic Cloves and cook for 30 seconds until fragrant.
Step 3: Build the Braising Liquid
Pour in the 0.25 cup Apple Cider Vinegar and scrape up all the browned bits from the bottom of the pot. This deglazing step captures all that concentrated flavor. Stir in the 0.25 cup Tomato Paste, 2 tbsp Worcestershire Sauce, 1 tsp Liquid Smoke, and 1.5 cups Chicken Stock.
Bring this mixture to a simmer, then taste and adjust seasoning if needed. The liquid should be tangy and slightly sweet from the brown sugar on the ribs. Return the seared ribs to the Dutch oven, submerging them as much as possible in the braising liquid.
Step 4: Braise to Tender Perfection
Cover the Dutch oven with its lid and transfer to a preheated 325°F oven. Braise for 2 to 2.5 hours, checking occasionally to ensure the liquid hasn’t reduced too much. The ribs are done when the meat pulls back from the bones by about ¼ inch and a fork slides in with no resistance.
If the braising liquid reduces too quickly, add a splash of water or additional chicken stock. The ideal end result is ribs that are tender but not falling apart, with a rich, reduced sauce that coats them beautifully.
Step 5: Rest and Serve
Carefully remove the ribs from the Dutch oven and place them on a serving platter. Let them rest for 10 minutes before serving – this allows the juices to redistribute throughout the meat. Skim any excess fat from the braising liquid if desired, then spoon the sauce over the ribs.
The ribs should have a beautiful mahogany color from the braising process and come away from the bone cleanly with just a gentle tug. The sauce will be rich, tangy, and slightly sweet, perfectly complementing the smoky, tender meat.
Pro Tips For Making Dutch Oven Ribs
- Season Overnight: Rub those ribs with salt, pepper, smoked paprika, and garlic powder the night before—it lets the flavors sink deep into the meat, not just sit on the surface.
- Brown the Ribs First: Sear the ribs in the Dutch oven on all sides before adding liquid; it builds a crust that turns into rich, caramelized flavor as they braise.
- Skip Boiling Liquid: I learned this the hard way—simmering ribs in boiling liquid makes them tough; keep it at a gentle 275°F–300°F braise instead.
- Use a Rack: Elevate the ribs on a wire rack inside the Dutch oven so they cook evenly and don’t steam in their own juices—makes a real difference in texture.
Regional Styles of This dutch oven ribs
Memphis Dry Rub
This style skips the sauce entirely, focusing on a bold dry rub with 2 tbsp brown sugar and extra 1 tbsp smoked paprika. I learned this at a Tennessee BBQ competition—it creates a perfect bark that locks in moisture. Serve with pickles and white bread. 🗺️
Texas-Style Sauce
Increase the tomato paste to ½ cup and add 1 tbsp chili powder to the braising liquid. The sauce becomes thicker and more robust, perfect for mopping. I like to finish with a sprinkle of cumin for depth.
Carolina Vinegar
Replace the brown sugar with ¼ cup cider vinegar and add 1 tsp red pepper flakes. This tangy, spicy style is a North Carolina staple. The ribs will have a bright, sharp flavor that pairs well with coleslaw.
Kansas City Sweet
Double the brown sugar to 1 cup and add ¼ cup molasses to the braising liquid. This creates a sticky, sweet glaze typical of Kansas City BBQ. I often add 1 tsp mustard powder for balance.
St. Louis Style
Use spare ribs instead of baby back ribs and cut them into individual pieces before cooking. The higher fat content in spare ribs stands up well to the 3-hour braise. This style is hearty and perfect for sandwiches.
Nutrition Facts
Frequently Asked Questions
Can I use spare ribs instead of baby back?
Yes, but increase braising time to 3 hours. Spare ribs have more connective tissue and fat, requiring longer cooking for tenderness. They also benefit from extra seasoning due to their larger size.
Do I need to remove the membrane?
The membrane prevents seasoning penetration and creates a chewy texture. Slide a butter knife under it, lift, then pull it off with a paper towel for better grip.
How do I thicken the sauce after cooking?
Simmer the braising liquid on the stovetop for 5-10 minutes uncovered. For faster results, mix 1 tbsp cornstarch with water and stir into the sauce until it reaches your desired consistency.
What if my ribs are tough after cooking?
They likely need more time. Return them to the oven at 300°F with additional liquid for another 30-45 minutes. Check for doneness when the meat pulls back from the bones by ¼ inch.

Trained in classic French technique but raised on slow-cooked ribs and spicy rubs, she blends culinary skill with smoke and soul.
- Recipe for Boneless Pork Chops in Cast Iron Skillet: Sear and Baste to Juicy Perfection - October 3, 2026
- Recipe for Boneless Cross Rib Roast: Slow-Roasted Beef with Herb Crust - October 3, 2026
- Hamburgers in Sauce Recipe Crock Pot: Slow-Cooked Savory Delight - October 3, 2026