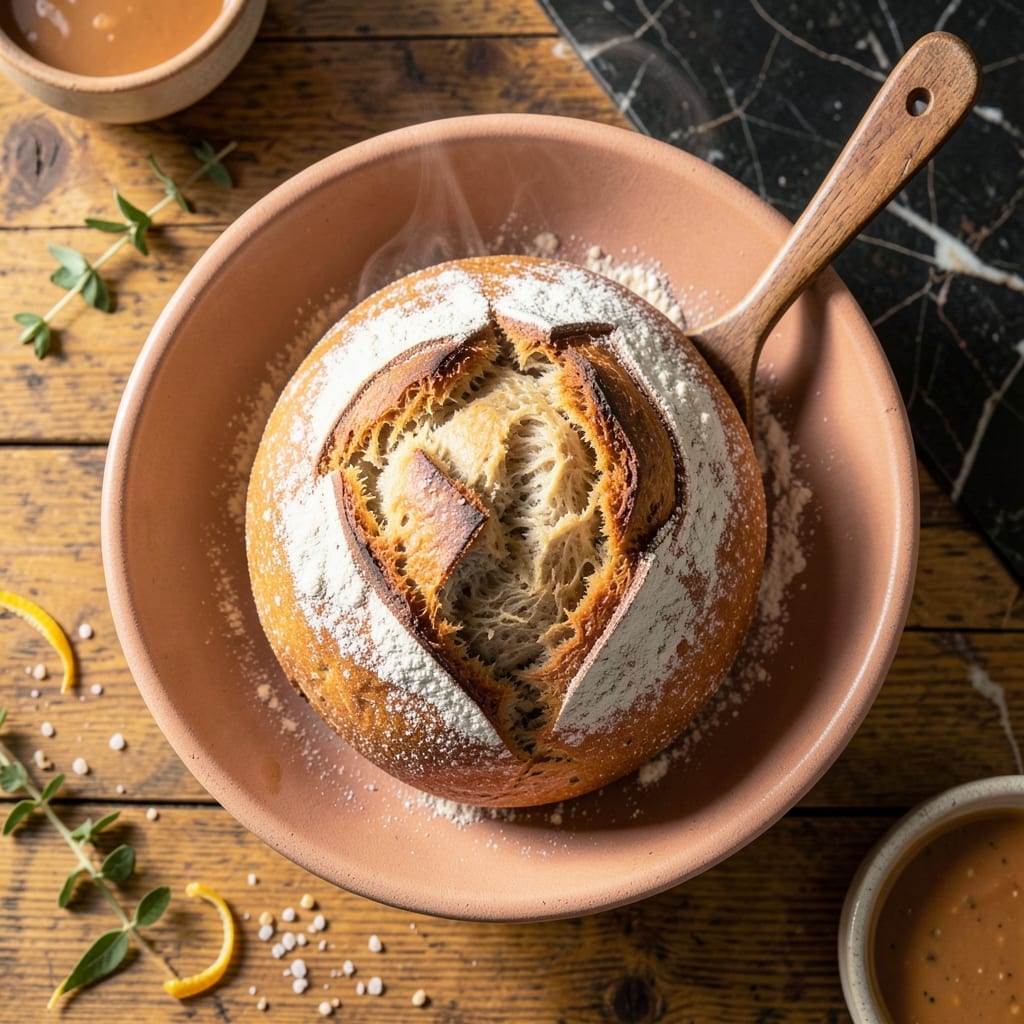
I developed this 5-ingredient loaf to solve the age-old problem of wanting fresh bread without the fuss. No yeast, no milk, no kneading—just simple pantry staples transformed into something extraordinary.
The beauty lies in its simplicity. A quick chemical reaction replaces traditional fermentation, creating a tender crumb with a golden crust. The method is foolproof, requiring only mixing and baking.
What emerges from the oven is a warm, fragrant loaf with a texture that belies its effortless preparation. It’s bread making stripped down to its most easy form, perfect for beginners or busy cooks.
Serve it warm with butter or use it for sandwiches. The results speak for themselves.
Ingredients for Easy Bread Recipe No Yeast or Milk
Five pantry staples create this remarkably simple and delicious loaf.
| Ingredient | Amount | Notes |
|---|---|---|
| All-Purpose Flour 🌾 | 3 cups | Sifted for lighter texture |
| Baking Powder 🧂 | 1 tbsp | Ensures proper rise |
| Salt 🧂 | 1 tsp | Fine sea salt preferred |
| Granulated Sugar 🍚 | 1 tbsp | Balances the flavor |
| Water 💧 | 1 ¼ cups | Room temperature |
[recipe_ingredient_scaler]
The flour is the foundation here. King Arthur or Gold Medal all-purpose flours yield consistent results. For best texture, measure by spooning into the cup rather than scooping directly from the bag. The baking powder must be fresh—test it by dropping a bit in hot water; if it bubbles vigorously, it’s good to go. Salt enhances flavor, so don’t skip it.
No baking powder? Baking soda plus cream of tartar (1:2 ratio) can substitute in a pinch. Out of all-purpose flour? Bread flour works too, though the crumb will be slightly denser. Sugar can be replaced with maple syrup or agave (use ¾ the amount). Water temperature isn’t critical here—room temp is fine.
Store the baked loaf wrapped in a clean towel at room temperature for up to 3 days. For longer storage, freeze slices in a sealed bag for up to 3 months. Reheat in a toaster or oven to revive freshness.
Why You’ll Love This Recipe
- No Yeast Needed: I love that I can skip the waiting for dough to rise—just mix, shape, and bake.
- Sweet Simplicity: The sugar adds a subtle sweetness that makes this bread irresistible with jam or honey.
- Pantry Staples: All-purpose flour and baking powder mean I can make this anytime without a special grocery run.
- Budget Friendly: Honestly, it costs pennies per loaf and still tastes like a bakery treat.
Step-by-Step Instructions for Easy Bread No Yeast or Milk
This straightforward method delivers a perfect loaf with minimal effort and no special skills required.
Step 1: Combine Dry Ingredients for Even Distribution
In a large mixing bowl, whisk together the 3 cups All-Purpose Flour, 1 tbsp Baking Powder, 1 tsp Salt, and 1 tbsp Granulated Sugar until fully incorporated. I always sift the flour first to break up any lumps and ensure a lighter texture in the final loaf.
This dry mix forms the structural foundation of your bread. The baking powder provides the leavening action that replaces yeast, while the sugar and salt balance the flavor. Make sure there are no visible streaks of individual ingredients before adding liquid.
Step 2: Create the Wet Mixture and Combine
Pour the 1.25 cups Water into the dry ingredients all at once. Using a wooden spoon or silicone spatula, stir until just combined. The dough will be shaggy and sticky—this is exactly what you want.
Resist the urge to add more flour or overmix. The high hydration level is what gives this bread its open crumb and tender texture. You should see no dry flour pockets, but the dough won’t be smooth. Let it rest for 2 minutes to allow the flour to fully hydrate.
Step 3: Shape and Prepare for Baking
Lightly grease a loaf pan (approximately 8×4 inches) with oil or line it with parchment paper. Transfer the sticky dough into the pan, using your spatula to scrape every last bit from the bowl. The dough will be too sticky to handle with your hands.
Smooth the top with the spatula, then wet your fingers and gently press down to create an even surface. This ensures even baking and a professional appearance. The dough should fill about half of the pan—it will rise significantly during baking.
Step 4: Bake to Golden Perfection
Preheat your oven to 375°F and position a rack in the center. Bake the bread for 45-50 minutes until the top is deep golden brown and a toothpick inserted in the center comes out clean.
If the top begins to brown too quickly, loosely tent the pan with aluminum foil after 25 minutes. The bread is done when it sounds hollow when tapped on the bottom and the internal temperature reaches 200°F.
Step 5: Cool Completely Before Slicing
Remove the bread from the pan immediately and transfer it to a wire rack. Let it cool for at least 1 hour before slicing. I know the aroma is tempting, but cooling allows the structure to set properly.
Slicing too soon results in a gummy texture. The bread should feel firm to the touch and the crust should be crisp when fully cooled. This waiting period ensures clean slices and the best possible texture for your no-yeast loaf.
Pro Tips For Making Easy Bread Recipe No Yeast Or Milk
- Preheat the Pan: I learned this the hard way—starting with a cold pan gives you dense bread. Heat your baking sheet or pan in the oven for 5 minutes before adding the dough for a better rise.
- Measure Flour Right: Scoop your flour into the measuring cup, then level it off with a knife. Packing it in or tapping the cup can add 20% more flour, making your bread dry and crumbly.
- Don’t Overmix: Stir just until the dough comes together—about 30 seconds. Overmixing develops the gluten, and you’ll end up with tough, chewy bread instead of light and tender.
- Boost Flavor Fast: Add 1 teaspoon of vinegar or lemon juice to the water. Sounds weird, but it reacts with the baking powder for extra lift and a subtly better taste.
Essential Equipment for This Dish
Mixing Bowl
A large, sturdy mixing bowl is essential for combining your dry ingredients thoroughly. I prefer glass or stainless steel because they’re easy to clean and don’t retain odors. A 3-quart bowl gives you plenty of room to stir without spilling.
Whisk
Use a balloon whisk to blend your flour, baking powder, salt, and sugar evenly. This ensures the leavening agent is distributed properly throughout the dough, which is critical for a good rise. A 10-inch whisk is my go-to for this task.
Measuring Tools
Accurate measurements matter, so I recommend a set of dry measuring cups and a level teaspoon for the salt. Scoop your flour into the cup, then level it off with the flat edge of a knife for precision.
For liquids, a glass measuring cup with a spout makes pouring the water easy and mess-free.
Loaf Pan
An 8×4-inch loaf pan is ideal for this recipe. I use a nonstick metal pan for even heat distribution and easy release. Lightly grease it with oil or line it with parchment paper to prevent sticking.
Silicone Spatula
A heat-resistant silicone spatula helps scrape every bit of sticky dough from the bowl into the pan. It’s also useful for smoothing the top before baking. I love the flexibility of OXO’s silicone spatulas. 💛
Cooling Rack
After baking, transfer your loaf to a wire cooling rack to allow air circulation on all sides. This prevents the bottom from becoming soggy. A simple, sturdy rack from any kitchen store will do the job perfectly.
Nutrition Facts
Frequently Asked Questions
Can I substitute baking soda for baking powder?
No, they’re not interchangeable here. Baking powder contains both acid and base, while baking soda needs an acid to activate. The recipe requires 1 tbsp baking powder for proper rise.
Why is my bread dense instead of light?
This usually means overmixing the dough or using expired baking powder. Stir just until combined and check your leavening agent is fresh. The high hydration also helps create an open crumb.
Can I add mix-ins like herbs or cheese?
Fold in 1/2 cup of add-ins like dried herbs, nuts, or dairy-free cheese after combining wet and dry ingredients. This keeps the basic recipe intact while customizing flavor.
How do I store leftovers?
Wrap cooled bread in a towel at room temperature for 3 days. For longer storage, freeze slices for up to 3 months. Reheat in a toaster for freshness.

Trained in classic French technique but raised on slow-cooked ribs and spicy rubs, she blends culinary skill with smoke and soul.
- Recipe for Boneless Pork Chops in Cast Iron Skillet: Sear and Baste to Juicy Perfection - October 3, 2026
- Recipe for Boneless Cross Rib Roast: Slow-Roasted Beef with Herb Crust - October 3, 2026
- Hamburgers in Sauce Recipe Crock Pot: Slow-Cooked Savory Delight - October 3, 2026