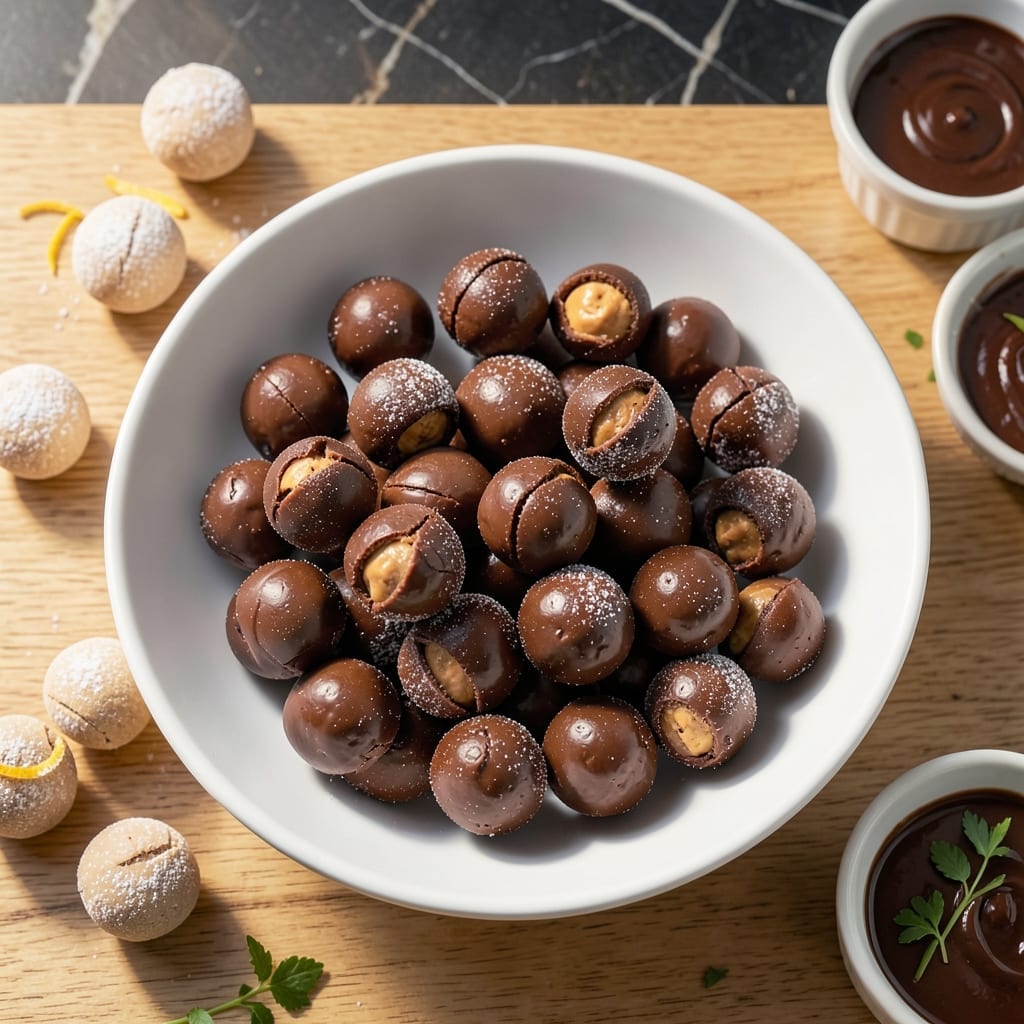
These no-bake treats combine creamy peanut butter and rich chocolate with minimal effort. The 3-ingredient approach makes them foolproof for beginners.
You’ll achieve restaurant-quality results without turning on the oven. Perfect for satisfying sweet cravings in under 30 minutes.
Ingredients for Easy Buckeye Recipe 3 Ingredients
Three core ingredients plus a few pantry staples for perfect buckeyes every time.
| Ingredient | Amount | Notes |
|---|---|---|
| Creamy Peanut Butter 🥜 | 1 ½ cups | Natural or commercial, well stirred |
| Powdered Sugar 🧂 | 2 cups | Sifted for smooth texture |
| Semi-Sweet Chocolate Chips 🍫 | 12 oz | High-quality for best melt |
| Unsalted Butter 🧈 | 2 tbsp | For chocolate coating |
| Vanilla Extract 🌿 | 1 tsp | Pure extract recommended |
| Salt 🧂 | ¼ tsp | Fine grain, optional |
[recipe_ingredient_scaler]
The peanut butter is the foundation here. Jif or Skippy provide the creamy consistency you need, though natural peanut butter works if you stir it thoroughly (the oil separation can affect texture). Powdered sugar from Domino or C&H dissolves beautifully—avoid grainy generic brands. For the chocolate, Ghirardelli or Guittard chips melt smoothly without seizing.
Need a swap? Crunchy peanut butter adds texture but changes the classic buckeye experience. Milk chocolate chips work if you prefer sweeter coating (use 10 oz and add 1 tbsp more butter). No vanilla extract? Skip it entirely—it’s subtle here. For a quicker set, chill the peanut butter centers for 20 minutes before dipping.
Store in an airtight container at room temperature for up to 1 week, or refrigerate for 2 weeks. For longer storage, freeze on a tray first, then transfer to a bag—good for 3 months. The butter in the coating helps them hold shape at room temp.
Why You’ll Love This Recipe
- No-Fuss Mixing: I just stir peanut butter, powdered sugar, and a little butter—no baking, no fancy tools.
- Rich Chocolate-Peanut Balance: The creamy peanut butter centers dipped in melted chocolate chips taste like a candy shop favorite.
- Holiday Ready: Between us, these disappear fastest at cookie swaps and potlucks.
- Budget-Friendly Batch: A bag of chocolate chips and basic pantry staples make dozens for pennies.
Step-by-Step Instructions for No-Bake Chocolate Peanut Butter Bites
This method ensures smooth centers and perfectly set chocolate coatings without turning on your oven.
Step 1: Mix the Peanut Butter Filling
In a medium bowl, combine the 1.5 cups Creamy Peanut Butter with the 2 cups Powdered Sugar. The powdered sugar should be sifted for optimal smoothness, preventing any grainy texture in your finished filling.
Add the 1 tsp Vanilla Extract and 0.25 tsp Salt, then stir until fully incorporated. The mixture will be thick and slightly crumbly at first. Keep mixing—it will come together into a dough-like consistency that holds its shape when rolled.
If the mixture seems too dry, add a teaspoon of additional peanut butter, but avoid making it too soft. You want a filling firm enough to roll into balls that maintain their form during the dipping process.
Step 2: Shape the Filling into Balls
Scoop out 1-tablespoon portions of the peanut butter mixture and roll them between your palms into smooth, even balls. For consistent sizing, I use a small cookie scoop—this ensures all your finished candies look uniform and professional.
Place the rolled balls on a parchment-lined baking sheet. You should get approximately 20 portions from the mixture. If the filling starts to soften as you work, chill the sheet for 10 minutes to firm them up before proceeding.
This step is crucial for presentation and even coating. Uneven balls will lead to lopsided chocolate coverage and inconsistent drying times.
Step 3: Melt the Chocolate Coating
In a microwave-safe bowl, combine the 12 oz Semi-Sweet Chocolate Chips with the 2 tbsp Unsalted Butter. Microwave in 30-second intervals, stirring between each, until the mixture is completely smooth and glossy.
This gradual melting prevents overheating, which can cause the chocolate to seize or become grainy. The butter helps thin the chocolate slightly, creating a smoother coating that adheres better to the peanut butter centers.
Alternatively, you can use a double boiler on the stovetop over low heat. Either method works, but avoid getting any moisture in the chocolate—it will cause it to thicken and lose its sheen.
Step 4: Dip and Coat the Buckeyes
Using a fork or toothpick, dip each peanut butter ball into the melted chocolate, turning to coat completely. Let any excess chocolate drip off back into the bowl—this prevents pooling at the base of your candies.
Return each coated ball to the parchment-lined sheet. While the chocolate is still wet, you can drizzle contrasting melted chocolate on top for decoration, though this isn’t necessary for classic buckeyes.
Work quickly but carefully—the chocolate will begin to set as it cools. If it thickens too much during the process, reheat it in 15-second intervals to restore a workable consistency.
Step 5: Set and Store
Let the candies sit at room temperature for 1-2 hours until the chocolate is completely firm. You can speed this up by refrigerating them for 30 minutes, but be aware this may cause the chocolate to develop a slightly dull finish.
Once set, transfer the buckeyes to an airtight container. They’ll keep at room temperature for up to 1 week, or in the refrigerator for up to 2 weeks. For best texture, bring them to room temperature before serving.
The finished candies should have a smooth, glossy chocolate shell with a creamy, rich peanut butter center. Each bite delivers the perfect balance of sweet chocolate and salty peanut flavor.
Pro Tips For Making Easy Buckeye Recipe 3 Ingredients
- Chill the Peanut Mix: After combining peanut butter, powdered sugar, and butter, refrigerate the mixture for 20-30 minutes—it’ll firm up enough to roll into balls without sticking to your hands.
- Use Room-Temp Butter: Softened unsalted butter blends smoothly into the peanut butter mixture; cold butter leaves lumps, and melted butter makes the filling too runny.
- Melt Chocolate Slowly: Microwave the chocolate chips in 20-second bursts, stirring between each, to prevent seizing or burning (I learned this the hard way after ruining two batches).
- Skip the Vanilla: Sounds weird, but it works: the classic 3-ingredient version doesn’t need vanilla extract—it’s just peanut butter, powdered sugar, and butter for the filling.
Pro Cooking Tips for Great easy buckeye recipe 3 ingredients
💡 Chill for Best Results
For perfectly firm buckeyes, don’t skip the chilling step. After rolling the peanut butter mixture into balls, let them rest in the freezer for 20-30 minutes before dipping. This prevents the chocolate coating from melting or sliding off. A quick chill also makes the dipping process smoother and less messy.
🎯 Perfect Peanut Butter Consistency
Ensure your peanut butter isn’t too runny or too stiff. Use creamy, no-stir peanut butter at room temperature for the best texture. If the mixture feels too soft, add a touch more powdered sugar. Too dry? A splash of melted butter can help bind it without altering the flavor.
✨ Double-Dip for a Smooth Finish
For a flawless chocolate coating, dip each buckeye twice. Let the first layer set for 10 minutes, then repeat. This creates a thicker, more even shell and hides any imperfections. Use a fork or toothpick for dipping to avoid fingerprints!
🌡️ Store Smartly
Keep your buckeyes fresh by storing them in an airtight container in the fridge for up to a week. For longer storage, freeze them layered between parchment paper. Bring to room temperature for 10 minutes before serving to restore the creamy texture.
Nutrition Facts

Trained in classic French technique but raised on slow-cooked ribs and spicy rubs, she blends culinary skill with smoke and soul.
- Recipe for Boneless Pork Chops in Cast Iron Skillet: Sear and Baste to Juicy Perfection - October 3, 2026
- Recipe for Boneless Cross Rib Roast: Slow-Roasted Beef with Herb Crust - October 3, 2026
- Hamburgers in Sauce Recipe Crock Pot: Slow-Cooked Savory Delight - October 3, 2026