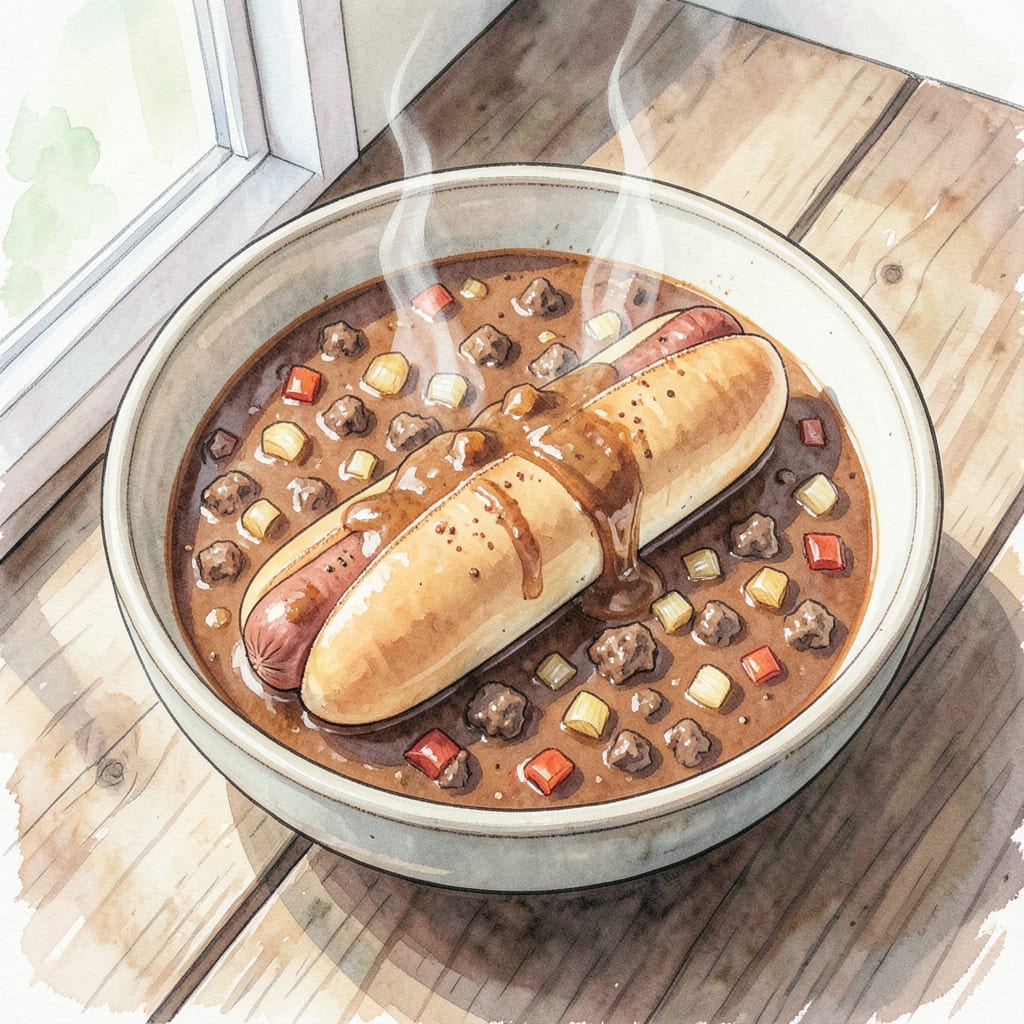
There’s something special about a warm bowl of hot dog chili on a chilly day. 🔥 I’ve perfected this easy recipe over years of backyard cookouts, combining rich flavor with quick preparation that’ll get dinner on the table in under 30 minutes.
This comfort food classic delivers tender ground beef, savory beans, and just the right amount of spice. With simple ingredients and straightforward instructions, you’ll have a hearty meal that’s perfect for topping hot dogs, baked potatoes, or serving as a standalone stew.
Ingredients for Easy Hot Dog Chili
Quick, comforting, and packed with flavor – just what you need on a chilly day.
| Ingredient | Amount | Notes |
|---|---|---|
| Ground Beef 🥩 | 1 lb | 80/20 lean to fat ratio |
| Yellow Onion 🧅 | 1 whole | Finely chopped |
| Garlic Cloves 🧄 | 3 cloves | Minced |
| Chili Powder 🌶️ | 2 tbsp | Mild or hot variety |
| Ground Cumin 🌿 | 1 tsp | Freshly ground preferred |
| Paprika 🌶️ | 1 tsp | Smoked or sweet |
| Cayenne Pepper 🔥 | ¼ tsp | Optional, for heat |
| Salt 🧂 | 1 tsp | Kosher or sea salt |
| Black Pepper 🌶️ | ½ tsp | Freshly ground |
| Tomato Paste 🍅 | 2 tbsp | Concentrated, not sauce |
| Beef Broth 🥘 | 1 cup | Low sodium preferred |
| Kidney Beans 🌽 | 1 can | Drained and rinsed |
[recipe_ingredient_scaler]
For the best flavor, use 80/20 ground beef—the extra fat gives richness. Most grocery stores carry it, but if you’re at Whole Foods, look for their 365 brand. If using other cuts, drain excess fat after browning. For onion, yellow or white works—red can make it look pink.
No chili powder? Make your own with equal parts cumin, paprika, and oregano. Need more heat? Add more cayenne gradually—it gets spicy fast. For the beans, canned is fine—just rinse them well. If using dried, soak overnight and adjust cooking time. For spice balance, start with less cayenne and add to taste.
This chili keeps for 4-5 days in the fridge. Reheat gently on low—add a splash of broth if it’s too thick. Freezes beautifully for 3 months. I portion mine into individual containers for quick lunches or freeze flat in quart-sized bags.
Step-by-Step Instructions for Easy Hot Dog Chili
Follow these simple steps to create a delicious, comforting chili perfect for topping your favorite hot dogs.
🍳 Step 1: Brown the Ground Beef
Start by heating a large pot over medium-high heat. Add the 1 lb Ground Beef and cook, breaking it up with a spoon, until it’s fully browned and there’s no pink remaining, about 5-7 minutes. I like to use a potato masher to break up the meat into small pieces as it cooks. Once browned, drain off any excess fat, leaving about 1 tablespoon in the pot to keep things flavorful.
The key here is to get a good sear on the beef. Don’t stir too much at first—let it develop some nice brown bits on the bottom of the pan. This will add depth to your chili. If you notice any large chunks, break them up as you go to ensure even cooking.
👨🍳 Step 2: Soften the Aromatics
Add the 1 whole Yellow Onion, finely chopped, to the pot with the browned beef. Cook over medium heat, stirring occasionally, until the onion is soft and translucent, about 5 minutes. Then add the 3 cloves Garlic Cloves, minced, and cook for another 1 minute, stirring constantly to prevent burning. You’ll know it’s ready when the mixture is fragrant and the onion is fully softened.
Be careful not to burn the garlic—it can go from perfectly cooked to burnt quickly. Stir constantly during that last minute, and you’ll be rewarded with a rich, aromatic base for your chili.
🍳 Step 3: Add Spices and Tomato Paste
Stir in the 2 tbsp Chili Powder, 1 tsp Ground Cumin, 1 tsp Paprika, and 0.25 tsp Cayenne Pepper (if using). Cook for 1-2 minutes, stirring constantly, until the spices are fragrant. Then add the 2 tbsp Tomato Paste and cook, stirring constantly, for another 1-2 minutes. The mixture should darken in color and develop a rich, slightly thickened consistency.
This step is crucial for developing the deep flavor of your chili. The spices need a minute to bloom in the heat, and the tomato paste adds a concentrated umami flavor. Stir constantly to prevent burning and ensure even distribution.
🥘 Step 4: Simmer the Chili
Add the 1 cup Beef Broth to the pot, stirring to scrape up any browned bits from the bottom. Bring the mixture to a simmer, then reduce the heat to low and let it cook, uncovered, for 20-30 minutes, stirring occasionally. The chili will thicken as it cooks, and the flavors will meld together. About 10 minutes before serving, stir in the 1 can Kidney Beans, drained and rinsed.
During this simmering time, the chili will reduce slightly and develop a thicker, more robust consistency. If it gets too thick, you can always add a splash more beef broth. Taste and adjust the seasoning with 1 tsp Salt and 0.5 tsp Black Pepper as needed.
🔥 Step 5: Serve and Enjoy
Once the chili has finished simmering and the flavors have melded together, it’s ready to serve. Ladle it over your favorite hot dogs, and top with your preferred toppings. The chili should be thick and hearty, with a rich, meaty flavor that’s perfect for comfort food.
For the best results, serve immediately while the chili is still warm and the flavors are at their peak. You can also make this ahead and refrigerate or freeze it for later use—it reheats beautifully.
Serving Suggestions for This Dish
Classic Hot Dog Toppings
Elevate your hot dog game with these must-have toppings. Start with shredded cheese – a melty blend of cheddar and Monterey Jack works beautifully. Add some finely chopped onions for a punch of flavor. For some heat, sprinkle on chili flakes or diced jalapeños. I love adding a dollop of sour cream to cool things down. 🔥
Creative Chili Dog Variations
Take your chili dogs to the next level with some creative twists. Try a Chicago-style dog with sport peppers, pickle relish, and a dash of celery salt. Or go for a New York-style with sauerkraut and grilled onions. For a spicy kick, top with diced jalapeños or pepper jack cheese. The possibilities are endless! 🌶️
Perfect Side Dishes
No chili dog is complete without some delicious sides. Crispy onion rings are a crowd-pleaser – simply coat sliced onions in seasoned flour and fry until golden. Coleslaw made with shredded cabbage, mayonnaise, and a hint of vinegar provides a nice crunch. For a heartier option, serve with garlic bread or roasted potato wedges. 🥔
Beverage Pairings
Quench your thirst with the perfect beverage pairing. A cold beer like a crisp lager or pilsner complements the rich flavors of chili dogs. For a non-alcoholic option, try iced tea infused with citrus or mint. If you prefer something bubbly, ginger ale or cream soda are great choices. For a family-friendly option, serve lemonade with a twist of citrus. 🍺
Dessert Ideas
Finish off your meal with a sweet treat. Classic apple pie or berry cobbler are always a hit. For something lighter, serve vanilla ice cream with a drizzle of caramel sauce. If you’re feeling adventurous, try making churros with cinnamon sugar and a side of chocolate dipping sauce. The key is to balance the savory flavors of your chili dogs with something sweet and satisfying. 🍰
Outdoor Serving Tips
When serving chili dogs outdoors, keep everything warm and ready to assemble. Use chafing dishes with candles or warming trays to keep the chili hot. Set up a topping bar with all the fixings, from cheese and onions to jalapeños and relish. Don’t forget plenty of napkins – things can get messy! For a fun twist, serve chili dogs in mini buns as appetizers or snacks.

Trained in classic French technique but raised on slow-cooked ribs and spicy rubs, she blends culinary skill with smoke and soul.
- Recipe for Boneless Pork Chops in Cast Iron Skillet: Sear and Baste to Juicy Perfection - October 3, 2026
- Recipe for Boneless Cross Rib Roast: Slow-Roasted Beef with Herb Crust - October 3, 2026
- Hamburgers in Sauce Recipe Crock Pot: Slow-Cooked Savory Delight - October 3, 2026