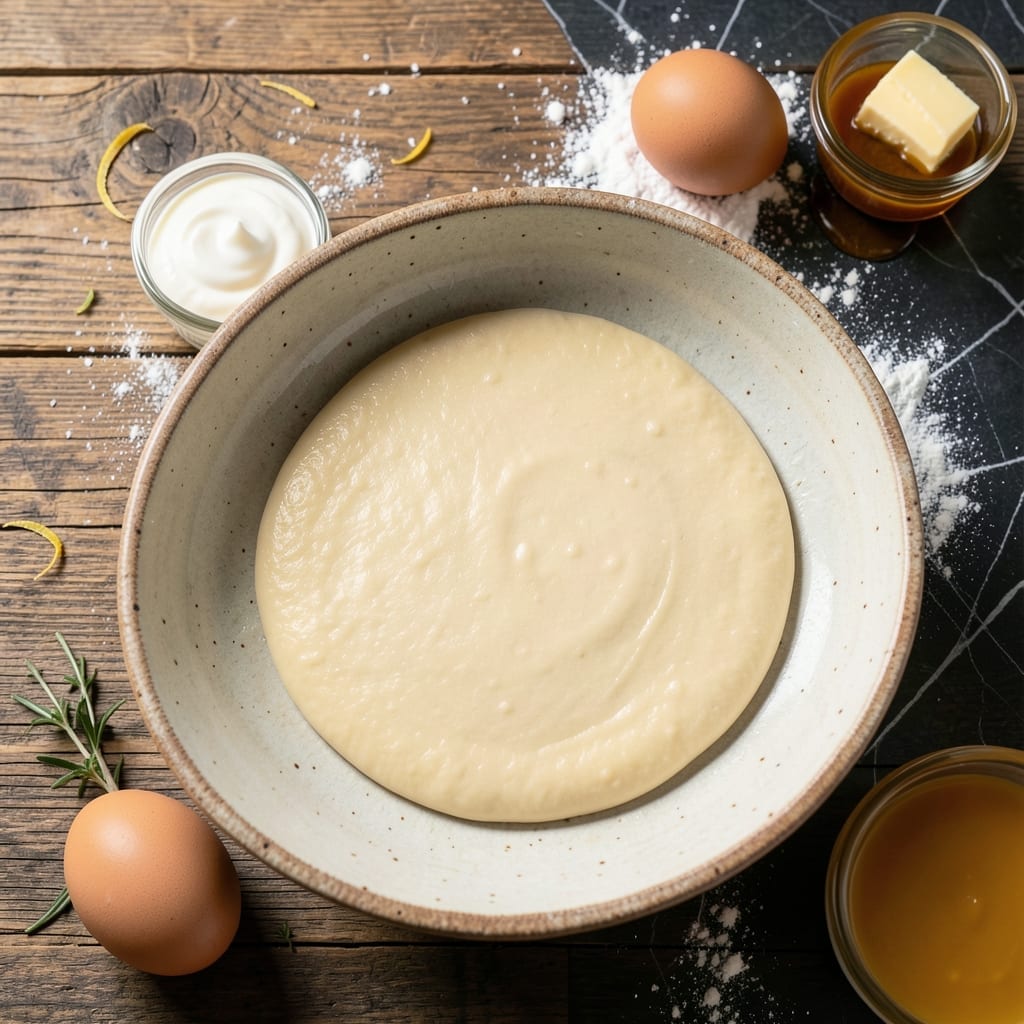
This dough recipe eliminates the guesswork from making perfect pierogi wrappers at home.
With just a few simple ingredients and 10 minutes of active prep, you’ll have tender, elastic dough ready for any filling.
Ingredients for Easy Pierogi Dough
A handful of pantry basics creates tender elastic dough ready for any filling.
| Ingredient | Amount | Notes |
|---|---|---|
| All-Purpose Flour 🌾 | 2 cups | Plus extra for dusting |
| Warm Water 💧 | ½ cup | About 110°F, not boiling |
| Sour Cream 🥛 | ¼ cup | Full-fat for tenderness |
| Unsalted Butter 🧈 | 2 tbsp | Melted and cooled slightly |
| Large Egg 🥚 | 1 whole | Room temperature preferred |
| Salt 🧂 | ½ tsp | Fine sea salt or table salt |
| Vegetable Oil 🫒 | 1 tsp | For kneading and bowl greasing |
[recipe_ingredient_scaler]
The flour is the foundation here. King Arthur or Gold Medal all-purpose deliver consistent results. Sour cream is non-negotiable—it’s what gives the dough its signature tenderness and slight tang. Use full-fat (the good stuff, not light) for optimal texture. Butter should be unsalted so you control the seasoning. Most supermarkets carry these brands, but Whole Foods or Trader Joe’s have reliable organic options.
No sour cream? Full-fat Greek yogurt at a 1:1 ratio works in a pinch. For a dairy-free version, coconut cream mimics the richness but may alter the flavor slightly. The egg adds structure, but if you’re out, an extra tablespoon of melted butter plus a tablespoon of water can substitute. Want more elasticity? Replace 1 tablespoon of water with vodka—it evaporates quickly, leaving a flakier texture.
The dough rests best covered with a damp towel to prevent drying. Keep unused portions wrapped tightly in plastic—stays fresh for 2 days in the fridge or freezes for 1 month. Always bring it to room temperature before rolling for easier handling (worth the extra minute).
Why You’ll Love This Recipe
- No-Fuss Mixing: I just dump the flour, warm water, sour cream, butter, and egg in a bowl—no fancy steps, no resting time, and it comes together like magic.
- Rich, Tender Bite: The sour cream and butter make the dough so soft it practically melts, with just enough chew to hold all the fillings.
- Freezer Friendly: I make a double batch on Sunday, freeze half, and pull them straight into boiling water for a weeknight dinner in minutes.
- Budget Stretcher: A few pantry staples and one egg yield enough dough for 30-plus pierogi, feeding my family for pennies per serving.
Step-by-Step Instructions for Pierogi Dough
This straightforward method yields consistently tender wraps with minimal effort.
Step 1: Combine Wet Ingredients
In a large mixing bowl, whisk together the 0.5 cup Warm Water, 0.25 cup Sour Cream, 2 tbsp Unsalted Butter, 1 whole Large Egg, and 0.5 tsp Salt until fully emulsified. The mixture should appear smooth and slightly thick.
I always ensure the butter is melted and cooled slightly to prevent cooking the egg. The sour cream adds richness and tenderness to the final dough, while the warm water activates the gluten development without being too hot.
Step 2: Incorporate the Dry Ingredients
Gradually add the 2 cups All-Purpose Flour to the wet mixture, about ½ cup at a time, stirring with a wooden spoon until a shaggy dough forms. The texture will be slightly sticky but should pull away from the sides of the bowl.
Here’s the thing—don’t be tempted to add extra flour at this stage. The dough will become more manageable during kneading. If it seems too wet, trust the process; the flour will fully hydrate as you work it.
Step 3: Knead the Dough
Turn the dough out onto a lightly floured surface (using some of the extra flour for dusting) and knead for 8-10 minutes until smooth and elastic. The dough should spring back when pressed gently with a finger.
Drizzle the 1 tsp Vegetable Oil over the dough and your hands as needed to prevent sticking. I’ve found that consistent kneading develops the gluten just enough to create a tender yet sturdy wrap for fillings. If the dough resists stretching, keep kneading—it’s not ready yet.
Step 4: Rest the Dough
Shape the dough into a ball and place it in a clean bowl lightly greased with the remaining vegetable oil. Cover with a damp kitchen towel or plastic wrap and let it rest at room temperature for 30 minutes.
This resting period allows the gluten to relax, making the dough easier to roll out thinly. You’ll notice the dough becomes significantly more pliable after resting. Don’t skip this step (I learned the hard way)—it’s crucial for achieving that perfect tender texture in your finished pierogi.
Pro Tips For Making Easy Pierogi Dough
- Use Room Temp Ingredients: Pull your egg, sour cream, and butter out of the fridge 30 minutes before mixing—I learned this the hard way after my dough cracked from cold butter.
- Knead Just Enough: Stop kneading as soon as the dough comes together smoothly, about 3-4 minutes. Overworking it makes pierogi tough instead of tender.
- Don’t Skip the Rest: Give the dough 20 minutes under a towel before rolling. Sounds weird, but it works: the gluten relaxes, making it easier to roll thin without springing back.
- Add Flour Gradually: Start with 2 cups of flour, then add more a tablespoon at a time until it’s just tacky. My first batches were bricks because I dumped all the flour in at once.
Troubleshooting Great easy pierogi dough
Dough Too Sticky
If your dough sticks to your hands and surface during kneading, resist adding more flour right away. Instead, drizzle 1 tsp Vegetable Oil on your hands and work surface. The dough will absorb the oil and become more manageable as you knead. 💡
Dough Too Dry
When your dough feels crumbly and won’t come together, add 1-2 tbsp Warm Water, one at a time. Knead well after each addition until the dough becomes smooth and elastic. Too much flour can make pierogi wrappers tough.
Dough Not Resting
If your dough springs back when rolling, it needs more rest time. Cover it with a damp towel and let it sit for another 15-20 minutes. The gluten will relax, making it easier to roll thinly without resistance.
Cracking When Rolling
Cracks appear when the dough is too dry or hasn’t rested enough. Try dusting with less flour when rolling, and ensure it’s at room temperature. If cracks persist, knead in 1 tsp Warm Water and rest again.
Tough Wrappers
Over-kneading or using too much flour can make wrappers tough. Stick to the 8-10 minute kneading time and measure ingredients precisely. The Sour Cream is key for tenderness—don’t skip it.
Dough Tearing When Filling
Roll the dough thinner (⅛ inch) and use a 3-inch round cutter for even circles. If tearing happens, patch with a bit of extra dough. Keep unused dough covered to prevent drying out. ✨
Nutrition Facts
Frequently Asked Questions
Can I make the dough ahead of time?
Yes! Wrap the dough tightly in plastic and refrigerate for up to 2 days. For longer storage, freeze for up to 1 month.
Why does the recipe include sour cream?
The sour cream adds tenderness and a subtle tang to the dough. It creates a more elastic texture that holds fillings better. Without it, the wrappers may turn out tougher.
How thin should I roll the dough?
Aim for about ⅛ inch thick—thin enough to cook through but sturdy enough to hold fillings. Use a rolling pin for even thickness.
Can I use a stand mixer for kneading?
Use the dough hook attachment and mix on low for 6-8 minutes. Stop when the dough is smooth and springs back when pressed.

Trained in classic French technique but raised on slow-cooked ribs and spicy rubs, she blends culinary skill with smoke and soul.
- Recipe for Boneless Pork Chops in Cast Iron Skillet: Sear and Baste to Juicy Perfection - October 3, 2026
- Recipe for Boneless Cross Rib Roast: Slow-Roasted Beef with Herb Crust - October 3, 2026
- Hamburgers in Sauce Recipe Crock Pot: Slow-Cooked Savory Delight - October 3, 2026