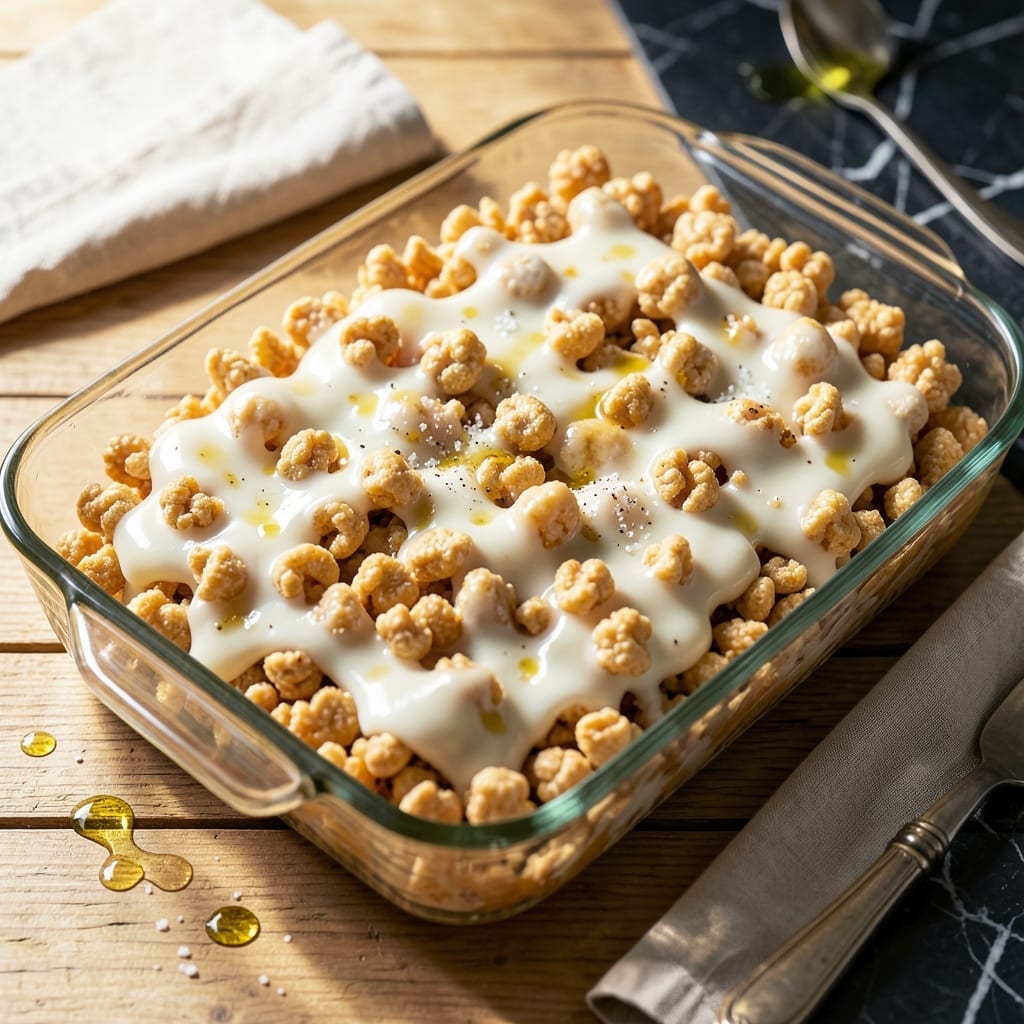
This no-bake treat delivers crispy, golden results with minimal effort. Regular marshmallows melt into a sticky base that binds the cereal perfectly.
Ready in 15 minutes, this recipe transforms simple ingredients into a classic crowd-pleaser. The key is quick mixing before the marshmallows set.
Ingredients for Easy Rice Crispy Recipe with Regular Marshmallows
Six simple ingredients create this no-bake classic with crispy, golden results.
| Ingredient | Amount | Notes |
|---|---|---|
| Rice Cereal 🥣 | 6 cups | Crispy variety, unsweetened |
| Regular Marshmallows 🍬 | 10 oz | Mini or standard size |
| Unsalted Butter 🧈 | 3 tbsp | For melting with marshmallows |
| Vanilla Extract 🌿 | 1 tsp | Pure extract preferred |
| Salt 🧂 | ¼ tsp | Fine sea salt preferred |
| Light Corn Syrup 🧴 | 1 tbsp | Optional for extra stickiness |
[recipe_ingredient_scaler]
The cereal is fundamental here. Kellogg’s Rice Krispies are the gold standard—consistent texture, perfect crispness. Avoid generic brands that can turn soggy too quickly (the good stuff holds up). The marshmallows must be fresh; stale ones won’t melt smoothly. I always use Jet-Puffed for reliable quality. Unsalted butter prevents the mixture from becoming overly salty as it reduces.
No corn syrup? Skip it—the marshmallows provide enough binding power on their own. For a richer flavor, brown the butter slightly before adding marshmallows (worth the extra minute). Want a hint of depth? Swap vanilla for almond extract—use half the amount. The salt might seem unnecessary, but it balances the sweetness perfectly. Don’t use margarine; the water content affects the texture.
These keep 2-3 days at room temperature in an airtight container. For longer storage, refrigerate for up to 1 week—though they’re best eaten fresh. Press into the pan firmly (a greased spatula helps) to prevent crumbling. Cut into squares once fully cooled and set.
Why You’ll Love This Recipe
- One Pot Wonder: I melt the marshmallows and butter in a single saucepan, stir in the cereal, and boom—done.
- Gooey Perfection: The vanilla and pinch of salt turn regular marshmallows into this rich, caramel-like coating that clings to every crispy bite.
- Crowd Pleaser: I bring these to potlucks, pack them in lunchboxes, or set out a tray for movie night and they disappear every time.
- Pocket Change: Between us, a box of cereal and a bag of marshmallows cost less than a fancy dessert but taste like a million bucks.
Step-by-Step Instructions for Rice Crisps With Marshmallows
This no-bake method delivers perfect texture with minimal effort and maximum satisfaction.
Step 1: Melt Butter and Prepare the Base
In a large, heavy-bottomed saucepan, melt the 3 tbsp Unsalted Butter over low heat. I use a light-colored pan so I can monitor the color change—this prevents burning and ensures even melting. Once the butter has completely liquefied and the foaming subsides, you’re ready for the next step.
This slow melt creates a smooth foundation for the marshmallows. If the heat is too high, the butter can separate or brown, which affects the final flavor of your creation. Watch for tiny bubbles to disappear—that’s your visual cue.
Step 2: Incorporate Marshmallows and Corn Syrup
Add all 10 oz Regular Marshmallows and the 1 tbsp Light Corn Syrup to the melted butter. Stir constantly with a silicone spatula or wooden spoon as the marshmallows begin to soften and collapse. This process takes 3-5 minutes on low heat.
The mixture will transform from individual marshmallow pieces to a smooth, glossy liquid. Keep stirring until no lumps remain and the color becomes uniform. The corn syrup adds extra stickiness that helps bind everything together without making the mixture too hard when set.
Step 3: Add Flavorings and Combine
Remove the saucepan from heat and immediately stir in the 1 tsp Vanilla Extract and 0.25 tsp Salt. The vanilla adds depth to the sweetness, while the salt balances the flavors. I always add these off heat to preserve their potency.
Now working quickly, fold in all 6 cups Rice Cereal using the same spatula. The cereal should be completely coated in the marshmallow mixture. If you notice some pieces aren’t covered, keep folding until the entire batch glistens uniformly.
Step 4: Press and Set in the Pan
Transfer the mixture to a greased 9×13-inch baking dish or line your pan with parchment paper for easy removal. Using the back of your spatula or buttered hands, press the mixture evenly into the pan. I apply firm, even pressure to create a uniform layer without compacting it too tightly.
Let it set at room temperature for 30-45 minutes until firm to the touch. You’ll know it’s ready when the top loses its stickiness and holds its shape when pressed lightly. For faster setting, you can refrigerate for 15-20 minutes, but room temperature yields the best texture.
Step 5: Cut and Serve
Once fully set, use a sharp knife to cut into squares. For clean cuts, I run the knife under hot water between each slice. This prevents the marshmallow from sticking to the blade and dragging the cereal pieces.
Serve immediately or store in an airtight container at room temperature for up to 3 days. The squares should have a slight crispness on the outside with a chewy, marshmallow center that holds its shape perfectly.
Pro Tips For Making Easy Rice Crispy Recipe With Regular Marshmallows
- Melt Butter First: Start by melting your unsalted butter in the pot before adding marshmallows—this prevents sticking and guarantees even melting for smooth mixing.
- Use Fresh Marshmallows: Older marshmallows dry out and turn gummy. Grab a fresh bag for that perfect gooey texture that coats the cereal evenly.
- Work Fast When Mixing: Once the marshmallows are melted, fold in the cereal immediately while the mixture is still hot and sticky—I learned this the hard way after scraping rock-hard clumps out of the bowl.
- Press While Warm: Spread the mixture into the pan and press it down firmly with buttered hands or a spatula while it’s still warm. This locks in the shape and prevents crumbly squares later.
Pro Cooking Tips for easy rice crispy recipe with regular marshmallows
Butter Melting Secrets
Always melt the 3 tbsp Unsalted Butter over low heat in a light-colored pan so you can see the color change. This prevents burning and ensures a smooth base for your marshmallows to melt into. 💡
Marshmallow Melting Technique
Stir the 10 oz Regular Marshmallows constantly with a silicone spatula on low heat for 3-5 minutes. The mixture should become glossy and lump-free before moving to the next step.
Quick Cereal Incorporation
Work fast when folding in the 6 cups Rice Cereal—the marshmallow mixture sets quickly. Use a spatula to ensure every piece is evenly coated for that perfect crispy texture.
Pressing for Perfect Texture
Use buttered hands or a greased spatula to press the mixture firmly into a 9×13-inch baking dish. Even pressure creates uniform squares without crushing the cereal.
Setting Time Matters
Let the treats set at room temperature for 30-45 minutes. Resist the urge to refrigerate—room temp gives the best chewy-crispy balance. 🔥
Clean Cutting Tricks
For neat squares, run your knife under hot water between cuts. This prevents sticking and ensures clean edges every time.
Nutrition Facts
Frequently Asked Questions
Can I use mini marshmallows instead of regular?
Mini marshmallows work just as well as regular ones. Use the same 10 oz by weight, and they’ll melt faster, saving you a minute or two.
Why did my treats turn out hard?
This usually happens if the marshmallow mixture was cooked too long or at too high a heat. Keep it on low heat and stir constantly for just 3-5 minutes.
How do I store these for later?
Keep them in an airtight container at room temperature for up to 3 days. For longer storage, refrigerate for up to 1 week.
Can I add chocolate or sprinkles?
Yes! Fold in 1 cup of mix-ins like chocolate chips or sprinkles after combining the cereal. Press quickly before the mixture sets.

Trained in classic French technique but raised on slow-cooked ribs and spicy rubs, she blends culinary skill with smoke and soul.
- Recipe for Boneless Pork Chops in Cast Iron Skillet: Sear and Baste to Juicy Perfection - October 3, 2026
- Recipe for Boneless Cross Rib Roast: Slow-Roasted Beef with Herb Crust - October 3, 2026
- Hamburgers in Sauce Recipe Crock Pot: Slow-Cooked Savory Delight - October 3, 2026