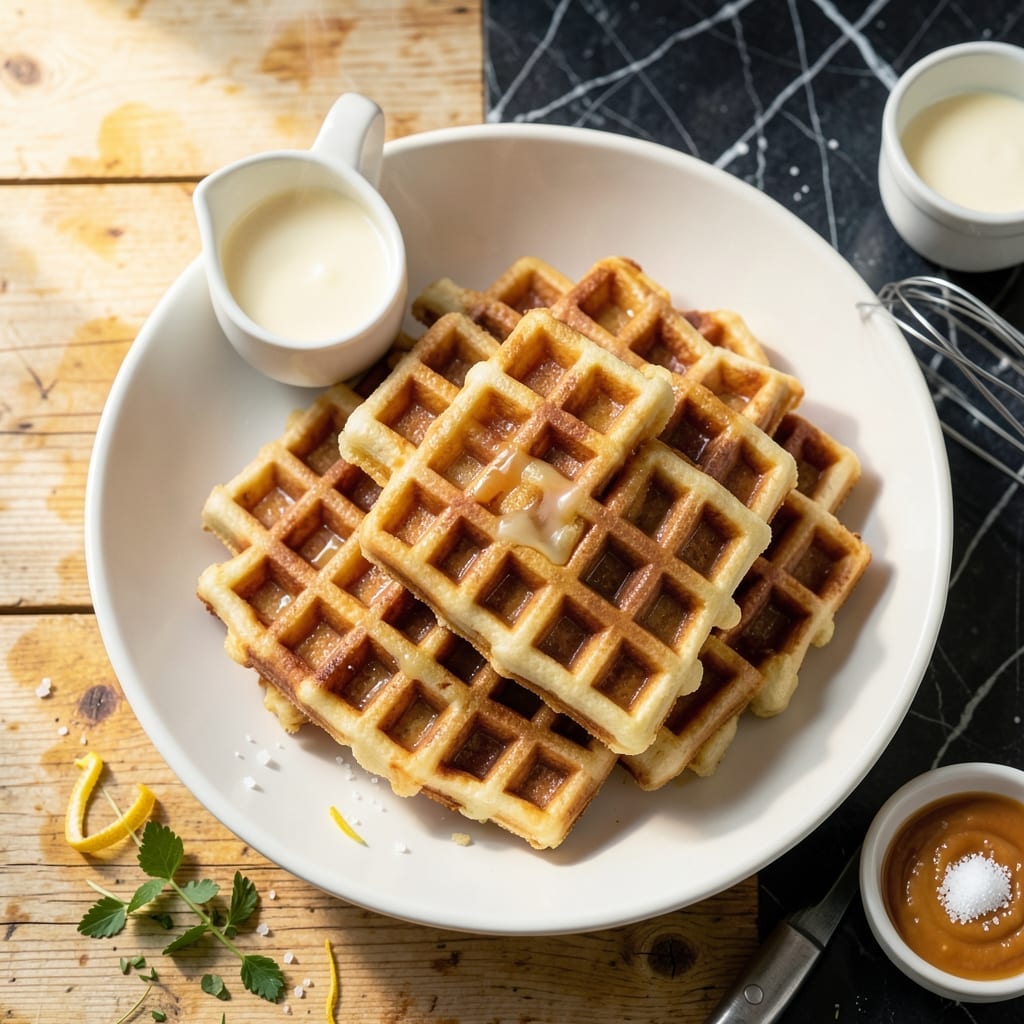
This proven waffle recipe delivers fluffy stacks with just 5 ingredients and a vanilla warmth that fills your kitchen.
I developed this method for consistent results in any waffle maker, ensuring crisp edges and a tender interior every time.
Ingredients for Easy Waffle Recipe for Waffle Maker
Five essential ingredients transform into golden, fluffy stacks with vanilla warmth.
| Ingredient | Amount | Notes |
|---|---|---|
| All-Purpose Flour 🌾 | 2 cups | Sifted for lighter texture |
| Granulated Sugar 🍚 | 2 tbsp | Fine white sugar preferred |
| Baking Powder 🧂 | 2 tsp | Fresh for best rise |
| Sea Salt 🧂 | ½ tsp | Fine grain for even distribution |
| Large Eggs 🥚 | 2 whole | Room temperature for maximum fluffiness |
| Whole Milk 🥛 | 1 ¾ cups | Full-fat for richness |
| Unsalted Butter 🧈 | ½ cup | Melted and cooled slightly |
| Vanilla Extract 🌿 | 2 tsp | Pure extract for depth of flavor |
| Vegetable Oil 🫒 | 2 tbsp | For greasing waffle maker |
[recipe_ingredient_scaler]
The flour foundation demands quality here. King Arthur all-purpose is my standard—consistent protein content for reliable structure. Baking powder loses potency over time, so check the expiration date (those tiny cans don’t last forever). Milk matters too: whole milk gives the richest texture, but 2% works in a pinch. Always use real vanilla extract—imitation tastes flat and artificial.
No whole milk? Buttermilk at the same quantity adds tang, or use oat milk for a lighter result. Out of baking powder? 1/4 tsp baking soda + 1/2 tsp cream of tartar per teaspoon substitutes. For extra fluff, separate the eggs and fold in whipped whites. The butter can be swapped for coconut oil (solid, not melted) if you’re avoiding dairy.
Batter keeps in the fridge for 24 hours—actually improves as it rests. Leftover waffles freeze beautifully: stack with parchment between layers, then seal in a bag. Reheat in the toaster for crispness. Always let the waffle maker preheat fully—skipping this step risks uneven cooking and sticking.
Why You’ll Love This Recipe
- One-Bowl Wonder: I love that I can mix everything in one bowl—flour, sugar, eggs—no fancy steps.
- Golden Crisp: The baking powder gives them that perfect crispy outside with a fluffy center every time.
- Breakfast or Dessert: Honestly, I’ve served these for Sunday brunch and as a late-night treat with syrup and berries.
- Budget Friendly: Five simple pantry staples and I’ve got a crowd-pleaser that costs pennies per serving.
Step-by-Step Instructions for Waffle Maker Waffles
This straightforward method guarantees light, golden waffles with minimal effort and maximum flavor.
Step 1: Combine Dry Ingredients for Even Distribution
In a large mixing bowl, whisk together the 2 cups All-Purpose Flour, 2 tbsp Granulated Sugar, 2 tsp Baking Powder, and 0.5 tsp Sea Salt. Sifting isn’t strictly necessary here since the baking powder will help distribute everything evenly as you whisk.
I always make sure the baking powder is fresh—older leavening agents lose potency and can result in dense waffles. The mixture should look uniform with no visible streaks of flour or sugar. This forms the structural base that gives waffles their signature crisp edges and tender interiors.
Step 2: Incorporate Wet Ingredients for Smooth Batter
In a separate bowl, beat the 2 whole Large Eggs lightly, then whisk in the 1.75 cups Whole Milk, 0.5 cup Unsalted Butter (melted and cooled), and 2 tsp Vanilla Extract. The butter should be warm but not hot—adding hot butter to eggs can cause them to cook prematurely.
Pour the wet ingredients into the dry ingredients and stir with a spatula just until combined. Real talk: a few lumps are fine. Overmixing develops gluten, which makes waffles tough rather than fluffy. The batter should be thick but pourable, with a consistency similar to heavy cream.
Step 3: Preheat and Grease the Waffle Maker
Plug in your waffle maker and set it to medium-high heat. Most models have an indicator light that turns on when it’s ready. While it heats, use the 2 tbsp Vegetable Oil to lightly brush the grids. This prevents sticking and ensures a clean release.
Here’s the thing—even nonstick waffle makers benefit from a light coat of oil. I use a pastry brush for even application. If your model has removable grids, make sure they’re completely dry before oiling to prevent steam from interfering with the cooking process.
Step 4: Cook to Golden Perfection
Pour about ½ cup of batter onto the center of the preheated waffle maker (adjust based on your model’s capacity). Close the lid and cook for 3-5 minutes until the waffle is golden brown and crisp.
Don’t open the lid too early—this can tear the waffle and prevent even cooking. Most waffle makers will stop steaming when they’re nearly done. Look for a deep golden color and a crisp texture. If your waffle maker has a ready indicator, wait until it signals completion before checking.
Transfer the cooked waffle to a wire rack to maintain crispness. Repeat with the remaining batter, greasing the grids between batches if needed. Serve immediately while hot and crisp, or keep warm in a 200°F oven on a wire rack.
Pro Tips For Making Easy Waffle Recipe For Waffle Maker
- Preheat the Iron: I learned this the hard way—always let your waffle maker heat up for a full 5-10 minutes before adding batter. Cold plates create uneven cooking and sad, soggy waffles.
- Whisk Eggs First: Beat the eggs until they’re pale and frothy before mixing with dry ingredients—about 2 minutes with a whisk. Sounds weird, but it works: fluffier waffles every time.
- Skip Overmixing: Stir the batter just until the flour disappears; a few lumps are fine. After burning three batches, I finally figured out overmixing makes waffles dense and tough.
- Use Melted Butter: Replace 2 tablespoons of oil with melted butter for richer flavor. My grandmother swore by this, and she was right: it’s a small swap with a noticeable payoff.
Pro Cooking Tips for This Recipe
Perfect Preheating
Always preheat your waffle maker for at least 5 minutes on medium-high heat. I use my Cuisinart WMR-CA and wait until the green light stays solid. Skipping this step leads to uneven cooking and pale, soggy results. 🌡️
Batter Consistency
The batter should be thick but pourable—like heavy cream. If it’s too thick, add 1-2 tbsp milk. Too thin? Stir in 1 tbsp flour. Overmixing is the enemy of fluffiness, so stop stirring as soon as it’s combined.
Even Pouring
Use a ½ cup measure to pour batter into the center of the grids. For Belgian waffle makers, you might need up to ¾ cup. Resist the urge to spread it—let the batter flow naturally for even coverage.
Timing Mastery
Cook for 3-5 minutes until steam stops and the waffle is golden brown. Don’t peek! Opening the lid early causes tearing. My trick: set a timer for 4 minutes and check then. 💡
Crispness Secret
Transfer cooked waffles to a wire rack, not a plate. This allows air circulation to maintain crispness. If keeping warm, place the rack in a 200°F oven while you finish the batch.
Between Batches
Lightly re-grease the grids between batches with vegetable oil on a pastry brush. Even nonstick surfaces benefit. This prevents sticking and ensures clean release for every waffle.
Nutrition Facts
Frequently Asked Questions
Can I make the batter the night before?
Yes! The batter actually improves with a 24-hour rest in the fridge. This allows the flour to hydrate fully for fluffier results. Just give it a quick stir before using.
Why are my waffles not crispy?
Steam is the culprit. Transfer cooked waffles to a wire rack, not a plate. For extra crispness, cook 1-2 minutes longer until deep golden brown. Keep warm in a 200°F oven.
Can I use a pancake mix instead?
You can, but add 1 extra tbsp oil and 1 extra egg to pancake mix for waffle texture. Homemade batter yields better flavor and structure though.

Trained in classic French technique but raised on slow-cooked ribs and spicy rubs, she blends culinary skill with smoke and soul.
- Recipe for Boneless Pork Chops in Cast Iron Skillet: Sear and Baste to Juicy Perfection - October 3, 2026
- Recipe for Boneless Cross Rib Roast: Slow-Roasted Beef with Herb Crust - October 3, 2026
- Hamburgers in Sauce Recipe Crock Pot: Slow-Cooked Savory Delight - October 3, 2026