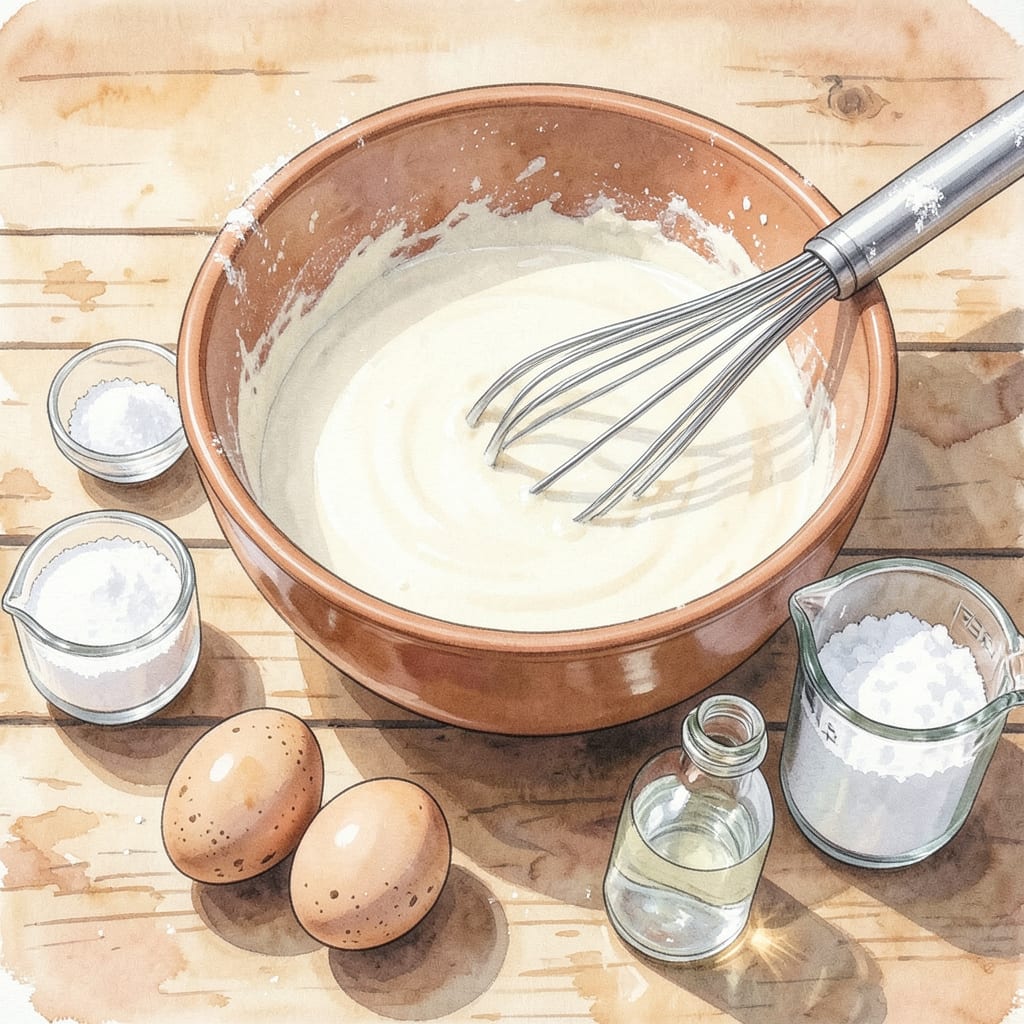
When you need golden, crisp waffles but don’t have baking powder, this recipe delivers perfect results every time. Using whipped egg whites and a touch of baking soda with vinegar creates the lift you need for fluffy interiors and crispy exteriors. The technique is simple yet precise, ensuring professional-quality waffles without specialty ingredients.
The batter comes together in minutes with basic pantry staples. What emerges from your waffle iron are perfectly browned grids that stay crisp for hours—not soggy or dense. This method proves you don’t need baking powder for exceptional texture, just the right combination of science and technique.
Ingredients for Easy Waffle Recipe Without Baking Powder
These pantry staples transform into golden waffles without baking powder, delivering professional results with minimal effort.
| Ingredient | Amount | Notes |
|---|---|---|
| All-Purpose Flour 🌾 | 2 cups | Sifted for optimal texture |
| Granulated Sugar 🍚 | 2 tbsp | Fine white sugar preferred |
| Baking Soda 🧂 | 1 tsp | Fresh for maximum lift |
| White Vinegar 💧 | 1 tbsp | Distilled or apple cider works |
| Salt 🧂 | ½ tsp | Fine sea salt recommended |
| Large Eggs 🥚 | 2 whole | Separated, whites whipped stiff |
| Whole Milk 🥛 | 1 ½ cups | Room temperature preferred |
| Unsalted Butter 🧈 | ½ cup | Melted and slightly cooled |
| Vanilla Extract 🌿 | 1 tsp | Pure extract for best flavor |
| Vegetable Oil 🫒 | 1 tbsp | For waffle iron greasing |
[recipe_ingredient_scaler]
The **baking soda** and **vinegar** reaction is critical for lift—ensure both are fresh. **King Arthur Flour** produces consistently excellent all-purpose flour, though standard grocery brands work. Eggs must be **large** and at room temperature for optimal volume when whipped. **Organic Valley whole milk** provides superior richness, but any full-fat milk suffices. Butter should be **unsalted** to control sodium levels precisely.
No vinegar? **Lemon juice** at equal volume substitutes effectively. For dairy-free, **oat milk** or **almond milk** with 1 tsp added fat (like coconut oil) mimics whole milk’s richness. **Coconut oil** replaces butter at 1:1 ratio. The sugar can be reduced by half without structural impact, though browning may be lighter. **Vanilla bean paste** offers more intense flavor than extract if preferred.
Store dry ingredients in airtight containers for **6-12 months**. Batter can be refrigerated overnight—whisk before using. Cooked waffles freeze beautifully for **3 months** in sealed bags. Reheat in toaster or oven at 350°F for **5-7 minutes** to restore crispness. Always bring refrigerated ingredients to room temperature before mixing for optimal texture.
Why You’ll Love This Recipe
- I’ll be real: if you’ve got flour, sugar, and vinegar in your pantry, you’re already 80% there. No last-minute grocery runs for baking powder or buttermilk—just stuff you probably ignored in your cabinet last week.
- No Fancy Ingredients: I’ll be real: if you’ve got flour, sugar, and vinegar in your pantry, you’re already 80% there. No last-minute grocery runs for baking powder or buttermilk—just stuff you probably ignored in your cabinet last week.
- Surprisingly Fluffy: Here’s what sold me—the vinegar and baking soda combo works like magic. You get that golden crisp outside with a tender, almost cakey center, and zero metallic aftertaste (unlike some baking powder waffles I’ve suffered through).
- Breakfast-for-Dinner Hero: My kids request these on school nights. Yes, even on a Tuesday. They’re just as happy with syrup and fruit as they are topped with fried chicken or smothered in chili—no judgment, no extra effort.
Step-by-Step Instructions for Easy Waffles Without Baking Powder
This method delivers consistently fluffy, golden waffles using simple chemical reactions instead of baking powder.
Step 1: Create the Chemical Leavening Base
In a large mixing bowl, whisk together the 2 cups All-Purpose Flour, 2 tbsp Granulated Sugar, 1 tsp Baking Soda, and 0.5 tsp Salt until completely combined. The baking soda will react with the vinegar later to create lift, so ensure it’s fresh and evenly distributed throughout the dry ingredients.
Make a well in the center of the dry ingredients. This preparation creates a vessel for the liquid components, allowing for easier incorporation and preventing flour lumps in the final batter. Set this bowl aside while you prepare the wet ingredients.
Step 2: Prepare the Wet Ingredients with Proper Technique
Separate the 2 whole Large Eggs, placing the whites in a clean mixing bowl and the yolks in another. Whip the egg whites with an electric mixer until stiff peaks form—this incorporates air that will contribute to the waffles’ light texture. The whites should hold their shape when the beaters are lifted.
In a separate bowl, combine the egg yolks, 1.5 cups Whole Milk, 0.5 cup Unsalted Butter (melted and cooled to room temperature), 1 tsp Vanilla Extract, and 1 tbsp White Vinegar. Whisk until fully emulsified. The vinegar’s acidity will react with the baking soda to create carbon dioxide bubbles for leavening.
Step 3: Combine Ingredients Using the Folding Method
Pour the wet ingredients into the well of the dry ingredients. Gently fold together using a silicone spatula, being careful not to overmix—small lumps are acceptable and prevent tough waffles. The batter should be slightly thick but pourable.
Add the whipped egg whites to the batter in two additions. Fold gently but thoroughly to maintain the air incorporated in the whites. The final batter should have a light, airy consistency with visible ribbons from the egg whites. Let the batter rest for 5 minutes while you preheat your waffle iron.
Step 4: Cook to Golden Perfection with Proper Heat Control
Preheat your waffle iron to medium-high heat (about 375°F). Brush the plates lightly with the 1 tbsp Vegetable Oil using a pastry brush. This thin coating prevents sticking while allowing the waffles to develop a crisp exterior.
Pour ½ cup of batter onto each waffle plate section, spreading gently to the edges. Close the lid and cook for 3-4 minutes until the steam stops escaping from the sides and the waffles are golden brown. Avoid opening the iron during cooking to prevent uneven browning.
Step 5: Serve Immediately for Optimal Texture
Transfer the cooked waffles to a wire rack set over a baking sheet in a 200°F oven to keep warm while cooking the remaining batter. This prevents sogginess by allowing air circulation. The waffles should be crisp on the outside with a light, airy interior.
Serve immediately with your preferred toppings. The chemical leavening creates a tender crumb structure that’s best enjoyed fresh, though leftovers can be reheated in a toaster to restore crispness. Each waffle should have evenly browned grids with no raw batter in the center.
Storing and Reheating This Recipe
Room Temperature Storage
Freshly made waffles stay crisp at room temperature for about 2 hours when placed on a wire rack. I learned this trick from my grandmother—stacking them directly causes steam buildup, making them soggy. For brunch gatherings, arrange them in a single layer on a rack covered loosely with a clean kitchen towel. 💡
Refrigerator Storage
Let waffles cool completely before storing in an airtight container with parchment between layers. They’ll keep for 3-4 days in the fridge. I prefer glass containers like Pyex because they don’t absorb odors. The texture changes slightly, but a quick toast restores most of the original crispness.
Freezer Storage
For long-term storage, freeze waffles on a baking sheet for 1 hour before transferring to freezer bags. This prevents them from sticking together. They’ll maintain quality for 2-3 months. I always label bags with dates—trust me, you’ll forget when you made them otherwise! ❄️
Toaster Reheating
The absolute best way to revive waffles is in a toaster on medium-high setting for 1-2 cycles. This method works for both fridge and freezer waffles. Watch closely—the sugar in the batter can cause them to brown quickly. I’ve found Cuisinart toasters give the most even results.
Oven Reheating
For larger batches, arrange waffles on a wire rack over a baking sheet in a 350°F oven for 5-7 minutes. This maintains crispness better than microwaving. I learned this from my pitmaster days—air circulation is key for texture. Spritz lightly with water if they seem dry before reheating.
Microwave Option
While not ideal, you can microwave waffles for 20-30 seconds on a microwave-safe plate. Place a damp paper towel over them to prevent drying out. Honestly, I only use this method when I’m in a rush—it’s better than nothing but doesn’t compare to toaster or oven methods.
Nutrition Facts

Trained in classic French technique but raised on slow-cooked ribs and spicy rubs, she blends culinary skill with smoke and soul.
- Recipe for Boneless Pork Chops in Cast Iron Skillet: Sear and Baste to Juicy Perfection - October 3, 2026
- Recipe for Boneless Cross Rib Roast: Slow-Roasted Beef with Herb Crust - October 3, 2026
- Hamburgers in Sauce Recipe Crock Pot: Slow-Cooked Savory Delight - October 3, 2026