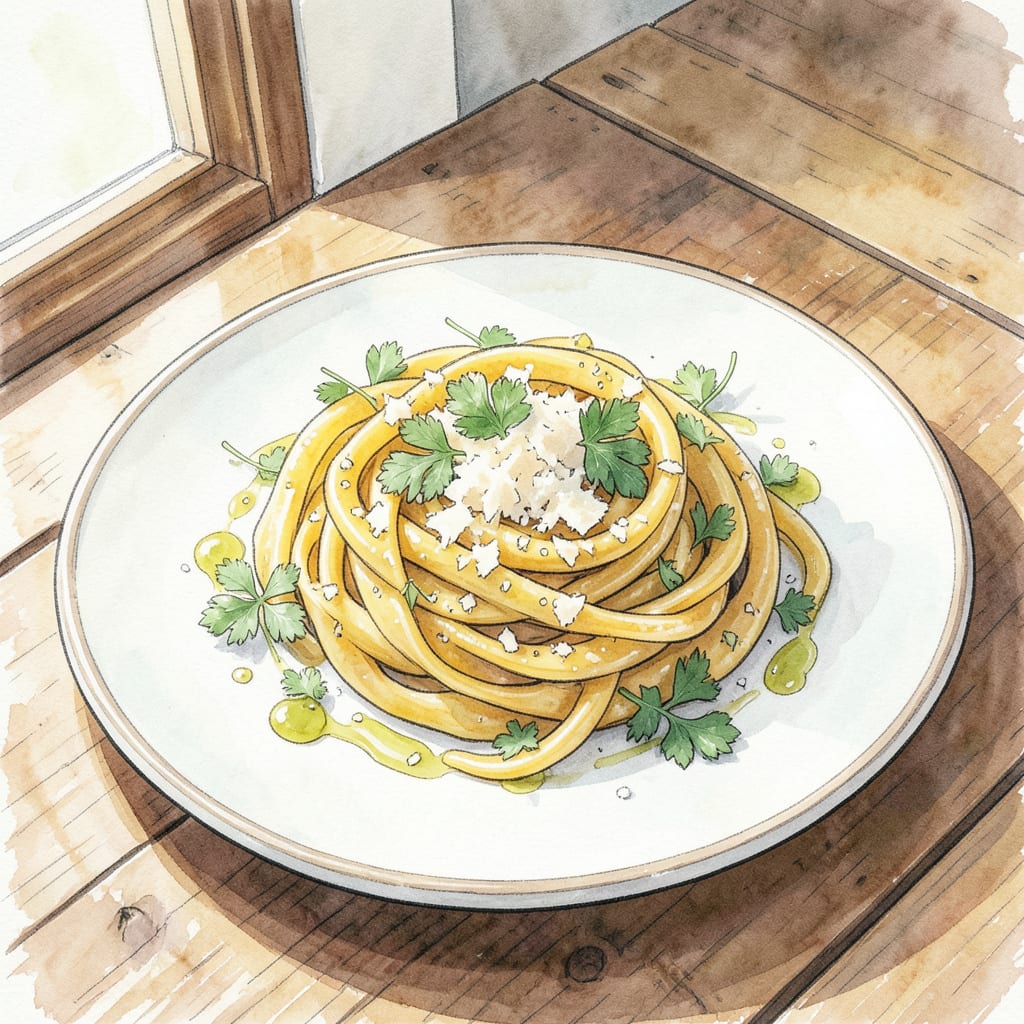
As a pitmaster with French technique training, I’ve discovered that using egg yolks in pasta dough creates a rich, creamy texture that’s hard to resist. This egg yolk pasta recipe delivers homemade pasta perfection with a tender, velvety bite.
With just a few ingredients and some careful kneading, you’ll have creamy homemade pasta that’s perfect for serving with your favorite sauces. Let’s get started!
Ingredients for Egg Yolk Pasta
Simple, quality ingredients make this egg yolk pasta truly special and rich.
| Ingredient | Amount | Notes |
|---|---|---|
| All-Purpose Flour 🌾 | 2 ½ cups | Unbleached, unbromated preferred |
| Egg Yolks 🥚 | 6 whole | Large, at room temperature |
| Extra-Virgin Olive Oil 🫒 | 2 tbsp | High quality for richness |
| Salt 🧂 | 1 tsp | Diamond Crystal kosher salt |
[recipe_ingredient_scaler]
For the best texture, use ’00’ flour if you can find it—it’s worth the hunt. Regular all-purpose works too, just make sure it’s unbleached. I buy mine from Whole Foods or a local Italian market. The egg yolks matter here—room temperature makes a huge difference in dough consistency. Don’t skip the olive oil; it adds richness.
No ’00’ flour? Regular all-purpose is fine. Want to boost the richness? Add 1-2 tbsp grated Parmesan to the dough. Using older eggs? Compensate with an extra tablespoon of olive oil. The salt is non-negotiable—it helps strengthen the gluten. If you’re using salted butter in your sauce later, reduce this to 1/2 tsp.
This dough keeps for 24 hours in the fridge, wrapped tightly in plastic. Let it come to room temp before rolling. You can also freeze it for 3 months—just thaw slowly in the fridge. Leftover pasta? Toss with your favorite sauce within 3 days.
Step-by-Step Instructions for Egg Yolk Pasta
Creating homemade egg yolk pasta is a straightforward process that yields rich, creamy results every time.
Step 1: Combine Dry Ingredients and Create a Well
Start by placing the 2.5 cups All-Purpose Flour on a clean, dry surface, forming it into a mound with a well in the center. I like to use a large wooden cutting board for this – it provides plenty of space to work. Make sure the well is wide enough to hold the wet ingredients comfortably.
The flour should be at room temperature, which helps with even hydration. If you’ve been storing it in the fridge, take it out a few hours before starting. You’ll notice the flour has a pleasant, slightly sweet aroma when it’s ready to use.
Step 2: Mix Wet Ingredients and Form the Dough
In a separate bowl, whisk together the 6 whole Egg Yolks, 2 tbsp Extra-Virgin Olive Oil, and 1 tsp Salt until well combined. The mixture should be smooth and have a rich, deep yellow color. Pour this mixture into the well you created in the flour.
Using a fork, gently incorporate the flour into the wet ingredients, starting from the inner rim of the well. As you mix, gradually draw in more flour from the edges. The dough will start to come together in a shaggy mass after about 2-3 minutes of mixing.
Step 3: Knead the Dough to Develop Gluten
Switch to kneading by hand once the dough becomes too thick to mix with a fork. I like to knead on a lightly floured surface, using the heel of my hand to push down and forward on the dough. Fold it back onto itself, rotate 90 degrees, and repeat. This process develops the gluten, giving the pasta its characteristic chew.
Knead for 10-15 minutes until the dough becomes smooth, elastic, and slightly firm to the touch. You’ll know it’s ready when it springs back quickly after being poked. Wrap the dough tightly in plastic wrap and let it rest at room temperature for at least 30 minutes or up to 2 hours. This resting period allows the gluten to relax, making the dough easier to roll out.
Step 4: Roll Out and Cut the Pasta
Divide the rested dough into 4 equal pieces and work with one piece at a time, keeping the others wrapped. Using a pasta machine or a sharp rolling pin, roll out the dough to a thickness of about 1/16 inch (1.5 mm). If using a pasta machine, start at the thickest setting and gradually decrease the thickness as you roll. For a uniform texture, aim for a consistent thickness throughout.
Once rolled out, cut the pasta into your desired shape. For classic egg yolk pasta, I prefer cutting it into fettuccine or tagliatelle widths. You can use a pasta machine’s built-in cutter or a sharp knife. As you cut, gently separate the strands to prevent them from sticking together.
Serving Suggestions for This Dish
Classic Italian Pairings
In Italy, we traditionally serve egg yolk pasta with simple yet rich sauces that let the pasta shine. A classic Carbonara made with guanciale, eggs, and Parmesan is a perfect match. The creamy egg sauce coats the pasta beautifully, creating a luxurious dish. You can also try it with a light brown butter sage sauce for a seasonal twist. 🌿
Modern Twists
For a contemporary take, serve your egg yolk pasta with roasted vegetables like caramelized sweet potatoes or roasted garlic. The sweetness pairs beautifully with the rich pasta. I love adding some crispy prosciutto or pancetta on top for texture contrast. Another great option is a light lemon cream sauce with fresh herbs like parsley or basil.
Wine Pairing Suggestions
A dry white wine complements egg yolk pasta beautifully. I recommend a Pinot Grigio or Vermentino from Italy. Their crisp acidity cuts through the richness of the pasta. For a richer sauce like carbonara, a Vermentino with its herbal notes works particularly well. If you prefer red, a light Valpolicella can work with heartier sauces. 🍷
Garnishing Tips
Finish your dish with a sprinkle of freshly grated Parmesan or Pecorino Romano for added depth. Fresh herbs like parsley or basil add a bright pop of color. For special occasions, shave some truffle on top for an indulgent touch. A drizzle of high-quality extra-virgin olive oil just before serving enhances the flavors. ✨
Serving for Company
When serving guests, consider a family-style presentation. Toss the cooked pasta with your chosen sauce, then transfer it to a large serving platter. Arrange any additional ingredients like roasted vegetables or crispy meats on top. This creates a beautiful, shareable dish that’s perfect for entertaining. I like to add some crusty bread on the side to soak up any remaining sauce.
Nutrition Facts

Trained in classic French technique but raised on slow-cooked ribs and spicy rubs, she blends culinary skill with smoke and soul.
- Recipe for Boneless Pork Chops in Cast Iron Skillet: Sear and Baste to Juicy Perfection - October 3, 2026
- Recipe for Boneless Cross Rib Roast: Slow-Roasted Beef with Herb Crust - October 3, 2026
- Hamburgers in Sauce Recipe Crock Pot: Slow-Cooked Savory Delight - October 3, 2026