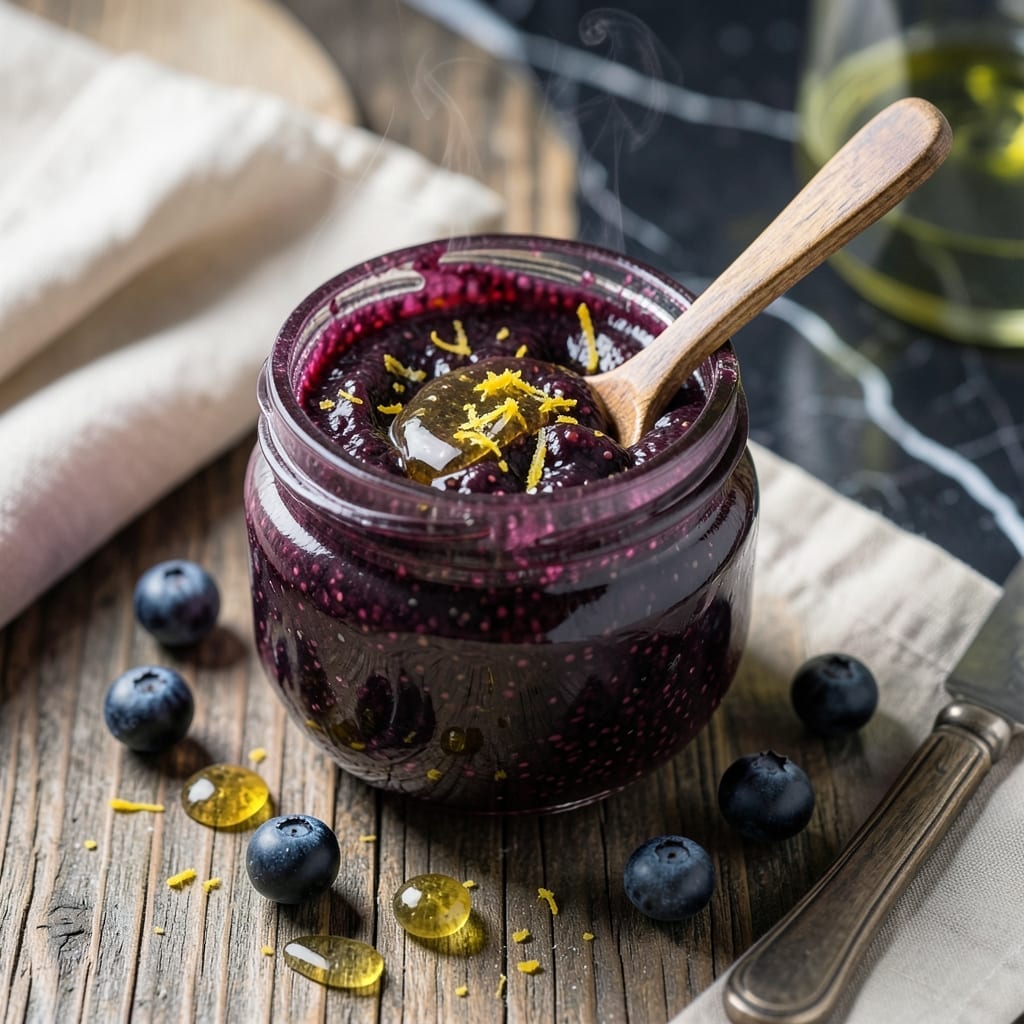
This small-batch elderberry jam captures the deep, fruity essence of elderberries with minimal added sugar. The natural sweetness of the berries shines through, creating a spread that’s as nutritious as it is delicious.
With a simple cooking process and no pectin required, this recipe preserves the berries’ rich color and antioxidant benefits. Perfect for toast, yogurt, or as a glaze for meats.
Ingredients for Elderberry Jam Recipe Low Sugar
Fresh elderberries, minimal sugar, and natural thickeners create this vibrant, antioxidant-rich spread.
| Ingredient | Amount | Notes |
|---|---|---|
| Fresh Elderberries 🫐 | 4 cups | Stems removed, rinsed thoroughly |
| Granulated Sugar 🍚 | ½ cup | Reduced for low-sugar focus |
| Honey 🍯 | ¼ cup | Omit for strict vegan |
| Lemon Juice 🍋 | 3 tbsp | Freshly squeezed for acidity |
| Lemon Zest 🍋 | 1 tsp | Finely grated for brightness |
| Chia Seeds 🌱 | 2 tsp | Natural thickening agent |
| Vanilla Extract 🌿 | 1 tsp | Pure extract for depth |
| Ground Cinnamon 🌿 | ¼ tsp | Optional for warmth |
[recipe_ingredient_scaler]
The elderberries are non-negotiable—source from a trusted forager or specialty store like Whole Foods. Look for plump, deep-purple berries with no signs of mold. Avoid underripe berries (they’re bitter). The chia seeds act as a natural pectin substitute, so ensure they’re fresh for optimal thickening. Organic sugar is preferred here to keep the flavor clean.
No chia seeds? Ground flaxseed at the same ratio works as a thickener. For a fully vegan version, swap honey for maple syrup or agave. Lemon juice is key for balance—don’t skip it. If you prefer a smoother jam, strain the cooked berries before adding thickeners. Cinnamon adds warmth but can be omitted for a purer berry flavor.
Store in a sterilized jar in the fridge for up to 3 weeks. For longer storage, process in a water bath for 10 minutes—this preserves the jam for up to 1 year. The color deepens over time, but the flavor stays vibrant. Freezing works too, though texture may soften slightly.
Why You’ll Love This Recipe
- One-Pot Wonder: I just toss the elderberries, honey, and lemon zest into a single pot—no fancy steps, no fuss.
- Bright & Balanced: The lemon juice cuts through the sweetness just right, making every spoonful tangy and rich without being cloying.
- Spreads the Love: Honestly, I slather it on toast, stir it into yogurt, or even glaze chicken—it’s my new multi-tasking staple.
- Longer Shelf Life: Between us, a small batch lasts me weeks in the fridge, and the low sugar means I can enjoy it without the guilt.
Step-by-Step Instructions for Elderberry Jam
This method ensures a thick, spreadable consistency while preserving the fruit’s natural vibrancy.
Step 1: Prepare and Cook the Elderberries
Combine the 4 cups fresh elderberries with the 3 tbsp lemon juice and 1 tsp lemon zest in a medium saucepan. The acidity from the citrus helps balance the berries’ natural sweetness and aids in the thickening process.
Cook over medium heat for 8-10 minutes, stirring frequently, until the elderberries begin to soften and release their juices. Use a wooden spoon to gently mash about half the berries against the side of the pan—this helps create a thicker texture while leaving some whole berries for visual appeal and texture.
Step 2: Add Sweeteners and Aromatics
Stir in the 0.5 cup granulated sugar and 0.25 cup honey, reducing heat to medium-low. The combination of these sweeteners provides depth of flavor while keeping the overall sugar content lower than traditional recipes.
Add the 1 tsp vanilla extract and 0.25 tsp ground cinnamon at this stage. These warm spices complement the elderberries’ natural earthiness without overpowering it. Continue cooking for 5-7 minutes, stirring constantly to prevent scorching as the mixture begins to thicken.
Step 3: Incorporate Thickening Agent
Sprinkle the 2 tsp chia seeds evenly over the mixture and stir well to distribute. Chia seeds are particularly effective here as they absorb liquid and expand, creating a natural pectin-like effect that helps thicken the jam.
Increase heat back to medium and cook for an additional 5 minutes, stirring frequently. You’ll notice the mixture becoming glossier and more viscous as the chia seeds work their magic. The jam should coat the back of a spoon when it’s ready.
Step 4: Test and Adjust Consistency
To check for doneness, place a small spoonful of jam on a chilled plate and return it to the freezer for 1 minute. If it wrinkles when pushed with your finger and maintains a spreadable consistency, it’s ready. If it’s still too thin, continue cooking for 2-3 more minutes and retest.
Remember that the jam will thicken slightly as it cools, so it’s better to err on the side of slightly thinner in the pan. The chia seeds will continue to absorb liquid even after you remove the jam from heat.
Step 5: Cool and Store Properly
Remove the saucepan from heat and let the jam cool at room temperature for 10-15 minutes, stirring occasionally to prevent a skin from forming on the surface. This cooling period allows the chia seeds to fully hydrate and the flavors to meld together.
Transfer the cooled jam to clean, airtight jars and store in the refrigerator for up to 2 weeks. The flavors will continue to develop over time, with the cinnamon and vanilla notes becoming more pronounced after a day or two in storage.
Pro Tips For Making Elderberry Jam Recipe Low Sugar
- Simmer Low and Slow: Keep the heat at a gentle simmer—elderberries can scorch easily, and low sugar means less margin for error. I learned this the hard way after burning a batch that smelled like bittersweet regret.
- Strain the Berries: Always strip elderberries from their stems and give them a quick rinse, but skip soaking—they’ll lose too much flavor. A fine-mesh strainer catches any stray stems or debris without crushing the berries.
- Balance the Sweetness: Since you’re using less sugar, taste as you go and adjust with honey—it adds depth that granulated sugar alone can’t. My grandmother swore by a 1:1 ratio of sugar to honey for low-sugar batches.
- Add Zest Early: Toss the lemon zest in with the berries at the start so its oils infuse the jam while cooking. Sounds weird, but it works—waiting until the end leaves the flavor flat and one-dimensional.
Common Mistakes When Making Perfect Results
🔥 Overcrowding the Pan
Adding too many elderberries at once can lead to uneven cooking and a mushy texture. The berries release liquid as they cook, and overcrowding prevents proper evaporation, resulting in a watery jam.
Fix: Cook in batches, leaving space for the berries to simmer and reduce properly. This ensures even heat distribution and a thicker consistency.
🌡️ Skipping the Sugar Substitute Test
Not all sugar substitutes behave the same way in recipes. Some can leave an aftertaste or fail to thicken the jam, leading to a runny product.
Fix: Use tested low-sugar pectin or natural sweeteners like honey or erythritol, and follow the package instructions for the correct ratios.
⏰ Undercooking or Overcooking
Undercooking leaves the jam too thin, while overcooking can caramelize the sugars too much, making the jam bitter or overly thick.
Fix: Use a candy thermometer to monitor the temperature, aiming for 220°F (105°C) for the perfect set. Perform a plate test to check consistency.
💡 Ignoring the Acid Balance
Elderberries are naturally tart, and without enough acid, the jam may taste flat. Too much acid, however, can make it sour or prevent proper gelling.
Fix: Add a measured amount of lemon juice (about 1-2 tablespoons per batch) to balance sweetness and aid in gelling.
Nutrition Facts

Trained in classic French technique but raised on slow-cooked ribs and spicy rubs, she blends culinary skill with smoke and soul.
- Recipe for Boneless Pork Chops in Cast Iron Skillet: Sear and Baste to Juicy Perfection - October 3, 2026
- Recipe for Boneless Cross Rib Roast: Slow-Roasted Beef with Herb Crust - October 3, 2026
- Hamburgers in Sauce Recipe Crock Pot: Slow-Cooked Savory Delight - October 3, 2026