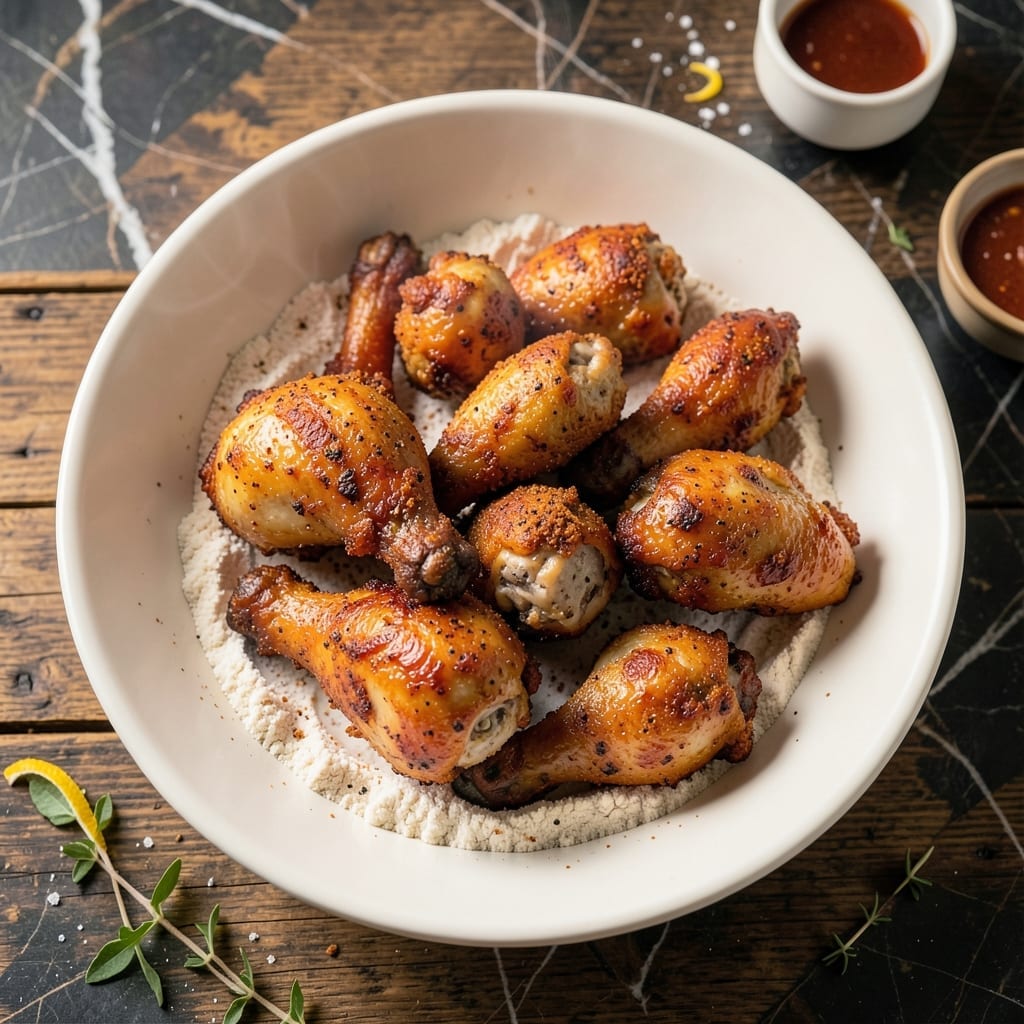
There’s nothing like the first bite of perfectly crispy fried chicken—golden outside, juicy within. This recipe delivers that signature crunch through a buttermilk soak that tenderizes while building flavor depth.
I developed this method after years of refining my approach, blending Southern tradition with precise technique. The secret lies in the double-dredge process, ensuring every piece gets an even, shatteringly crispy coating.
What emerges from the oil is a masterpiece of texture and taste: golden-brown skin giving way to tender meat. The buttermilk marinade infuses each bite with richness, while the seasoned flour creates that unmistakable crunch.
Serve hot for the ultimate experience. Here’s how to achieve this classic at home.
Ingredients for English’s Fried Chicken
Buttermilk, seasoned flour, and precise technique create this signature crispy classic at home.
| Ingredient | Amount | Notes |
|---|---|---|
| Chicken Pieces 🍗 | 3 lb | Bone-in, skin-on, mixed cuts |
| Buttermilk 🥛 | 4 cups | Full-fat for maximum tenderness |
| All-Purpose Flour 🌾 | 3 cups | Divided for double-dredging |
| Kosher Salt 🧂 | 2 tbsp | Diamond Crystal preferred |
| Freshly Ground Black Pepper 🌶️ | 2 tsp | Coarsely ground for texture |
| Paprika 🌶️ | 2 tbsp | Sweet or smoked variety |
| Garlic Powder 🧄 | 2 tsp | Not garlic salt substitute |
| Onion Powder 🧅 | 2 tsp | Finely ground for even distribution |
| Cayenne Pepper 🔥 | 1 tsp | Adjust for preferred heat level |
| Vegetable Shortening 🫒 | 4 cups | For deep frying, Crisco brand |
| Large Eggs 🥚 | 2 whole | Beaten, for flour coating |
| Hot Sauce 🌶️ | 2 tbsp | Crystal or Tabasco brand |
[recipe_ingredient_scaler]
The chicken quality is paramount—bone-in, skin-on thighs and drumsticks yield the juiciest results. Source from Whole Foods or a trusted local butcher for consistent sizing. Buttermilk should be full-fat; organic brands like Organic Valley offer superior tang. For the flour, all-purpose works best for the double-dredge, creating that shatteringly crispy texture the recipe promises.
No buttermilk? Whole milk plus 1 tbsp vinegar per cup works in a pinch. Swap paprika for smoked paprika for added depth. Vegetable shortening can be replaced with peanut or canola oil (maintain 350°F). For extra crunch, add 1/2 cup cornstarch to the flour mixture. Freshly ground spices make a noticeable difference in the seasoning blend.
Marinated chicken keeps 2 days in the fridge (don’t exceed—acidic buttermilk can break down meat). Fried chicken stays crispy for 1 day at room temperature, or 3 days refrigerated. Reheat in a 375°F oven for 15 minutes to restore crunch. Never microwave—it’ll lose all texture.
Why You’ll Love This Recipe
- No Fuss Coating: I just dip the chicken in buttermilk, roll in seasoned flour, and fry—no complicated steps or hard-to-find ingredients.
- Crispy Outside, Tender Inside: The buttermilk soak keeps the meat juicy while the flour crust gets that golden crunch.
- Feeds a Hungry Crowd: I’ve served this for Sunday suppers and weeknight dinners—everyone from picky kids to my foodie uncle cleans their plate.
- Budget Stretcher: Chicken pieces are affordable, and the pantry staples mean I’m not buying a bunch of one-use items.
Step-by-Step Instructions for Buttermilk-Soaked Fried Chicken
Master the technique for achieving that signature crunch with this time-tested method.
Step 1: Marinate Chicken in Buttermilk and Hot Sauce
Place the 3 lb Chicken Pieces in a large bowl and pour in all 4 cups Buttermilk and 2 tbsp Hot Sauce. I always use full-fat buttermilk for maximum tenderness—it breaks down proteins in the meat that would otherwise make it tough.
Stir to ensure every piece is fully coated, then cover and refrigerate for at least 6 hours (overnight is ideal). This extended marination guarantees the seasoning penetrates deeply and the chicken stays juicy during frying.
Real talk: don’t skip this step. The buttermilk’s acidity is what creates that perfect contrast of crispy exterior and tender interior.
Step 2: Prepare the Seasoned Flour Dredge
In a large shallow dish, combine 3 cups All-Purpose Flour, 2 tbsp Kosher Salt, 2 tsp Freshly Ground Black Pepper, 2 tbsp Paprika, 2 tsp Garlic Powder, 2 tsp Onion Powder, and 1 tsp Cayenne Pepper. Whisk thoroughly until the mixture is uniform in color and texture.
This blend creates multiple layers of flavor—smoky from the paprika, sharp from the cayenne, and savory from the onion and garlic. The coarse grind of the black pepper adds subtle texture to the crust.
Here’s the thing—you’ll use all of this flour mixture for double-dredging, which is essential for that extra-crispy coating.
Step 3: Double-Dredge for Maximum Crunch
Remove the chicken from the buttermilk marinade, allowing excess to drip off. Dredge each piece in the seasoned flour, pressing firmly to adhere. Shake off excess, then dip back into the buttermilk, and dredge in flour a second time.
This double-dredging technique creates a thicker, more substantial crust that holds up to frying. I beat the 2 whole Large Eggs into the remaining buttermilk for the second dip—this extra binder ensures the coating clings tenaciously during cooking.
Place dredged pieces on a wire rack set over a baking sheet. Let them rest for 10-15 minutes—this allows the coating to set and prevents it from falling off during frying.
Step 4: Deep-Fry to Golden Perfection
In a deep, heavy pot (a Dutch oven works well), heat the 4 cups Vegetable Shortening to 350°F over medium-high heat. Use a deep-fry thermometer for accuracy—temperature control is critical for even cooking and preventing greasiness.
Working in batches to avoid crowding, carefully lower the chicken into the hot shortening. Fry for 12-15 minutes, turning occasionally, until the coating is deep golden brown and the internal temperature reaches 165°F.
Maintain the oil temperature between 325-350°F throughout frying. If it drops too low, the chicken will absorb oil; if too high, the outside will burn before the inside cooks. Drain on a wire rack, not paper towels, to keep the crust crisp.
Pro Tips For Making English’S Fried Chicken
- Soak Overnight: Let the chicken pieces bathe in buttermilk for at least 12 hours—I learned this the hard way when my first batch came out dry and bland.
- Double Dredge: Dip the buttermilk-soaked chicken back in the flour mixture right before frying for that extra crispy crust.
- Skip the Crowding: Fry in small batches so the oil temperature doesn’t drop, or you’ll end up with greasy, soggy chicken.
- Rest Before Serving: Give the fried chicken 5-10 minutes on a wire rack after frying to keep it crispy, not steamy.
Essential Equipment for This Recipe
Deep Frying Setup
For the best results, I swear by a 5-quart Dutch oven—Le Creuset or Lodge are my go-tos. Their heavy construction maintains steady 350°F heat, which is non-negotiable for even cooking. A candy thermometer clipped to the side gives me precise oil temp readings.
Thermometer Essentials
Invest in a digital instant-read thermometer like ThermoWorks ThermaPen for checking chicken doneness. I test multiple pieces from each batch to ensure 165°F internal temperature. This prevents undercooked or overcooked chicken.
Draining Station
Set up a wire rack over a baking sheet for draining. This keeps the crust crispy by allowing airflow on all sides. I avoid paper towels—they steam the coating and make it soggy. 💡
Safety Gear
Hot oil is serious business. I always use heat-resistant gloves and keep a fire extinguisher nearby. A splatter screen helps prevent burns. Never leave the pot unattended.
Prep Tools
For dredging, I use a large shallow dish for the flour and a wide mouth bowl for the buttermilk. A long-handled tongs keeps my hands safely away from the hot oil during frying.
Cleanup Help
Line your work surface with parchment paper for easy cleanup. I also keep paper towels and dish soap ready for quick oil spills. This makes the whole process more enjoyable.
Nutrition Facts
Frequently Asked Questions
Can I use chicken breasts instead of bone-in pieces?
Yes, but bone-in, skin-on cuts stay juicier during frying. For breasts, reduce cooking time to 10-12 minutes to prevent drying out. The buttermilk marinade helps, but dark meat is more forgiving.
Why does the coating sometimes fall off during frying?
This usually happens if the chicken didn’t rest after dredging or the oil wasn’t hot enough. Let pieces sit 10-15 minutes post-dredge and maintain 350°F oil temperature. The resting period lets the coating set properly.
How can I make this gluten-free?
Swap the all-purpose flour for a 1:1 gluten-free flour blend. Add 1/2 cup cornstarch for extra crispiness. The buttermilk marinade and seasoning remain the same. Always check that your spices are certified gluten-free.

Trained in classic French technique but raised on slow-cooked ribs and spicy rubs, she blends culinary skill with smoke and soul.
- Recipe for Boneless Pork Chops in Cast Iron Skillet: Sear and Baste to Juicy Perfection - October 3, 2026
- Recipe for Boneless Cross Rib Roast: Slow-Roasted Beef with Herb Crust - October 3, 2026
- Hamburgers in Sauce Recipe Crock Pot: Slow-Cooked Savory Delight - October 3, 2026