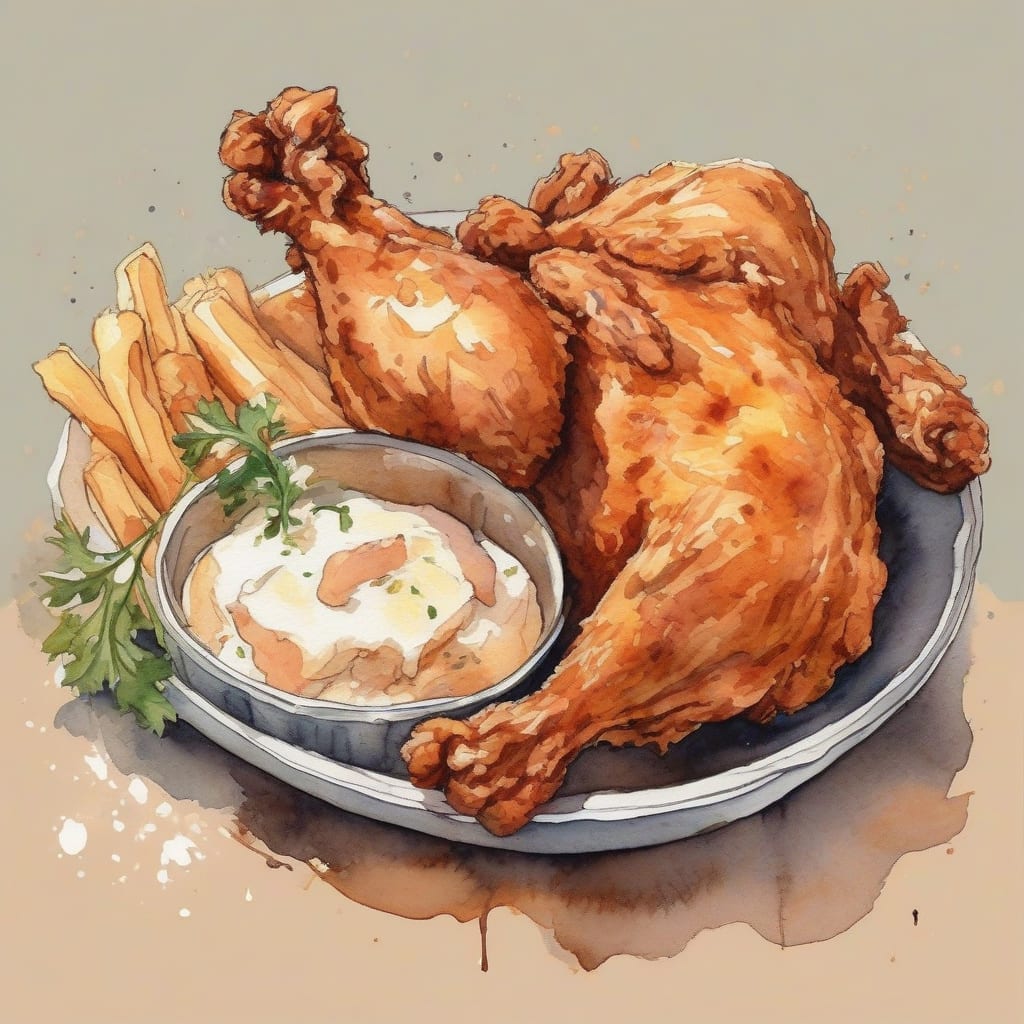
There’s nothing quite like the sound of chicken sizzling in hot oil, developing that golden, crackling crust that makes fried chicken legendary. 🔥 I’m sharing my farm-fresh approach that delivers juicy, tender meat wrapped in the crispiest coating you’ve ever tasted—no fancy equipment required, just simple techniques that guarantee perfect results every single time.
The secret starts with quality chicken and a double-dredge method that creates layers of crunchy texture. I brine the pieces first for maximum juiciness, then coat them in seasoned flour twice for that signature shatteringly crisp exterior. The result? Golden-brown perfection with meat so tender it practically falls off the bone.
By the time you pull these pieces from the oil, your kitchen will smell like Sunday dinner at grandma’s house. Each bite delivers that satisfying crunch followed by succulent, flavorful chicken that stays juicy even as it cools. This is Southern comfort food at its absolute finest.
Ingredients for farm fresh fried chicken
Here’s everything you need to create this crispy, juicy farm fresh fried chicken at home.
| Ingredient | Amount | Notes |
|---|---|---|
| Whole Chicken 🍗 | 3 ½ lb | Cut into 8 pieces |
| Buttermilk 🥛 | 2 cups | Full-fat for brining |
| All-Purpose Flour 🌾 | 3 cups | For double-dredge coating |
| Paprika 🌶️ | 2 tbsp | Sweet or smoked variety |
| Garlic Powder 🧄 | 1 tbsp | Not garlic salt |
| Onion Powder 🧅 | 1 tbsp | Adds savory depth |
| Cayenne Pepper 🔥 | 1 tsp | Adjust for heat preference |
| Black Pepper 🌶️ | 1 tbsp | Freshly ground preferred |
| Salt 🧂 | 2 tbsp | Kosher or sea salt |
| Baking Powder 🥄 | 1 tsp | Creates extra crispy coating |
| Large Eggs 🥚 | 2 whole | Beaten for egg wash |
| Peanut Oil 🫒 | 8 cups | For deep frying chicken |
[recipe_ingredient_scaler]
You can find quality chicken at local farmers markets or butcher shops—look for air-chilled birds for superior texture and flavor. Whole Foods and Trader Joe's offer organic options that work beautifully. For the buttermilk, full-fat varieties from Organic Valley or local dairies create the best brine. Peanut oil is ideal for frying due to its high smoke point; find it at any grocery store or buy in bulk at Costco for better value.
Don't have buttermilk? Mix regular milk with a tablespoon of lemon juice and let it sit for 5 minutes. If you can't find peanut oil, vegetable or canola oil work fine—just avoid olive oil which smokes at lower temperatures. For extra crispy coating, some cooks add a tablespoon of cornstarch to the flour mixture. The baking powder is essential for that shatteringly crisp texture, so don't skip it.
Store raw chicken in the coldest part of your fridge and use within 2 days of purchase. The buttermilk brine can be prepared up to 24 hours ahead for deeper flavor. Leftover fried chicken keeps refrigerated for 3 days and reheats beautifully in a 375°F oven for 10 minutes.
Step-by-Step Instructions for Farm Fresh Fried Chicken
Let me walk you through my proven method for achieving that perfect golden crust and juicy interior.
👨🍳 Step 1: Brine the Chicken in Buttermilk
Place your whole chicken pieces in a large bowl or resealable bag and pour the buttermilk over them, making sure every piece is completely submerged. I always use full-fat buttermilk because the acidity tenderizes the meat while the fat keeps it moist during frying.
Cover and refrigerate for at least 4 hours, but I prefer 8-12 hours or even overnight for maximum tenderness. The longer brine time allows the buttermilk to penetrate deep into the meat, breaking down tough fibers and infusing flavor throughout. You’ll notice the chicken feels more tender when you remove it from the brine.
🔪 Step 2: Prepare Your Dredging Station
In a large shallow dish, whisk together the all-purpose flour, paprika, garlic powder, onion powder, cayenne pepper, black pepper, salt, and baking powder. Mix thoroughly until the spices are evenly distributed throughout the flour—this ensures every bite has consistent seasoning.
In a separate bowl, beat the eggs until smooth. Set up your station in this order: buttermilk chicken, egg wash, seasoned flour. This assembly line approach makes the coating process efficient and less messy. The baking powder in the flour mixture is my secret weapon—it creates an incredibly crispy, almost shatteringly crunchy crust.
🍳 Step 3: Double-Dredge for Maximum Crunch
Remove the chicken pieces from the buttermilk, letting excess drip off but keeping them slightly wet. Dip each piece in the egg wash, coating completely, then dredge in the seasoned flour. Press the flour firmly into the chicken so it adheres well.
Here’s the key step: dip the floured chicken back into the egg wash, then dredge in the seasoned flour a second time. This double-dredge technique creates those beautiful craggy bits and extra-thick coating that stays put during frying. Let the coated pieces rest on a wire rack for 15-20 minutes before frying—this allows the coating to set and bond to the chicken.
🔥 Step 4: Fry to Golden Perfection
Heat the peanut oil in a large, heavy-bottomed pot or deep fryer to exactly 350°F. I use a deep-fry thermometer clipped to the side of the pot to monitor temperature constantly. Maintaining steady heat is crucial—too hot and the coating burns before the meat cooks through; too cool and you’ll get greasy, soggy chicken.
Carefully lower 3-4 pieces into the hot oil without crowding the pot. Fry for 12-15 minutes, turning once halfway through, until the coating is deep golden brown and an instant-read thermometer inserted into the thickest part reads 165°F. Dark meat pieces may need an extra 2-3 minutes. You’ll know it’s ready when the chicken floats to the surface and the bubbling around it slows down significantly.
⏰ Step 5: Drain and Rest for Juicy Results
Transfer the fried chicken to a wire rack set over a baking sheet lined with paper towels. Never stack the pieces or place them directly on paper towels—trapped steam will soften that beautiful crispy coating you worked so hard to achieve.
Let the chicken rest for 5-10 minutes before serving. This resting period allows the juices to redistribute throughout the meat and the coating to firm up to maximum crispiness. The internal temperature will actually rise a few degrees during this rest, ensuring the chicken is perfectly cooked through. Serve hot with your favorite sides and watch it disappear!
There’s something magical about farm fresh fried chicken that takes this beloved comfort food to extraordinary heights. 🍗 When you start with chicken that’s been raised naturally and humanely, you’re not just making dinner—you’re creating a crispy, golden masterpiece that’ll have everyone asking for seconds!
The secret to achieving that perfect restaurant-quality crunch lies in a few key techniques. First, buttermilk is your best friend here. Soaking your farm fresh chicken pieces in seasoned buttermilk for at least 4 hours (or overnight) breaks down the proteins, resulting in incredibly tender meat that stays juicy even after frying. The acidity also helps the seasoned flour coating stick beautifully to every nook and cranny.
For the coating, we’re using a double-dredge method that creates those irresistible craggy bits everyone fights over. Mix all-purpose flour with cornstarch (for extra crispiness), paprika, garlic powder, onion powder, cayenne pepper, and plenty of black pepper. After the buttermilk bath, each piece gets dredged in the flour mixture, dipped back in buttermilk, then coated again. This creates multiple layers that fry up into that signature crackling crust.
Temperature control is crucial for success. Heat your oil (vegetable, peanut, or canola work great) to exactly 350°F. Too hot, and you’ll burn the outside before cooking the inside; too cool, and you’ll end up with greasy, soggy chicken. Use a thermometer and adjust your heat as needed throughout cooking. 🔥
Fry in batches to avoid overcrowding, which drops the oil temperature. Dark meat takes about 13-14 minutes, while white meat needs 10-12 minutes. Let each piece drain on a wire rack set over a baking sheet—never paper towels, which trap steam and soften that beautiful crust you worked so hard to create!
Tips & Tricks for Perfect Farm Fresh Fried Chicken
These tried-and-tested tips will help you avoid common pitfalls and achieve crispy, juicy results every time.
Temperature Control: Invest in a deep-fry thermometer and clip it to your pot—this is non-negotiable for perfect fried chicken. When you add cold chicken to the oil in Step 4, the temperature will drop by 25-30°F, so wait for it to climb back to 350°F before adding more pieces. I’ve found that maintaining this steady temperature is the difference between greasy chicken and crispy perfection. 🔥
Don’t Skip the Resting Time: After coating your chicken in Step 3, that 15-20 minute rest on the wire rack isn’t optional. The coating needs time to hydrate and bond to the meat, which prevents it from sliding off during frying. I usually use this time to bring my oil up to temperature, making the process more efficient.
Oil Depth Matters: Your oil should be at least 2-3 inches deep in the pot so the chicken can float freely and cook evenly. Shallow oil means you’ll need to flip more frequently, which can knock off that beautiful crust. Peanut oil is my go-to because it has a high smoke point and neutral flavor, but vegetable or canola oil work too.
Batch Cooking Strategy: Keep the first batch warm in a 200°F oven on a wire rack while you fry the remaining pieces. This ensures everything stays hot and crispy for serving. Never cover the chicken or the steam will soften your hard-earned crust—leave it uncovered in the oven. 💡
Nutrition Facts
485kcal
[recipe_ingredient_scaler]

Trained in classic French technique but raised on slow-cooked ribs and spicy rubs, she blends culinary skill with smoke and soul.
- Recipe for Boneless Pork Chops in Cast Iron Skillet: Sear and Baste to Juicy Perfection - October 3, 2026
- Recipe for Boneless Cross Rib Roast: Slow-Roasted Beef with Herb Crust - October 3, 2026
- Hamburgers in Sauce Recipe Crock Pot: Slow-Cooked Savory Delight - October 3, 2026