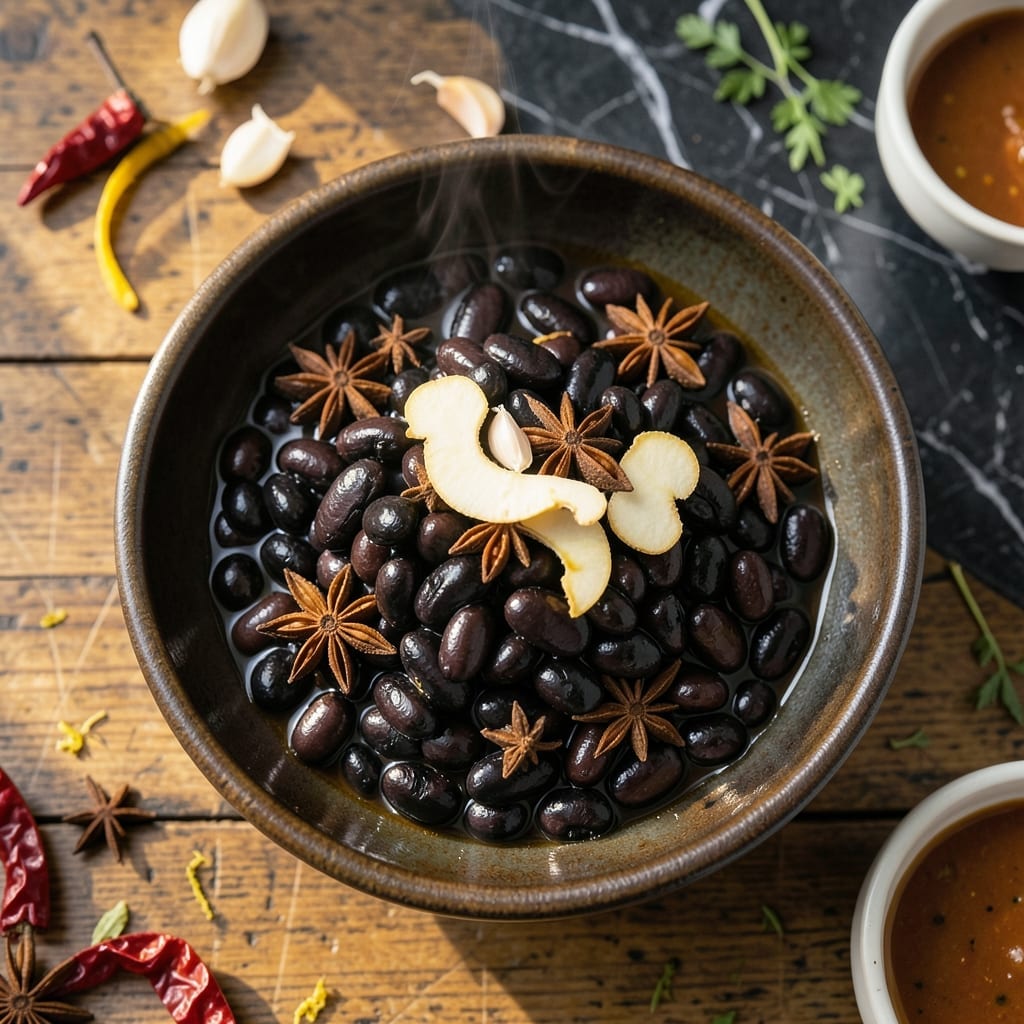
This fermented black bean recipe unlocks deep, complex flavors that transform simple dishes into restaurant-quality meals. The process develops umami-rich depth that enhances any stir-fry or marinade.
I’ve refined this method over years of testing, focusing on proper fermentation time and salt balance. The result is a versatile condiment with an intense, savory character that elevates meats, vegetables, and sauces.
Unlike store-bought versions, homemade fermented black beans offer superior texture and taste. Their bold, salty-sweet profile adds authenticity to Asian-inspired dishes with minimal effort.
Once prepared, these beans keep well in the fridge, ready to add depth to your next culinary creation.
Ingredients for Fermented Black Beans
Simple pantry ingredients transform into a bold, umami-packed condiment for your kitchen.
| Ingredient | Amount | Notes |
|---|---|---|
| Dried Black Beans ⚫ | 1 cup | Small, round variety preferred |
| Kosher Salt 🧂 | 1 ½ tbsp | Diamond Crystal recommended for consistency |
| Garlic Cloves 🧄 | 6 cloves | Peeled and smashed |
| Fresh Ginger 🌿 | 1 piece | 2-inch knob, sliced |
| Dried Red Chili Peppers 🌶️ | 3 whole | Mild to medium heat |
| Star Anise Pods ⭐ | 2 whole | Optional for depth |
| Sichuan Peppercorns 🌶️ | 1 tsp | Lightly crushed |
| Filtered Water 💧 | 3 cups | Chlorine-free for fermentation |
| Soy Sauce 🫒 | 2 tbsp | Low-sodium preferred |
| Rice Vinegar 🍚 | 1 tbsp | For acidity balance |
| Brown Sugar 🍚 | 1 tbsp | Light or dark |
| Scallions 🧅 | 3 whole | Thinly sliced for garnish |
[recipe_ingredient_scaler]
The black beans must be small, round variety—avoid large kidney beans. Asian markets often carry the correct type labeled as fermented black beans or douchi. For salt, Diamond Crystal kosher ensures consistent fermentation. Fresh ginger and garlic are non-negotiable; their aromatics build the base flavor. Star anise and Sichuan peppercorns (Penzys has great options) add complexity but can be omitted in a pinch.
No Sichuan peppercorns? Black peppercorns at half the amount work, though the flavor profile shifts. Dried chili peppers can be swapped for red pepper flakes at one-third the quantity. If avoiding gluten, use tamari instead of soy sauce. Brown sugar can be replaced with coconut sugar, but avoid white sugar—it lacks the molasses depth. Filtered water is critical; tap water chlorine inhibits fermentation.
Fermented beans develop flavor over 5-7 days at room temperature, then keep for 6 months refrigerated. Store in a clean glass jar, submerged in liquid to prevent mold. The aroma intensifies with time—use a spoonful to elevate stir-fries, marinades, or braised dishes instantly.
Why You’ll Love This Recipe
- Set It and Forget: I just mix the beans with salt, garlic, and ginger, then let time do the work. Honestly, it’s the most hands-off recipe in my rotation.
- Umami Bomb: That deep, funky flavor from the fermented beans with a kick of chili? It’s why I keep a jar in my fridge at all times.
- Meal Prep MVP: Toss them into stir-fries, soups, or even eggs—they add instant depth. I’ll be real: they make everything taste better.
- Pennywise Powerhouse: Dried beans and a few pantry staples stretch into weeks of meals. Between us, it’s my cheapest flavor upgrade yet.
Step-by-Step Instructions for Fermented Black Beans
Master this traditional fermentation process for a deeply flavorful condiment that elevates any dish.
Step 1: Prepare and Soak the Dried Black Beans
Rinse the 1 cup dried black beans thoroughly under cold running water to remove any debris. Transfer them to a large bowl and cover with 3 cups filtered water. The water should be at least 2 inches above the beans to allow for expansion.
Add the 1.5 tbsp kosher salt and stir until fully dissolved. This initial salt brine kickstarts the fermentation process while also seasoning the beans. Soak at room temperature for 12-18 hours until the beans have doubled in size and the skins are slightly wrinkled when pinched.
Step 2: Add Aromatics and Spices for Flavor Development
Drain the soaked beans, reserving the soaking liquid. In a clean glass jar or ceramic container, combine the beans with the 6 cloves garlic cloves (peeled and smashed), 1 piece fresh ginger (sliced into ¼-inch pieces), 3 whole dried red chili peppers, 2 whole star anise pods, and 1 tsp sichuan peppercorns (lightly crushed).
These aromatics create the complex flavor profile characteristic of fermented black beans. The ginger and garlic provide pungent depth, while the star anise and sichuan peppercorns contribute warm, floral notes. The chili peppers add subtle heat that develops during fermentation.
Step 3: Create the Fermentation Brine
In a small saucepan, combine the reserved soaking liquid with the 2 tbsp soy sauce, 1 tbsp rice vinegar, and 1 tbsp brown sugar. Heat over medium heat just until the sugar dissolves completely—do not boil, as this would kill beneficial bacteria needed for fermentation.
Pour the cooled brine over the beans and aromatics in the jar, ensuring all ingredients are fully submerged. The liquid should cover everything by at least 1 inch. This anaerobic environment is crucial for proper fermentation and prevents mold growth.
Step 4: Ferment at Room Temperature
Cover the jar loosely with a lid or clean cloth secured with a rubber band. This allows gases to escape while keeping out debris. Store in a dark, cool cupboard or pantry at 68-72°F for 5-7 days, stirring the mixture daily with a clean utensil.
You’ll notice small bubbles forming within 24-48 hours, indicating active fermentation. The beans will darken significantly and develop a pungent, umami-rich aroma. The liquid may become slightly cloudy, which is normal. Taste after 5 days—the beans should be tender with a tangy, complex flavor.
Step 5: Finish and Store the Fermented Beans
Once fermented to your liking, thinly slice the 3 whole scallions and stir them into the jar. The scallions add freshness and a mild onion note that complements the deep umami flavors. Seal the jar tightly and refrigerate.
The beans will continue to develop flavor in the refrigerator for up to 1 month. The texture will soften further, and the flavors will meld and intensify. Use within 3 months for best quality. The fermented beans are now ready to enhance stir-fries, noodle dishes, or serve as a condiment.
Pro Tips For Making Fermented Black Beans
- Soak overnight: I learned this the hard way—dried black beans need at least 8 hours in water to soften properly before fermentation, or they’ll stay tough and uneven.
- Toast the aromatics: Lightly dry-toast the garlic, ginger, and chilies in a pan for 30 seconds before adding to the beans; it deepens their flavor without bitterness.
- Skip the iodized salt: Kosher salt is non-negotiable here—iodized salt can inhibit fermentation and give the beans a metallic taste after a few days.
- Stir daily: Give the fermenting beans a good stir every 24 hours to prevent mold from forming on the surface and to keep the flavors mingling.
Pro Cooking Tips for fermented black beans
Clean Equipment First
Always start with sterilized glass jars to prevent unwanted bacteria. I run mine through the dishwasher on the sanitize cycle or boil for 10 minutes. Even a speck of soap residue can inhibit fermentation. 💡
Salt Precision Matters
Use Diamond Crystal kosher salt for consistent results—its coarse grains dissolve evenly. Weighing 22g guarantees accuracy. Too much salt halts fermentation; too little risks mold. I keep a kitchen scale on my counter for this reason.
Submerge Completely
Ensure beans stay under liquid by placing a smaller jar filled with water on top. This prevents mold growth on exposed surfaces. Check daily and add more brine if needed. The liquid should always cover by 1 inch.
Daily Stirring Ritual
Stirring daily releases trapped gases and redistributes flavors. Use a clean wooden or silicone spoon—I avoid metal to prevent reactions with the acid. The aroma deepens noticeably after 48 hours of fermentation.
Temperature Sweet Spot
Keep your fermentation jar at 68-72°F. My pantry stays perfect year-round. If your kitchen runs cool, place near the oven (turned off) or on top of the fridge. Avoid direct sunlight or drafts.
Patience Pays Off
Resist tasting before 5 days. The flavors need time to develop their signature umami depth. I once checked at 3 days and was disappointed—the extra wait is always worth it. ✨
Nutrition Facts
Frequently Asked Questions
How long do fermented black beans last?
Properly stored in the fridge, they keep for up to 3 months. Ensure beans stay submerged in brine to prevent mold. The flavor deepens over time, making them even more delicious after a few weeks.
Can I use canned black beans instead?
No, dried beans are essential for authentic texture and flavor. Canned beans are pre-cooked and lack the starch needed for proper fermentation. Stick to small, round dried black beans for best results.
Why do I need to stir daily?
Daily stirring prevents mold growth and ensures even fermentation. It also redistributes the spices and aromatics, leading to consistent flavor throughout the batch. Skipping this step can cause uneven results.
What if my beans smell funky during fermentation?
A strong, pungent aroma is normal—it means fermentation is active! However, if you detect rotten or foul odors, discard the batch. Properly fermented beans should smell intensely savory, not spoiled.

Trained in classic French technique but raised on slow-cooked ribs and spicy rubs, she blends culinary skill with smoke and soul.
- Recipe for Boneless Pork Chops in Cast Iron Skillet: Sear and Baste to Juicy Perfection - October 3, 2026
- Recipe for Boneless Cross Rib Roast: Slow-Roasted Beef with Herb Crust - October 3, 2026
- Hamburgers in Sauce Recipe Crock Pot: Slow-Cooked Savory Delight - October 3, 2026